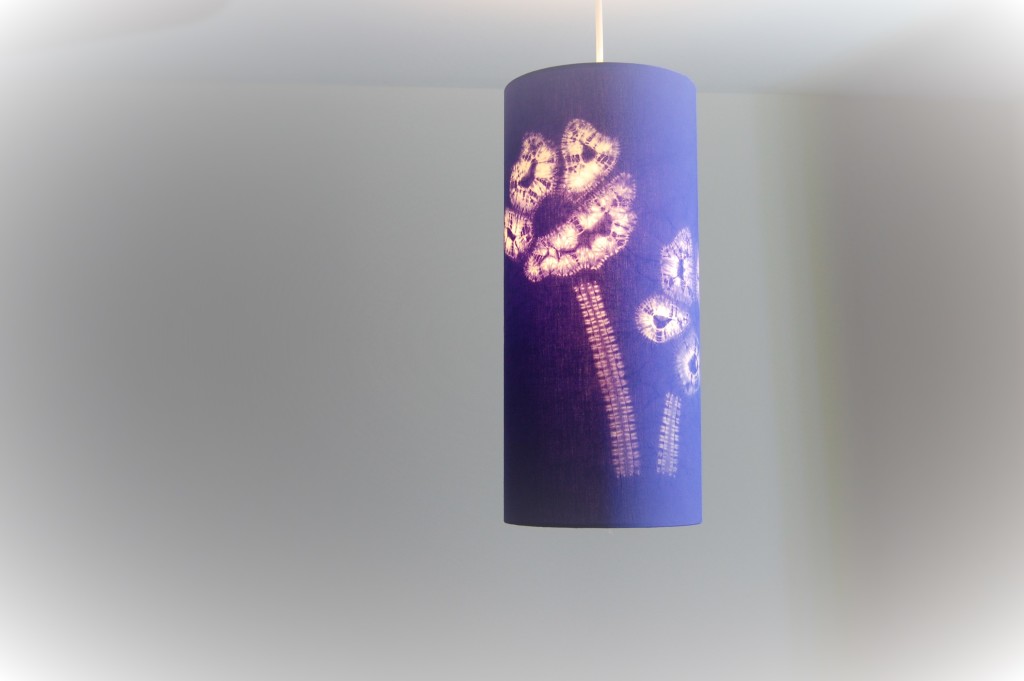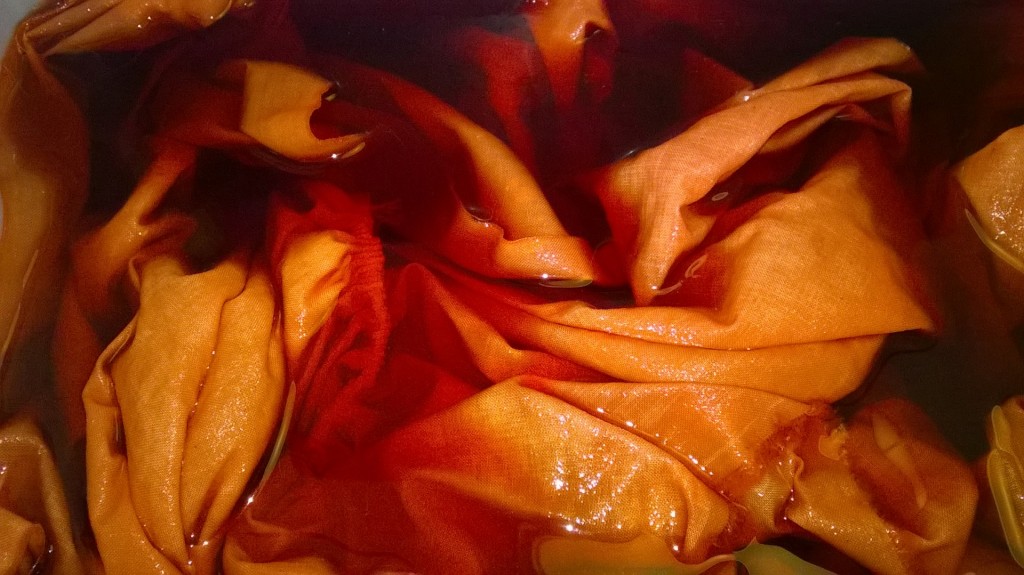
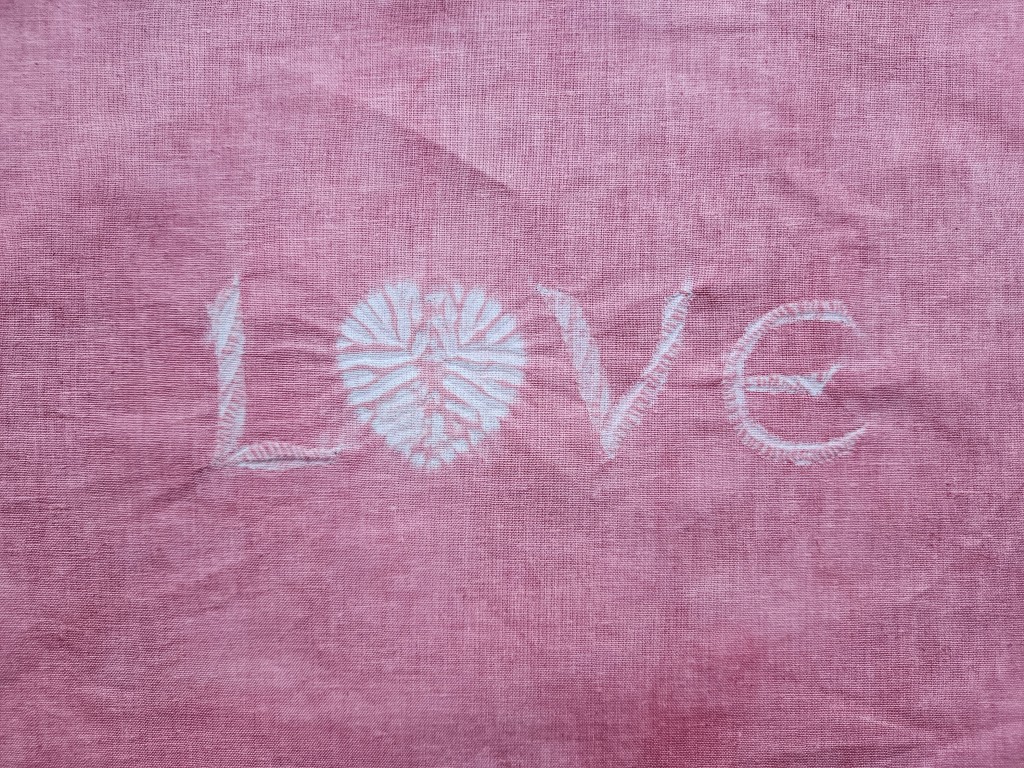
It is that time of year again, yes February 14th, Valentines Day. I decided it would be fun to stitch love with shibori with a heart instead of the “o”.
The principal stitch is guntai shibori which gives such a lovely effect for creating letters. And then following on using miru shibori for making the small heart shape.
If you want to explore these shibori techniques further do look at these other blogs; to learn more about guntai shibori and miru shibori follow the links.
Create the Letters L V and E
To Use Guntai Shibori to stitch love with shibori.
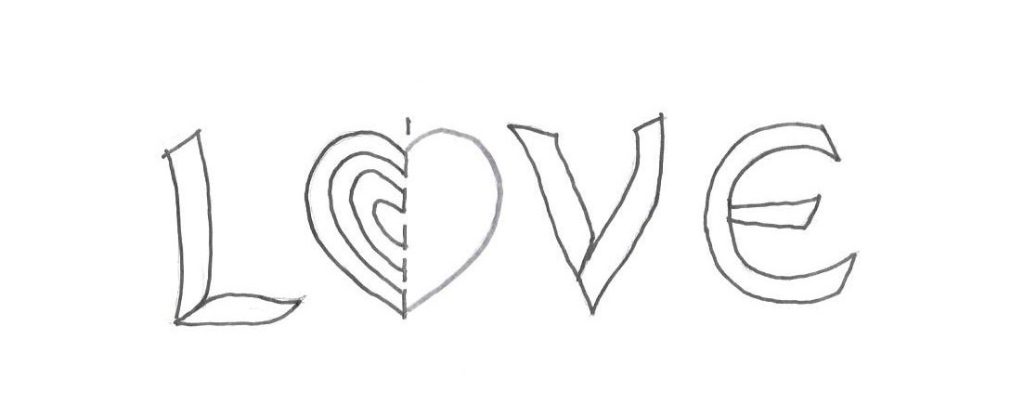
Guntai stitch is a kind of oversew stitch, as the stitching progresses the fabric rolls in on itself. Firstly, a sharp clear drawing is imperative. The shape can be clearly seen and enables you to follow the line easily. Next, select a double thread which is 3 times the length of the finished shape. Though it is possible to join another thread in, as the stitching progresses. The stitch is spaced approximately 2mm/1/16” apart. As shown, start and finish with a tag, it helps at the unpicking stage.
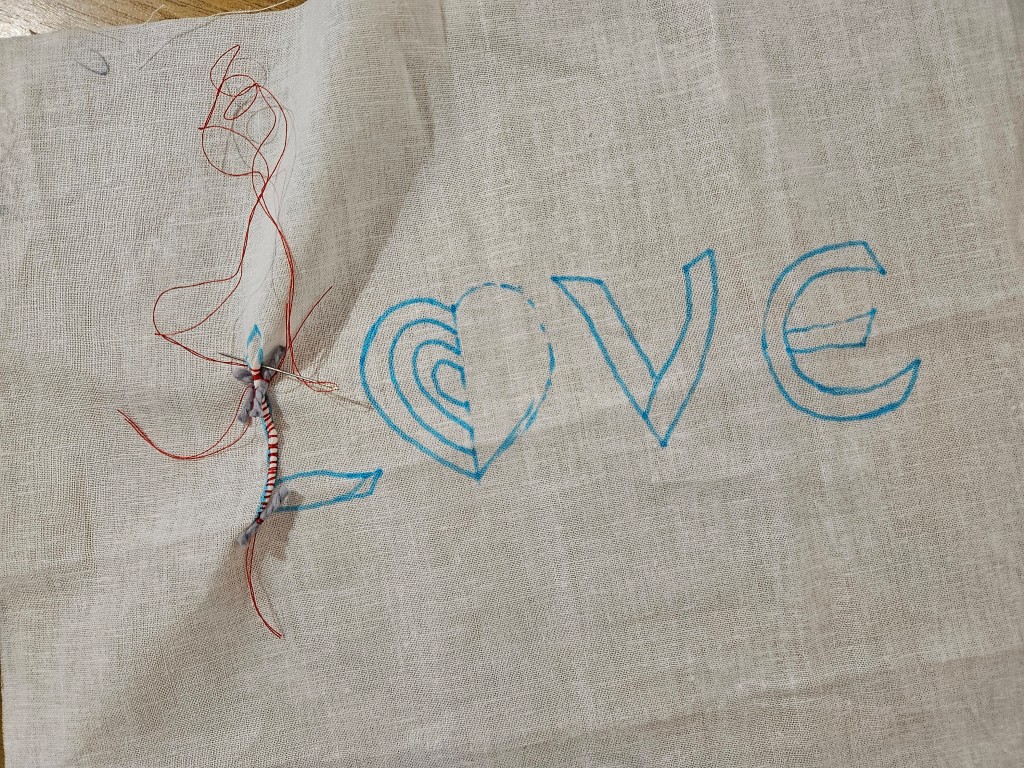
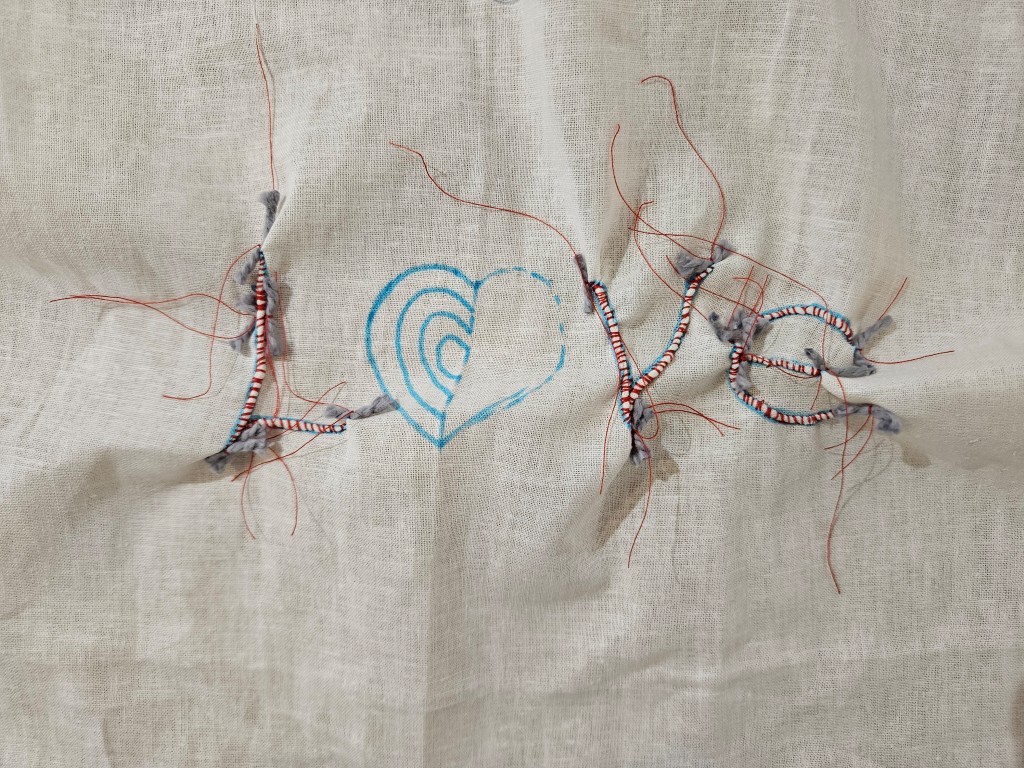
Another very helpful tip is to start the stitching from the top of your shape and work downwards.
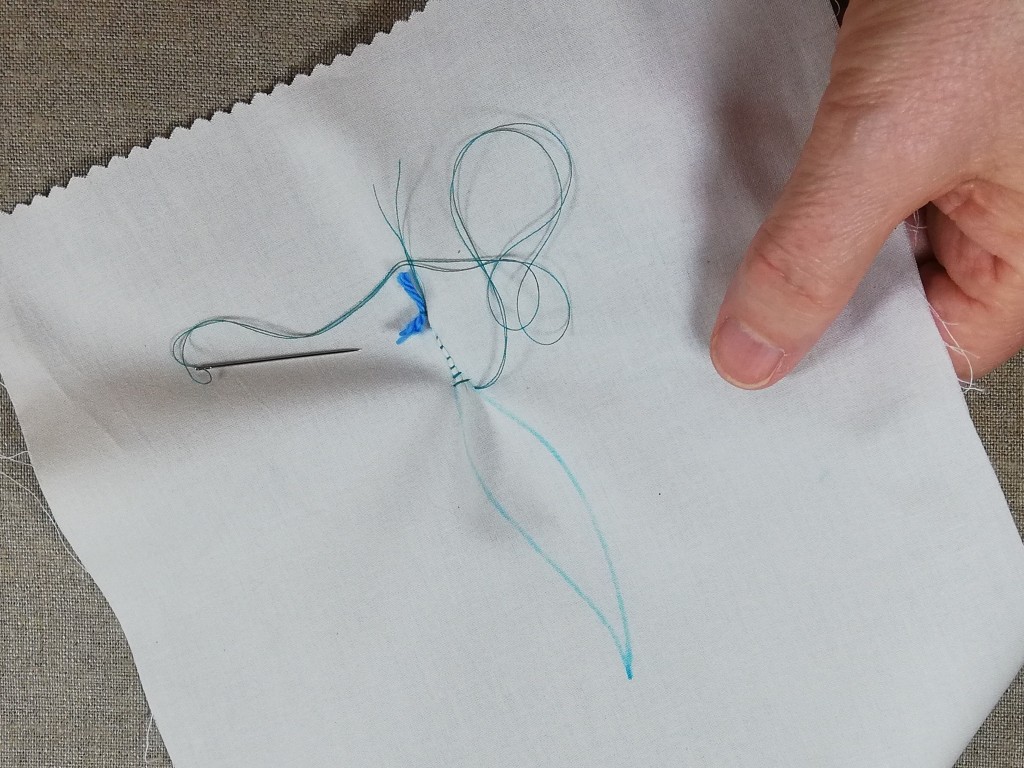
Something to be aware of with guntai shibori is that good results can be achieved using Rit dyes and additionally it is very successful with natural indigo. Furthermore, with fibre reactive and natural plant dyes there is a tendency for too much colour to seep into the stitching and the results are rather disappointing. Not enough distinct white is left.
Finally, when unpicking great care is needed. A seam ripper is best tool for this, and a good piece of advice is to unpick on the reverse side of the fabric.
Create the Heart Shape in Stitch Love With Shibori
As both sides of the heart shape are the same, miru shibori is the perfect technique to use.
There is a video on my YouTube channel showing a shibori heart being stitched.
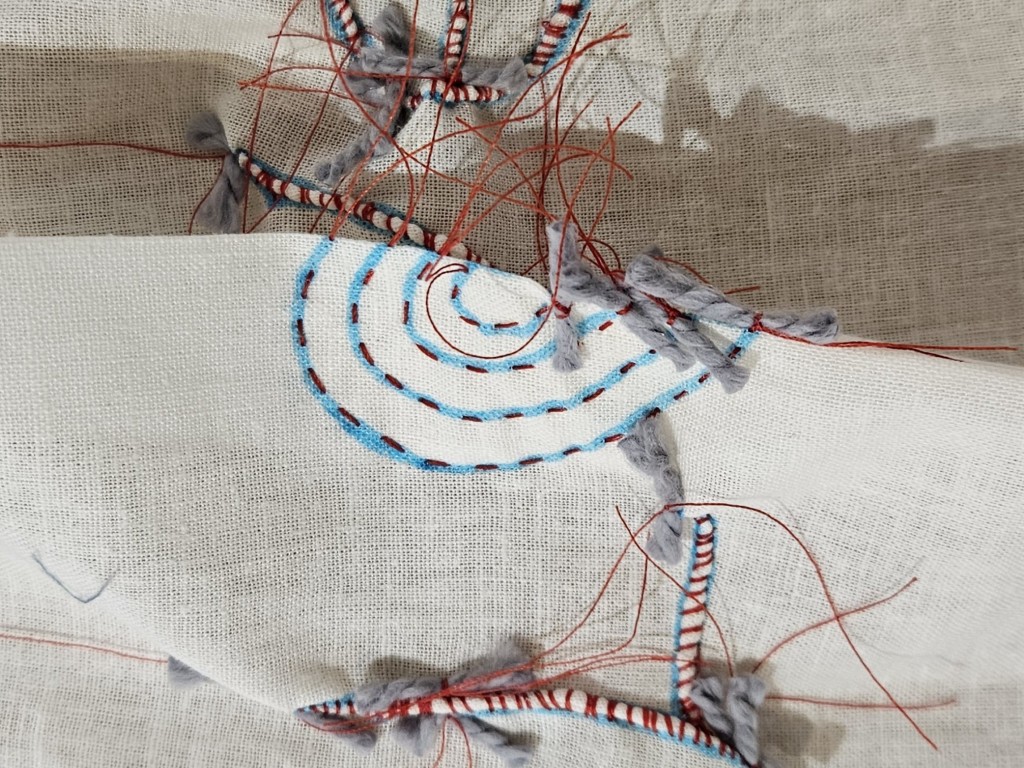
Draw the heart on the cloth, then fold the fabric in half matching outline to outline. Start stitching on the outside row of the heart and work inwards. Make sure this outer row of stitches is neat and small and follows your outline accurately. Inner rows can be a little more slipshod. Vary the length of stitch, between 3 to 6mm / 1/8” to ¼” long.
Begin gathering the threads, hold all the thread ends and pull them up together. Easing the fabric firmly but gently, back to the beginning of each row. By pulling the stitches up all together it ensures that each row is gathered fully back to the start. If all the stitches are not fully gathered it spoils the overall pattern. Row by row give a final pull, separate the two threads, and tie a tag into the end of each row of stitches.
The Finished Stitching & To Conclude
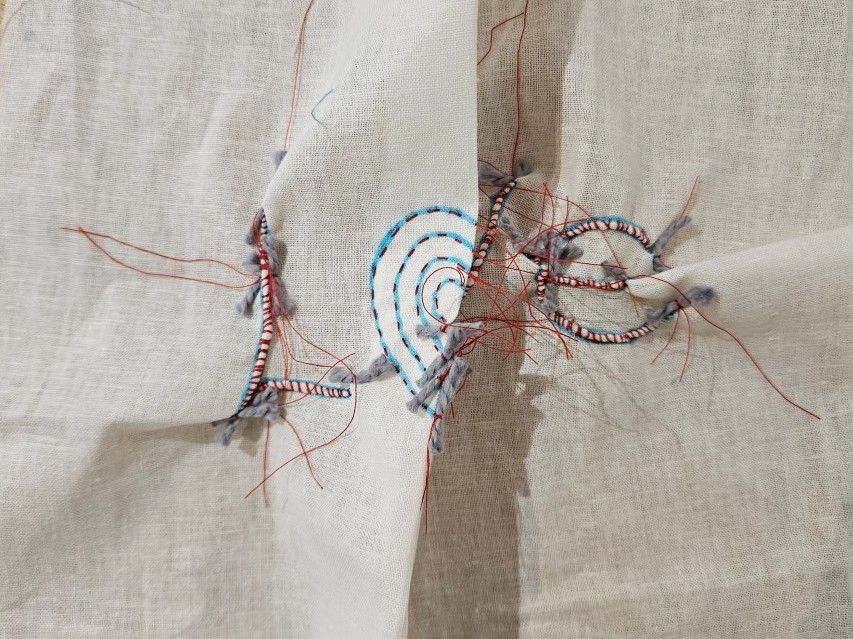
I am positive that to stitch love with shibori will inspire you to have a go at forming some other letters and words to decorate clothing or household items. Lovely for a bag with a your initials perhaps. I will leave you to see where these ideas can take you. Do let me know how you get on and what you create.
FREE Shibori Pattern Guide

Join my newsletter mailing list and download a FREE pattern for a Eight Petal Flower.