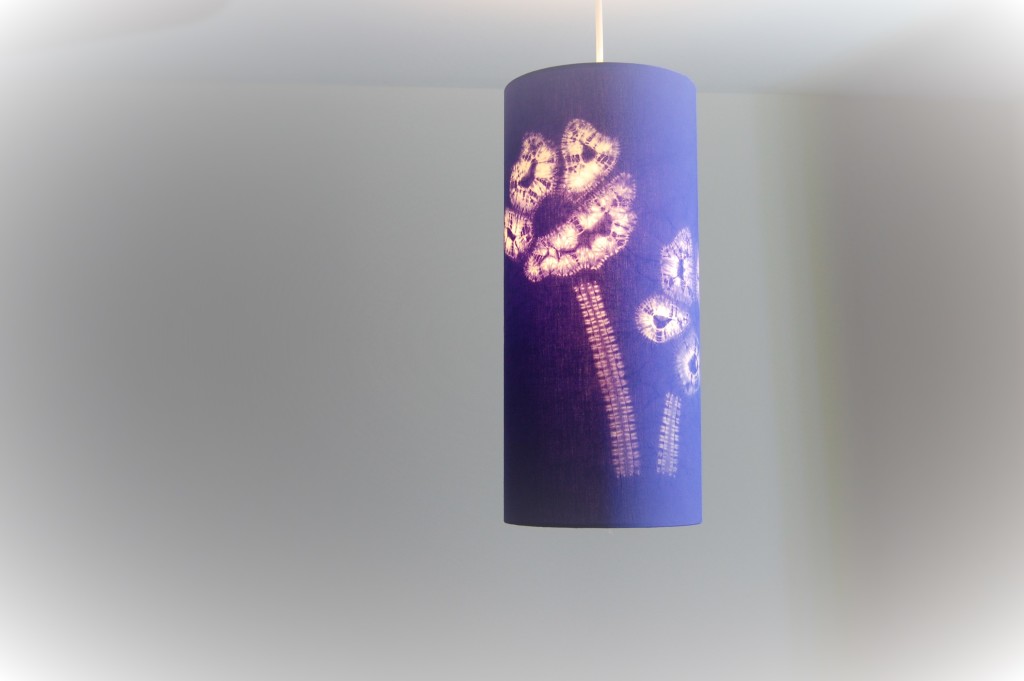

Miru shibori enables you to design some wonderful shapes and patterns. We will look at 4 examples of shapes and designs made by using this technique of shibori stitching. All the shapes made using this method need to be regular shapes as in circles, squares and leaves. Therefore, the pattern has the same outline to both sides of the design. It involves folding the fabric in half and sewing through two layers of the fabric. Furthermore, it is important to draw the whole design before folding so that you achieve the correct shape and feel to your design.
Once the fabric is folded in half it is stitched with parallel rows of stitching between 5mm and 8mm/ 3/16″ to 3/8″ apart depending on the thickness of your fabric. Start stitching on the outside row of your design and work inwards. Make sure this outer row of stitches is neat and small and follows your outline accurately. Inner rows can be a little more slipshod. Additionally, vary the length of stitch, between 3 to 6mm / 1/8” to ¼” long. Also ensure all stiches are staggered in relation to the previous row.
4 Ways of Using Miru Shibori to Create Beautiful Designs
1. A Simple Circle
The simplest form to create is the circle. Always draw a complete circle first and fold in half. Using a pin you can locate and match up the outer edge of the circle to ensure it is folded accurately in half. If this is not done, as a result the circle can appear a little oblong or misshapen.
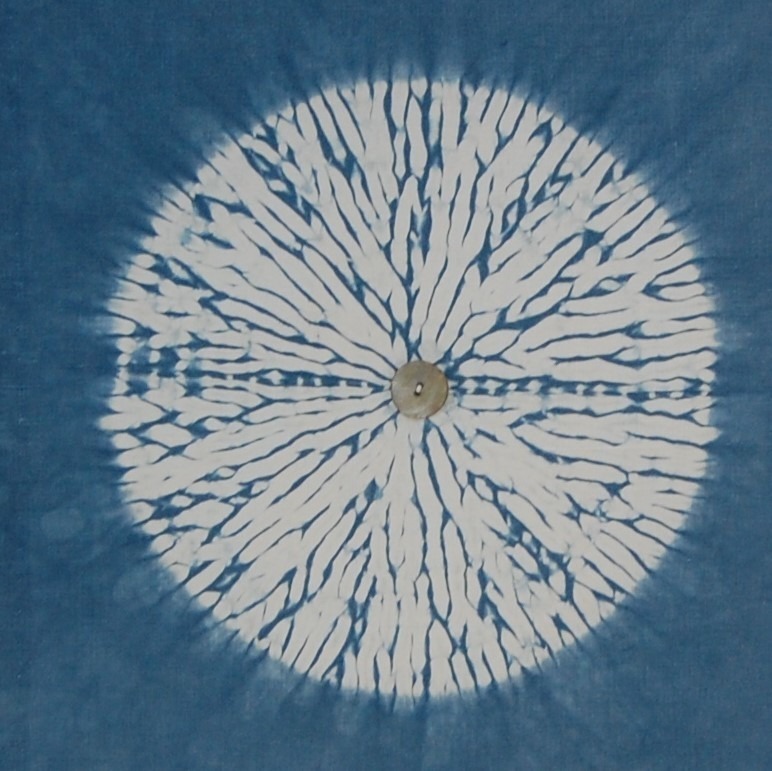
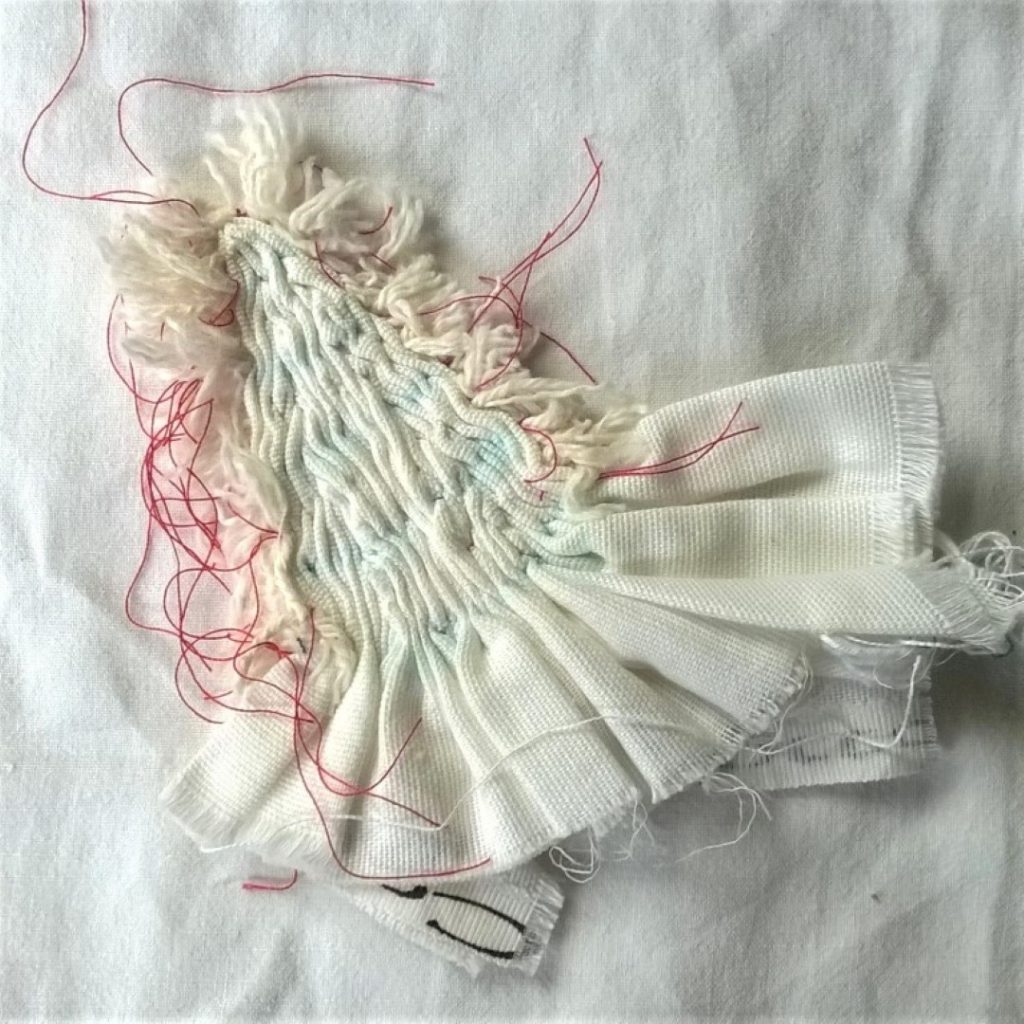
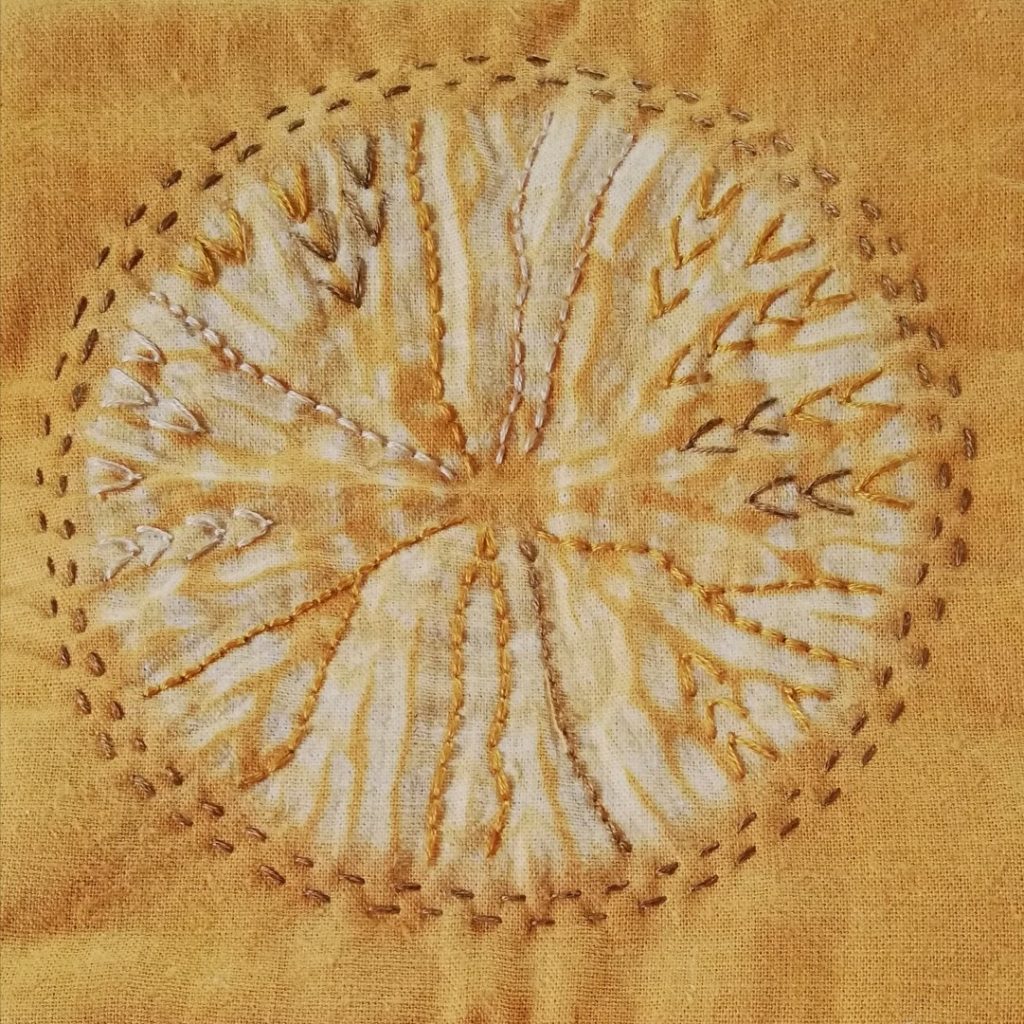
Here is a miru shibori circle dyed with indigo. Then 3 put together as shown at the top of the blog constructs an interesting hanging.
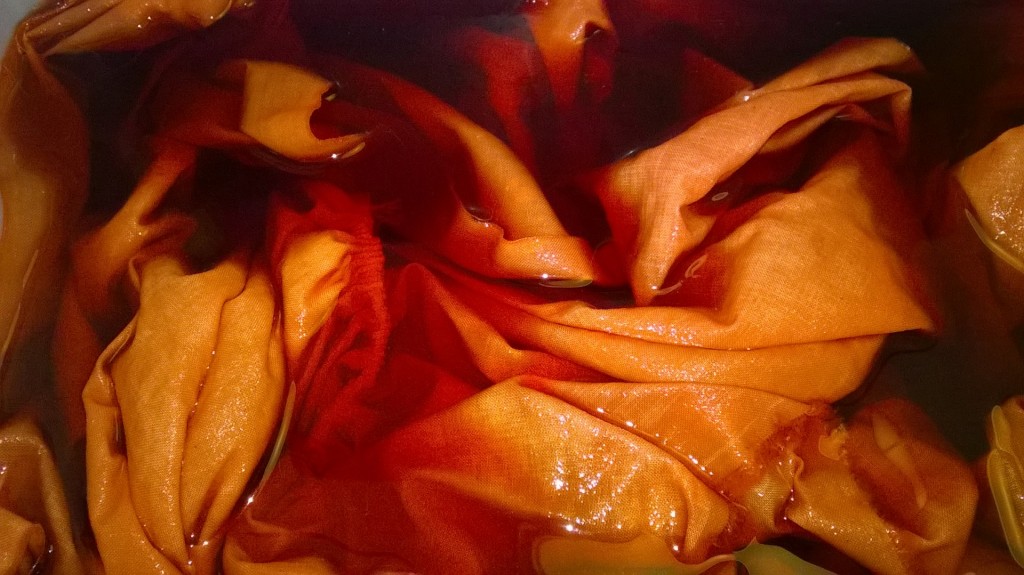
Also, an image of the stitching gathered ready for dyeing. Additionally, once the fabric has been dyed, miru shibori is a wonderful pattern to embroider into as the gold dyed example shows.
2. A Shibori Teasel
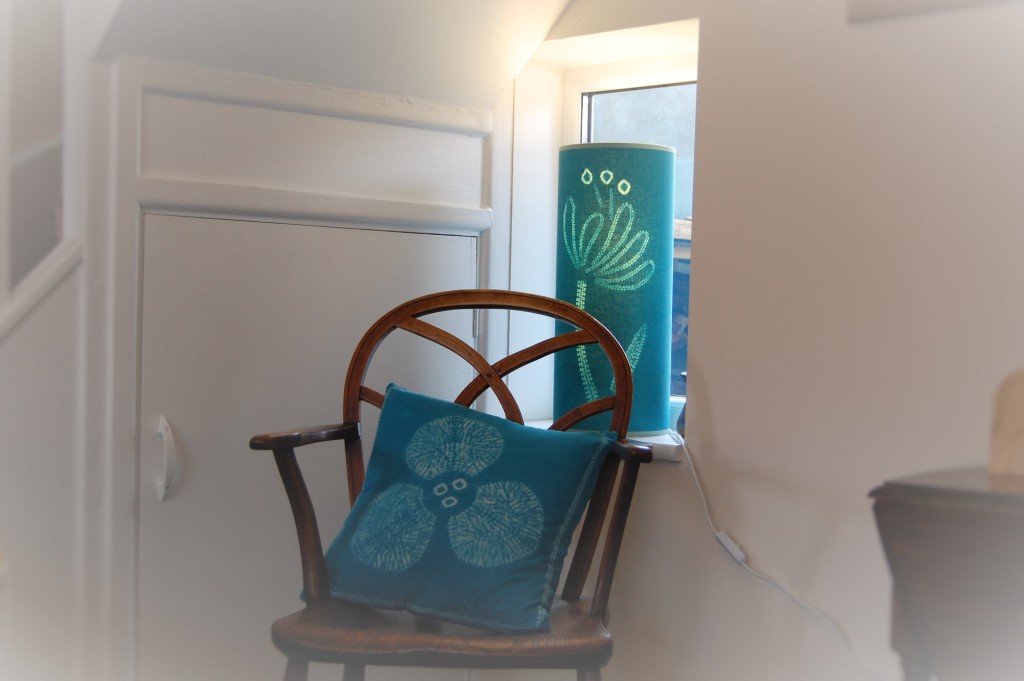
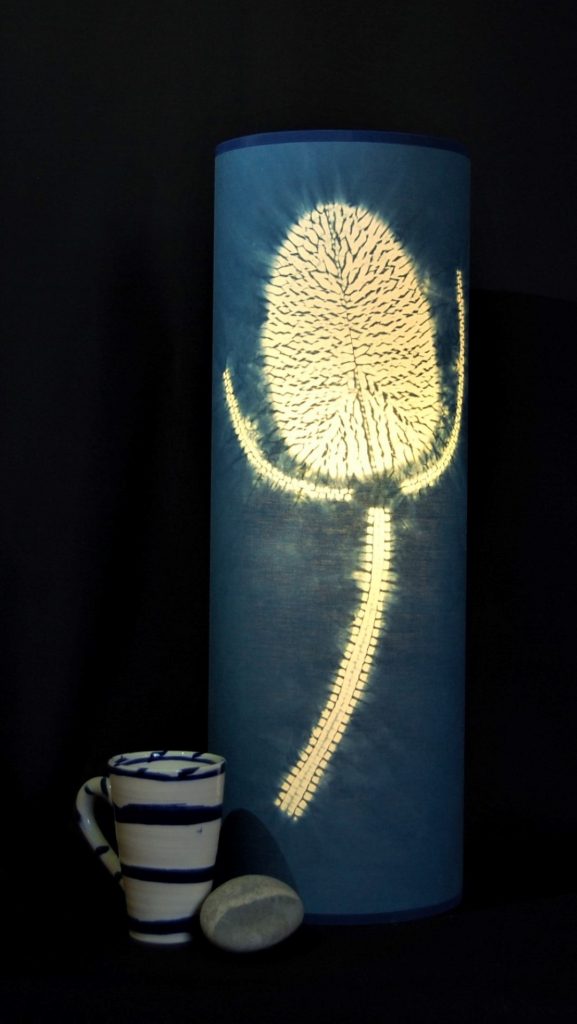
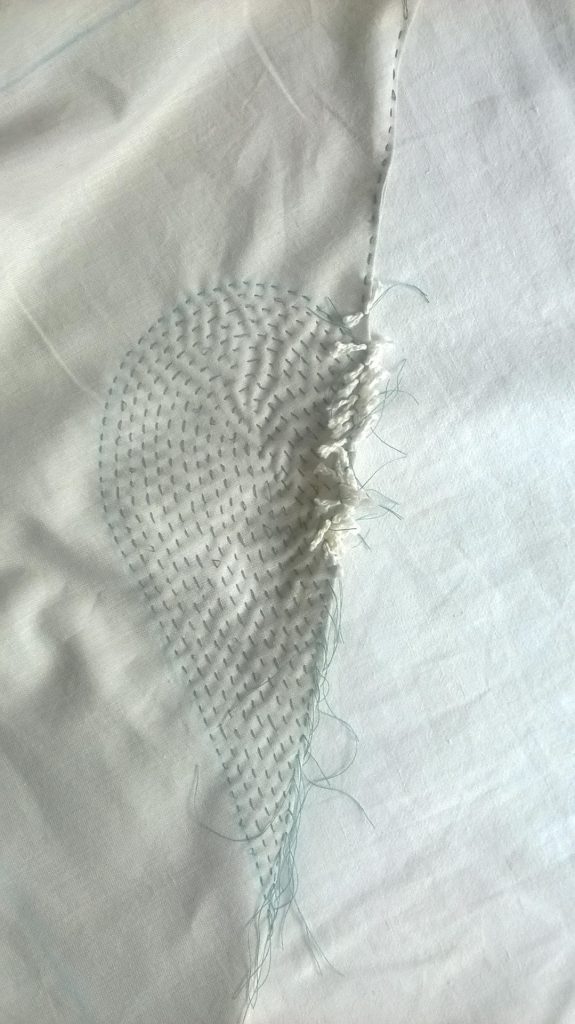
The second example is a teasel shape, one of my favourite designs. The photos show the fabric folded and stitched; the finished design once dyed along with a lampshade made up in the fabric.
You can see how to stitch this design in lots of detail on my YouTube channel
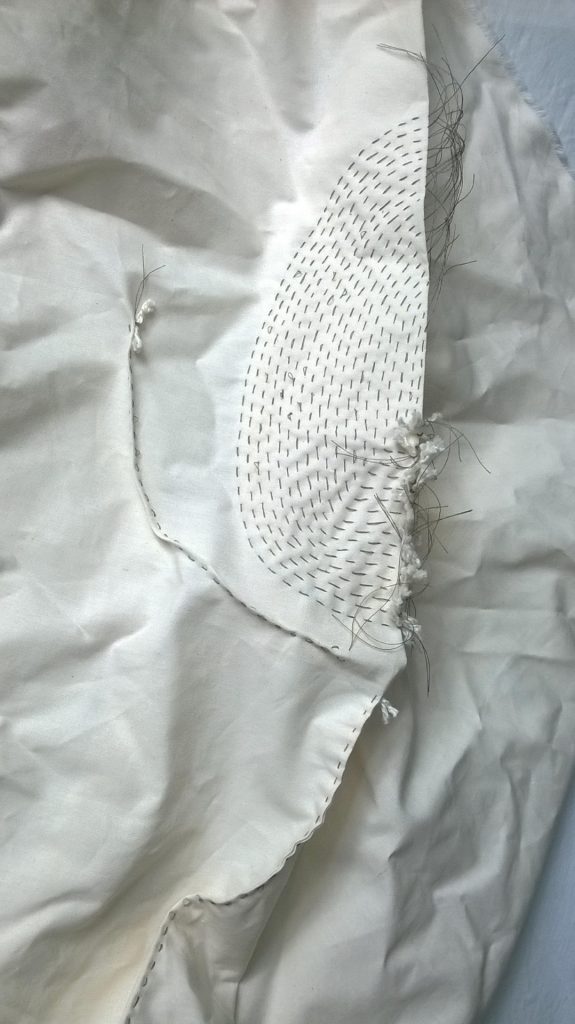
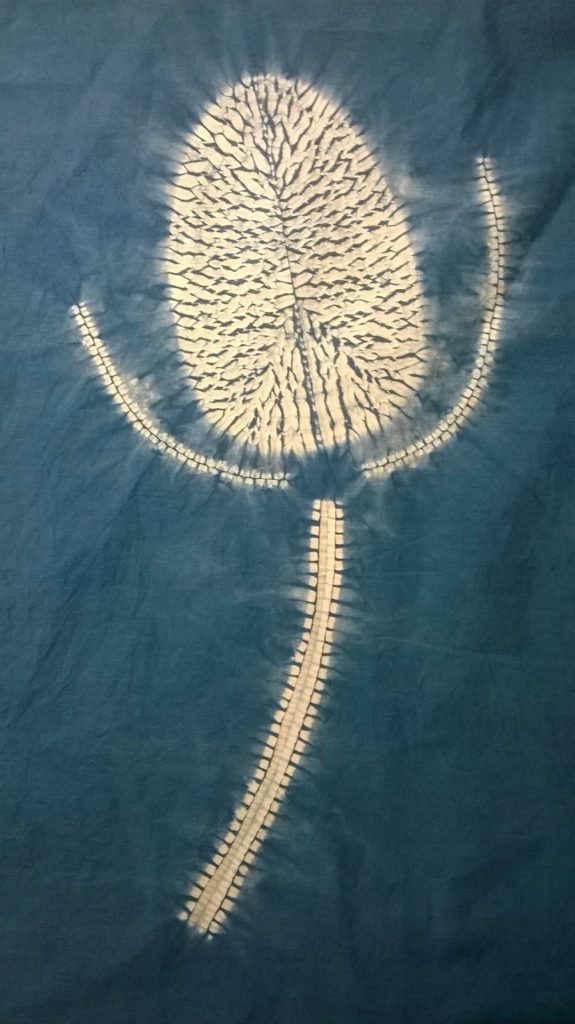
3. A Miru Shibori Lime Leaf
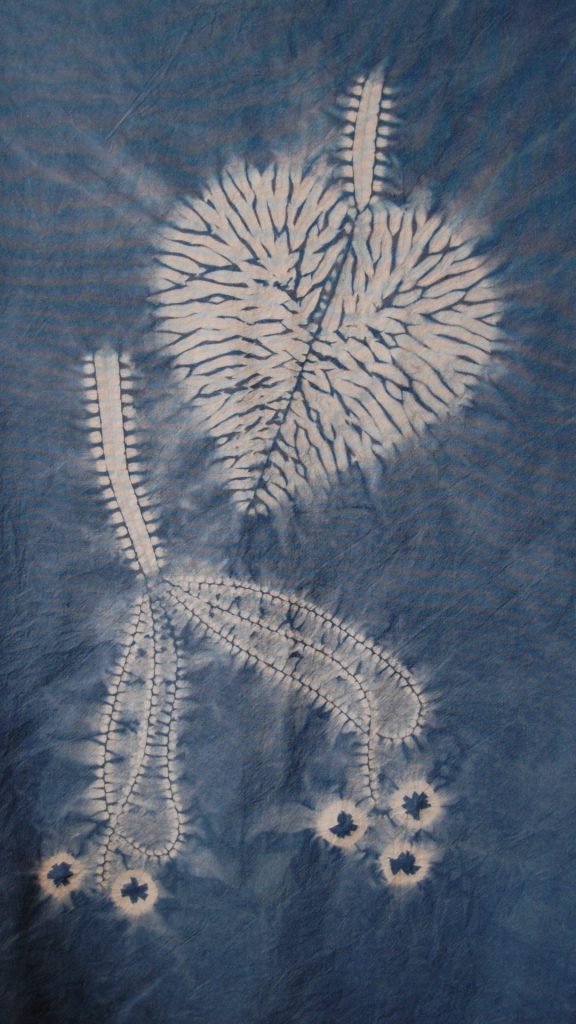
Another design that works well in this method is creating leaves of all shapes and sizes. Here is a shibori lime leaf. A little bit like a heart in shape with a stalk added!
4. An Oak leaf
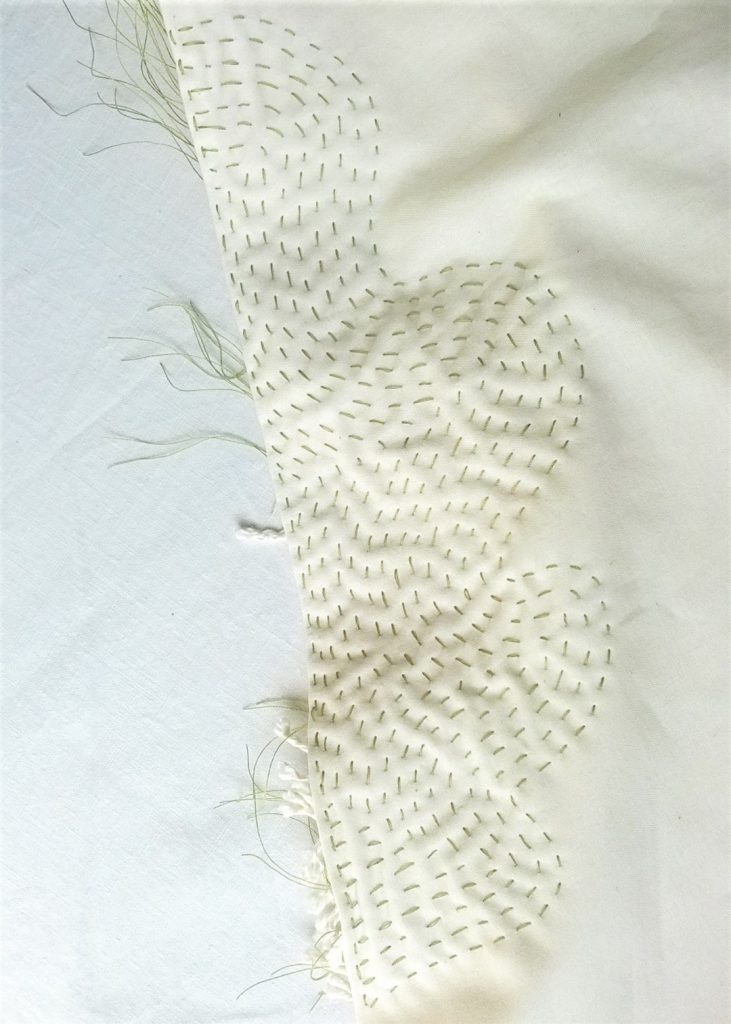
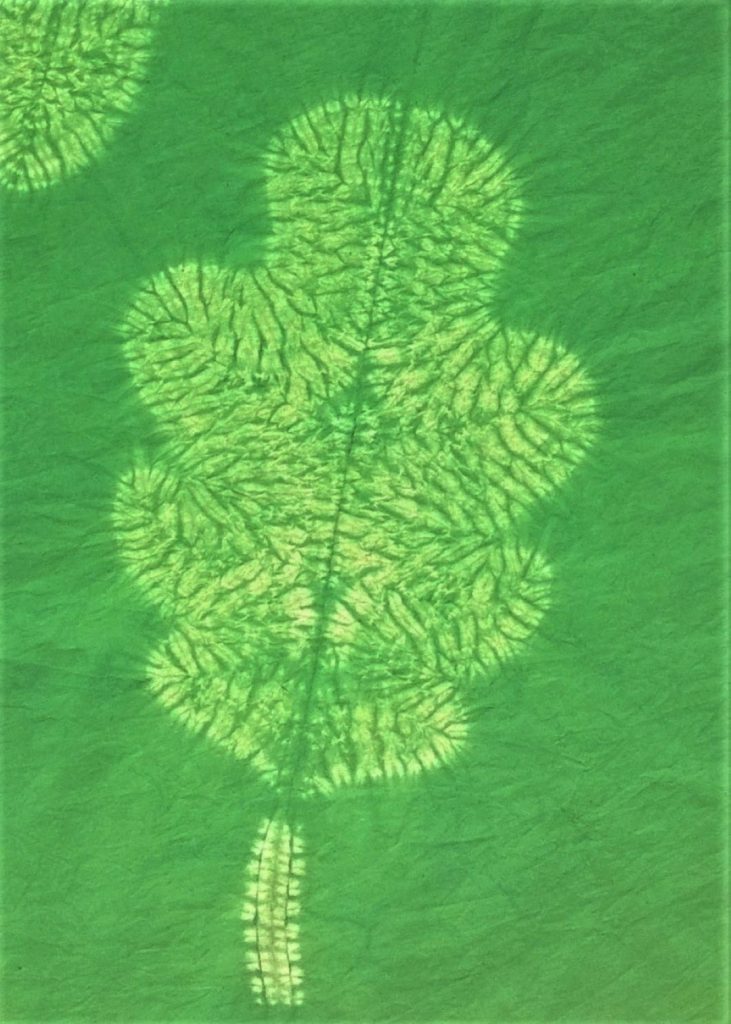
I think this is an example of the limits of miru shibori. The oak leaf just about works but it loses the simplicity of the radiating lines which is the beautiful feature of miru shibori. The outline is just too complicated and the stitching and resulting dyeing crowds the pattern. So keep to simple regular shapes, the design will be much more effective!
Finally
I do hope this is helpful to you. Furthermore, it gives you lots of ideas on how to use this versatile way of working to make some great textile designs.
FREE Shibori Pattern Guide

Join my newsletter mailing list and download a FREE pattern for a Eight Petal Flower.