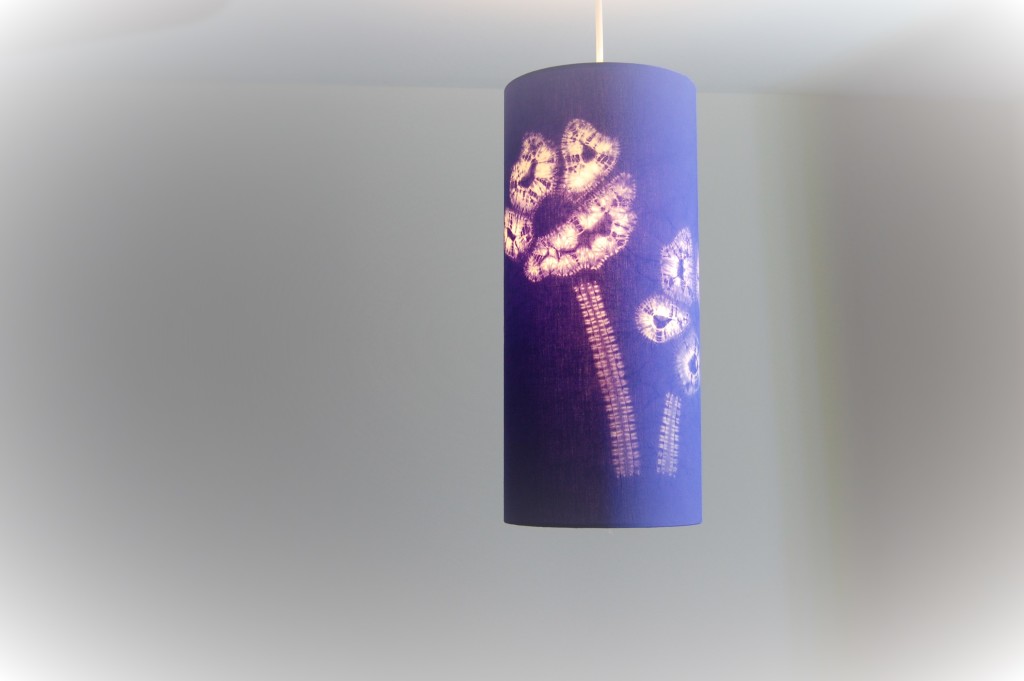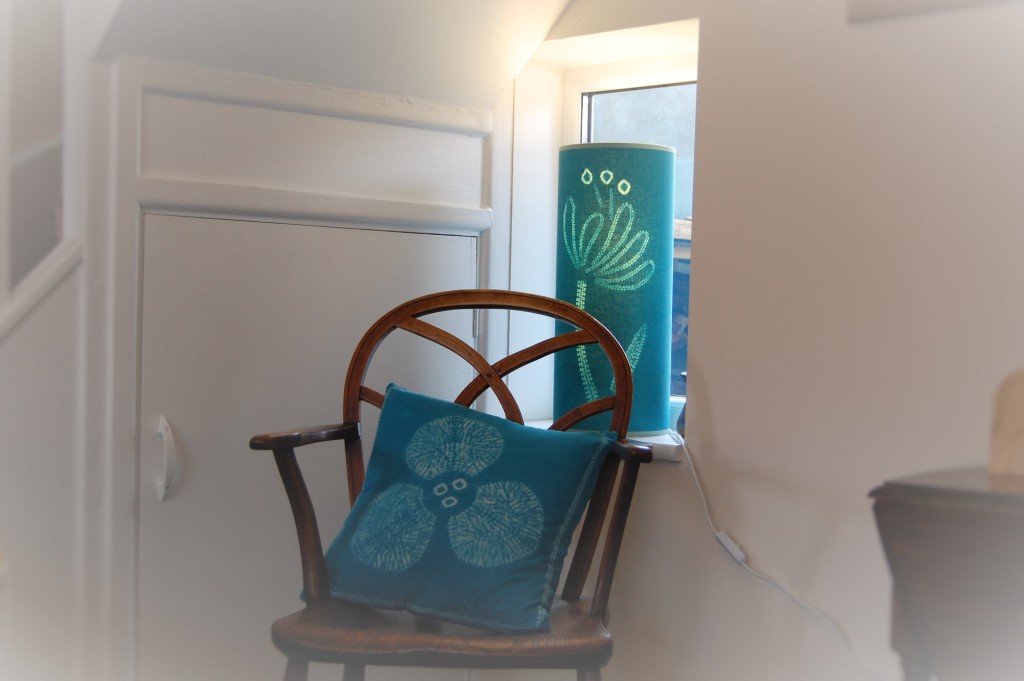
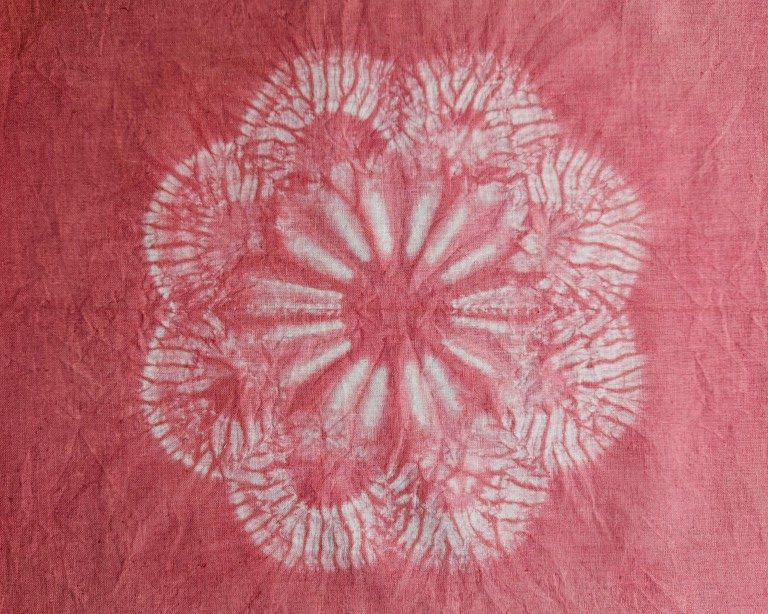
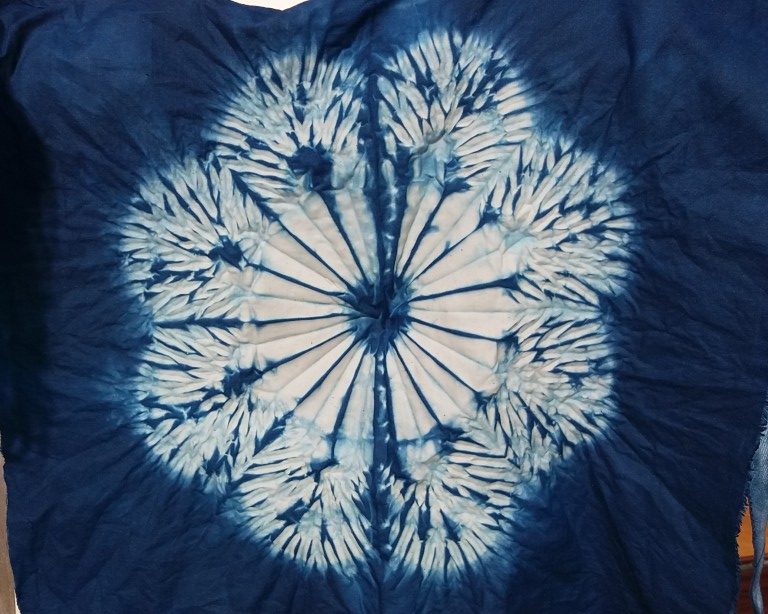
Miru shibori enables you to design some wonderful shapes and patterns, for example this miru shibori flower. This beautiful pattern was originally created by Clare on one of my workshops. It was so stunning I thought one day I would share how it was made with you.
All the shapes made using this miru technique need to be regular shapes as in circles, squares and leaves. See this blog for more ideas using miru shibori.
Let’s Start Creating a Miru Shibori Flower
The pattern for the miru shibori flower needs to be accurately drawn on paper first, otherwise you will not achieve the desired effect. Start by drawing a 26cms diameter half circle and dividing it accurately into 4 equal sections. Also mark each of these 4 sections into 4. Do this with a compass and make your drawing as accurate as possible.
You may want to download a PDF template for a small cost from my website. Here is the link.
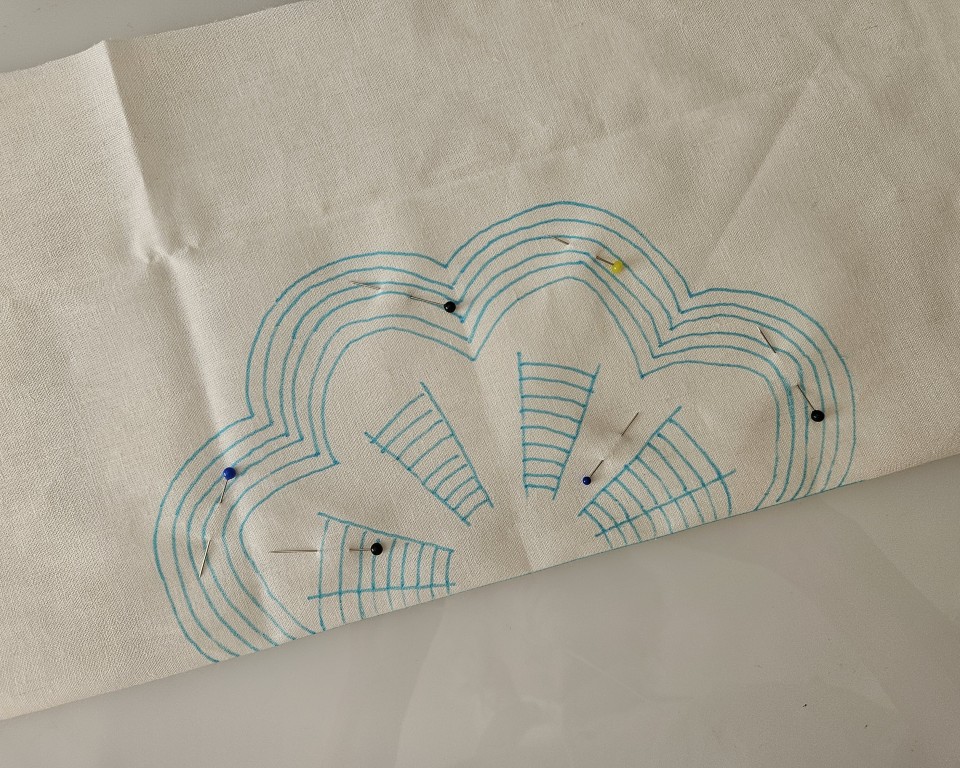
Basically, the pattern has the same outline to both sides of the design. You will be folding the fabric in half and sewing through two layers of the fabric. Therefore, the pattern will eventually form a whole flower with 8 petals.
There are two elements of different stitching. Additionally, the cloth needs to be pinned to hold the two halves of fabric firmly while you sew.
Stitching – The Outer Rows
Each row of stitching, stitched with the thread double, has a small tag at the start of the row to ensure the thread is secured firmly.
We will begin with the six outer rows. These stitches are all staggered to achieve the usual random miru pattern.
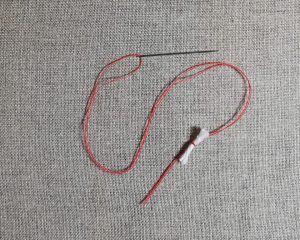
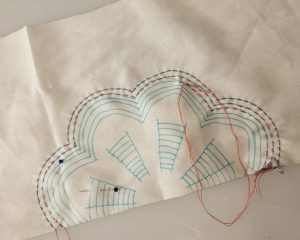
Sew through the folded fabric stitch each parallel row of stitching between 5 to 6mm/ 3/16ths”to 1/4” apart. Stitch 6 rows in this way.
Start stitching on the outside row of the circle and work inwards. Make sure this outer row of stitches is neat and regular and follows your outline accurately. Additionally vary the length of stitch, between 3 to 6mm / 1/8” to ¼” long.
Stitching – The Inner Rows
The inner rows are tapered but stitched in line with each other to form the inner ribs of the flower. These rows are 6mm/ 1/4” apart. The stitching starts on the very edge of the fold, take the needle and thread through the fold and underneath bringing the needle up at the first line of the pattern. After the last stitch take the needle under and bring it up through the fold edge.
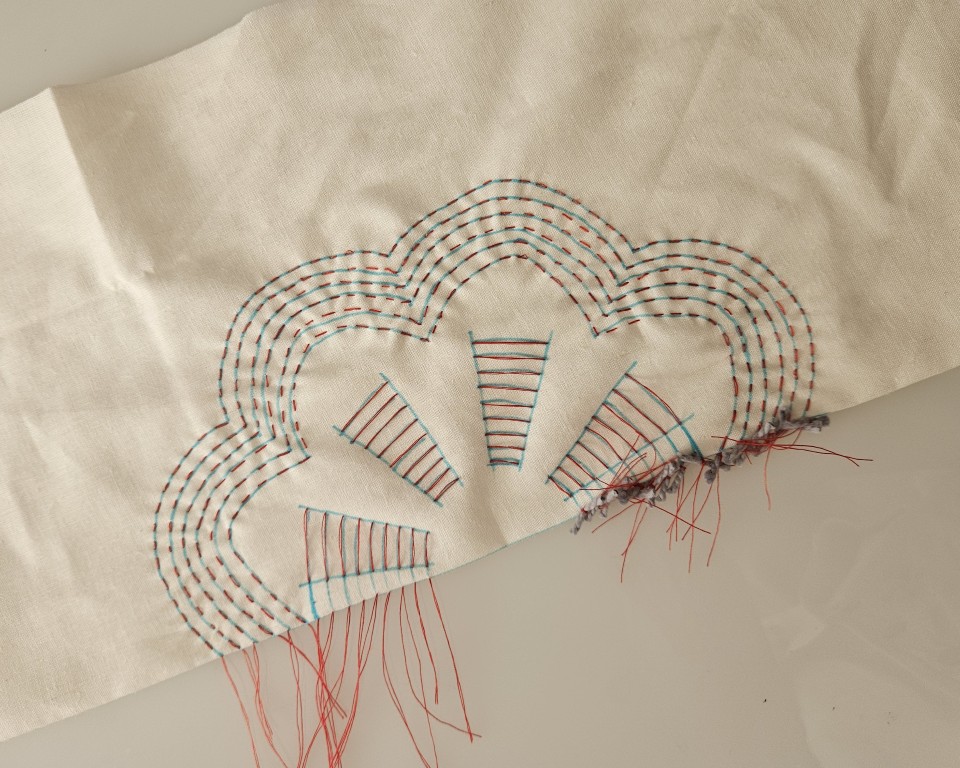
Gathering the Stitching for a Miru Shibori Flower
Finally, once all your stitching is done pull up the rows of stitching and fix another tag at the end to secure the row. Ensure you pull up the stitching evenly and tightly all the way along. If you look carefully, at my dyed and finished flower you will see a little part of my design is not so defined as the rest. Yes, I didn’t pull up the stitching completely tightly!!

The pink flower is dyed with Rit dyes and it can look different dyed with alternative dyes. I am including at the end here the original piece created by Clare and dyed with indigo. You will note the differences between the two. The central ribs are much more defined when dyed with indigo.
Author: Annabel Wilson
FREE FROM AI
This article and all others on the Townhill Studio blog are written by humans. Please enjoy our opinions, expertise, advice and experiences!
FREE Shibori Pattern Guide

Join my newsletter mailing list and download a FREE pattern for a Eight Petal Flower.