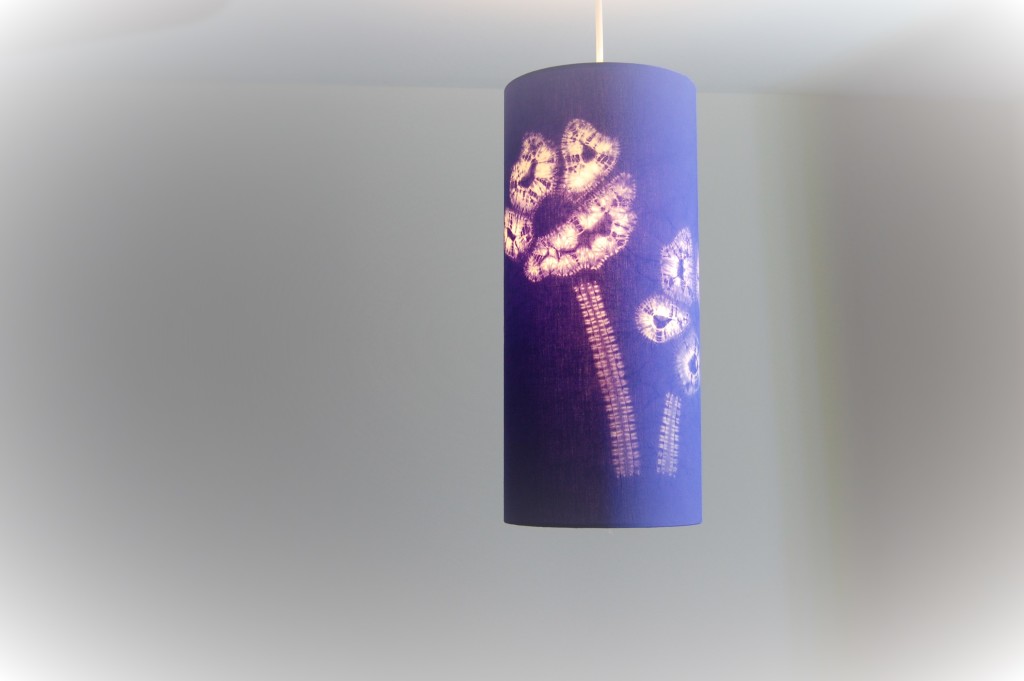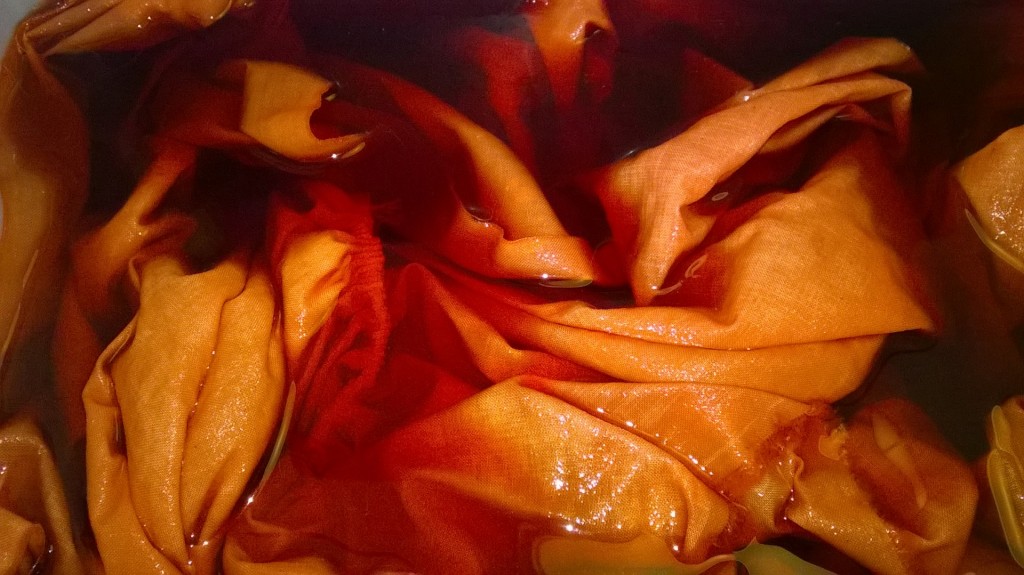
Do you have some shibori dye dilemmas? You do lots of stitching and then after dyeing find a disappointing result. I know from experience how frustrating it is. Today let me share with you what I have learnt over many years. These tips will help you with some common shibori dye dilemmas. Many useful hints that will assist you in getting better results.
7 Tips for Solving Your Shibori Dye Dilemmas
1. Choice of Fabric
Firstly, the choice of fabric is important. With too loose a weave definition will be lost. If the fabric is too thick or coarse it cannot be pulled up tightly enough. To know more go to another blog click here.

2. Use Tags to Secure Stitching
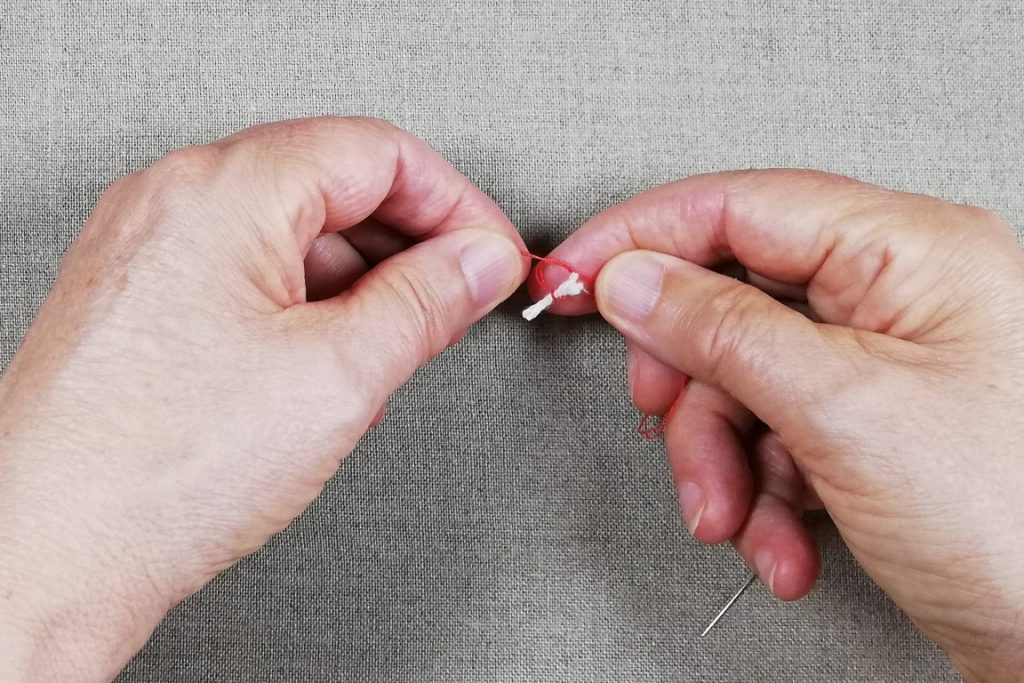
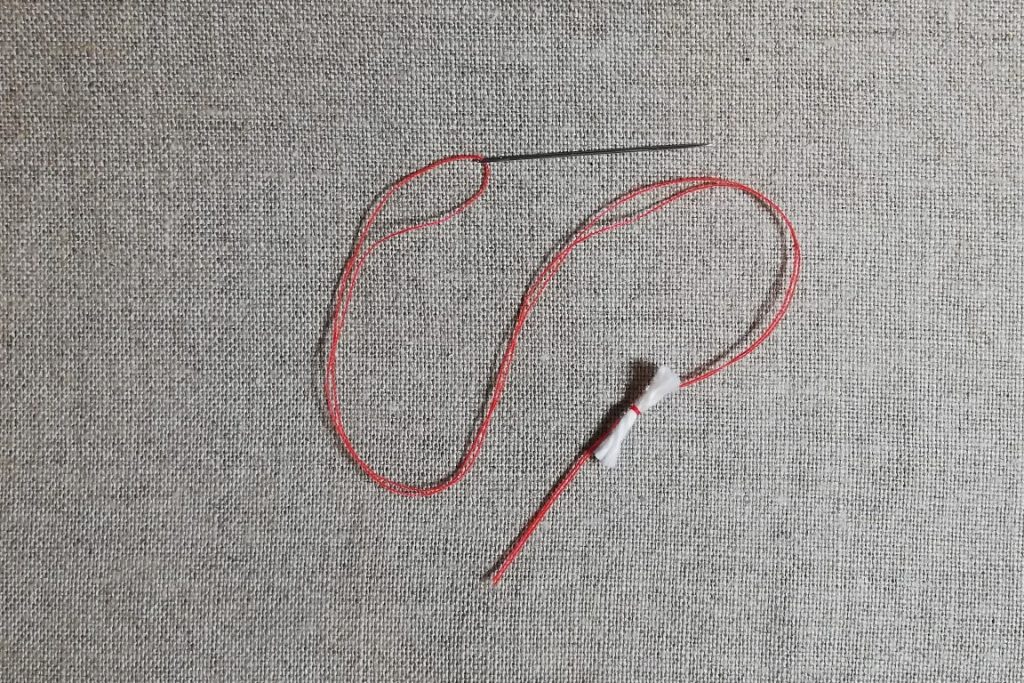
Likewise, the use of tags at beginning and end of rows of sewing is really helpful. It enables you to pull the fabric up tightly and secure the stitching. This will stop any unnecessary penetration of the dye.
3. Choose a Simple Design
Additionally, another good tip is start with a SIMPLE design without too many elements. Begin with the straightforward ori-nui patterns. Keep your stitching well-spaced from the next row to make sure it can be pulled up strongly and easily.
To discover some simple shibori patterns do sign up for my online course “Create A Collection of Flowers in Shibori Stitch Resist” This will give you many straightforward patterns and ideas to follow with video instruction. It is a great way to start your shibori journey.

4. Sew a Good Length of Stitch
Avoid making too short a length of stitching. To clarify, it is much more challenging to pull up a short length of stitch tightly and therefore more difficult to get a good resist. As you grow in experience you will find that you can make shorter lengths successfully.

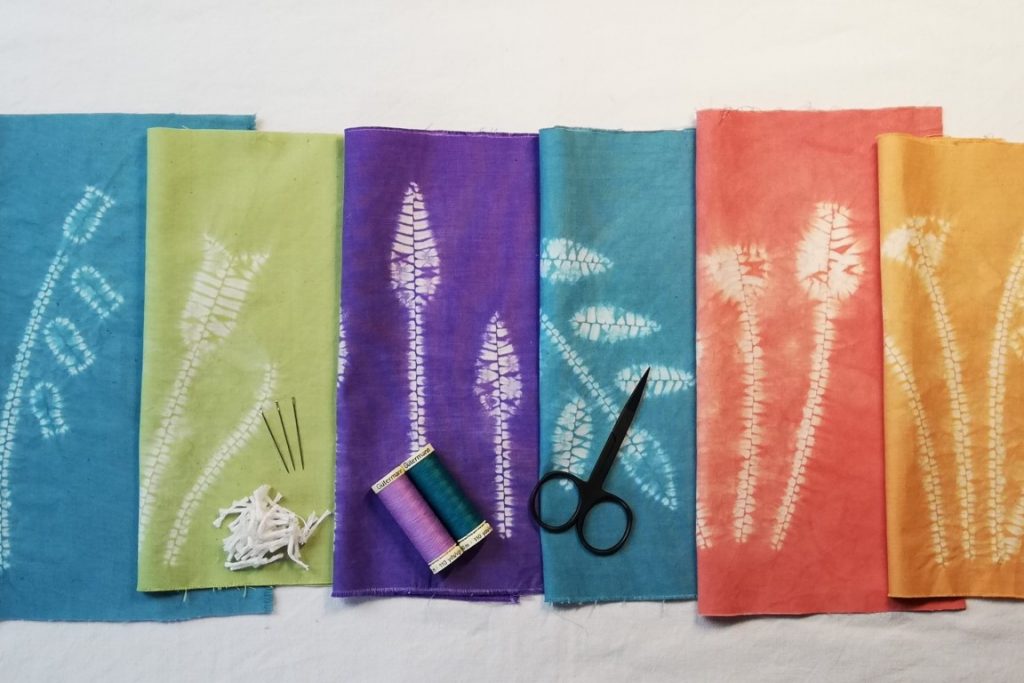
5. Selection of Dye Colour
Next, the selection of the dye colour is important. Always use a strong clear colour, pale tints are no good for getting good definition. Here are examples of good colours to use for your shibori.
6. Carefully Weigh Fabric and Dye Quantities
With chemical dyes a common error is to use too much dye for the weight of fabric. This is very relevant when using Procion/Fibre Reactive Dyes or Rit dyes. These are very concentrated dye and if too much is added you will find colour seeps into the stitched areas. Therefore, take a note of the dry weight of the fabric and weigh out the corresponding amount of dye needed. Here is my blog with more information about dyeing with fibre reactive dyes.
7. Carefully Time Your Dyeing
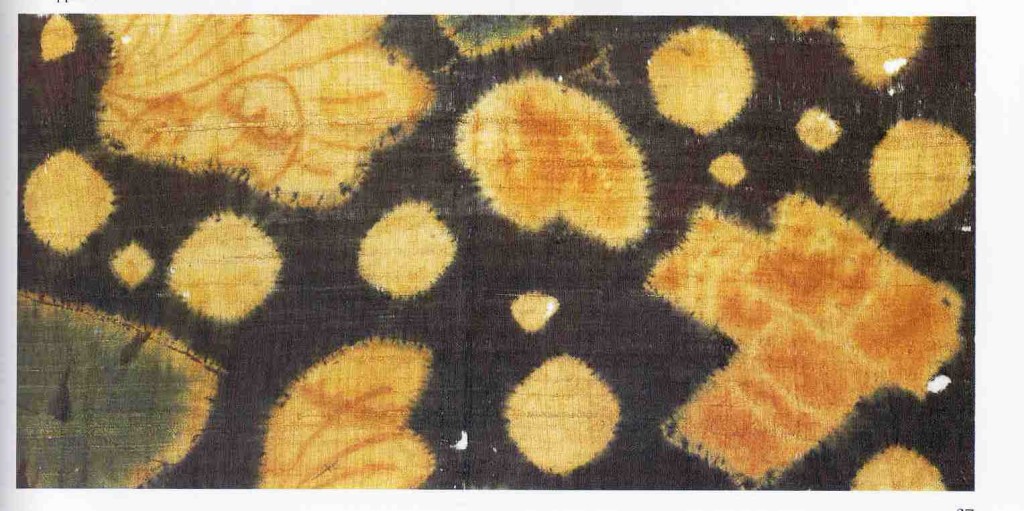
When dyeing, do not keep the item in the dye pot too long. As a consequence, colour can seep in. This is particularly true with natural dyes. I have experienced this effect using onion skins. Sometimes this can give an interesting effect! But it may not be what you want. I share with you my shell design dyed with onion skins where I lost some definition. We all make mistakes and then the best thing is to learn from them.

I hope my 7 tips for solving you shibori dye dilemmas prove useful to you. If you have any more queries about dyeing and how to get the best result just email me via the website. Happy Sewing!
FREE Shibori Pattern Guide

Join my newsletter mailing list and download a FREE pattern for a Eight Petal Flower.