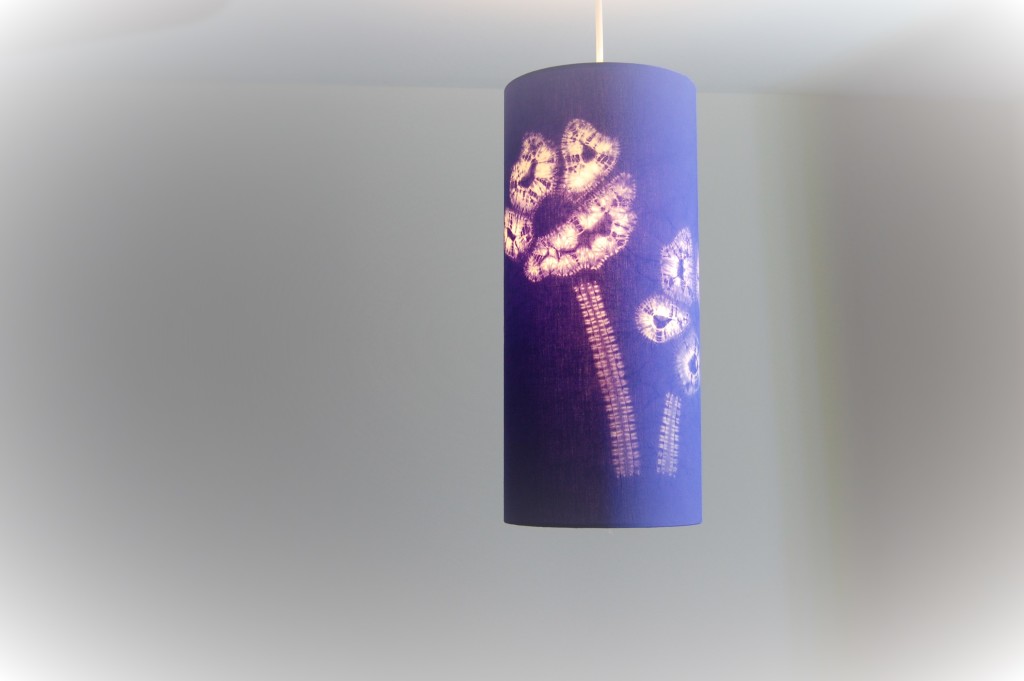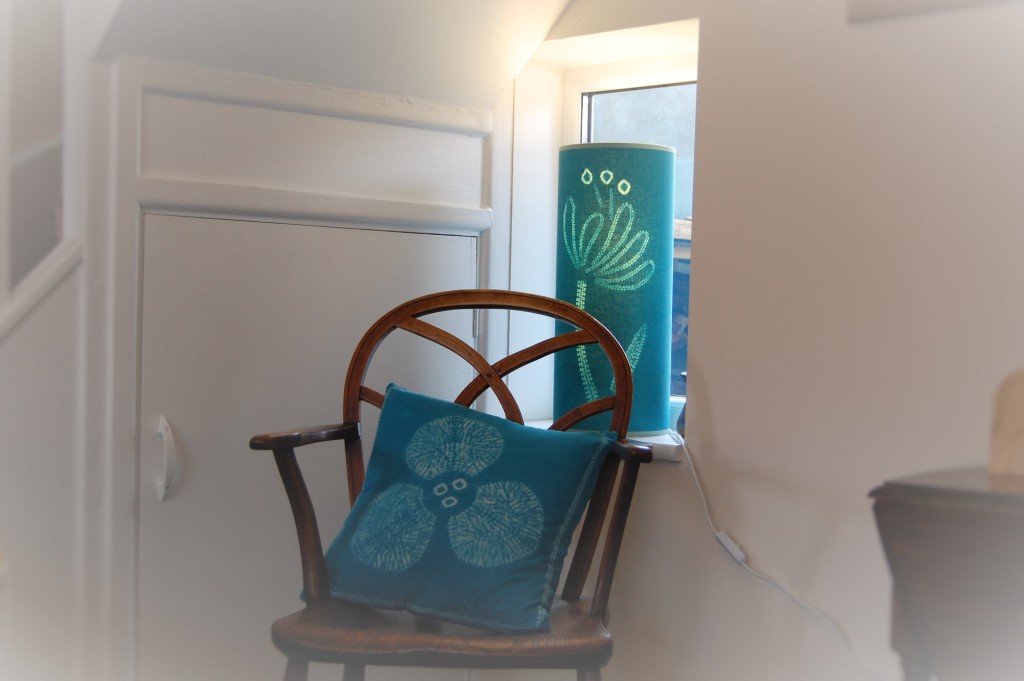
This sparkling shibori snowflake is an easy design to create using simple stitching. I love to call shibori sophisticated tie-dye, it immediately tells you the principle of shibori. Shibori uses stitches instead of just tying the fabric to create a resist before dyeing.

In this pattern we will use maki-age, maki-nui and some straightforward running stitches. A design that is reasonably easy for a beginner to shibori to make. But it will take an hour to one and a half hours to stitch.
In searching for inspiration, I found out about Wilson (snowflake) Bentley the first person to photograph snowflakes. There is an amazing collection of snowflake photos in the Buffalo Museum of Science. Have a look and get inspired!
First Steps
Choose a lovely soft cotton piece 30cm/12” square. Please look at my general blog “10 Helpful Hints for shibori sewing” about useful tips for shibori sewing before you get going.
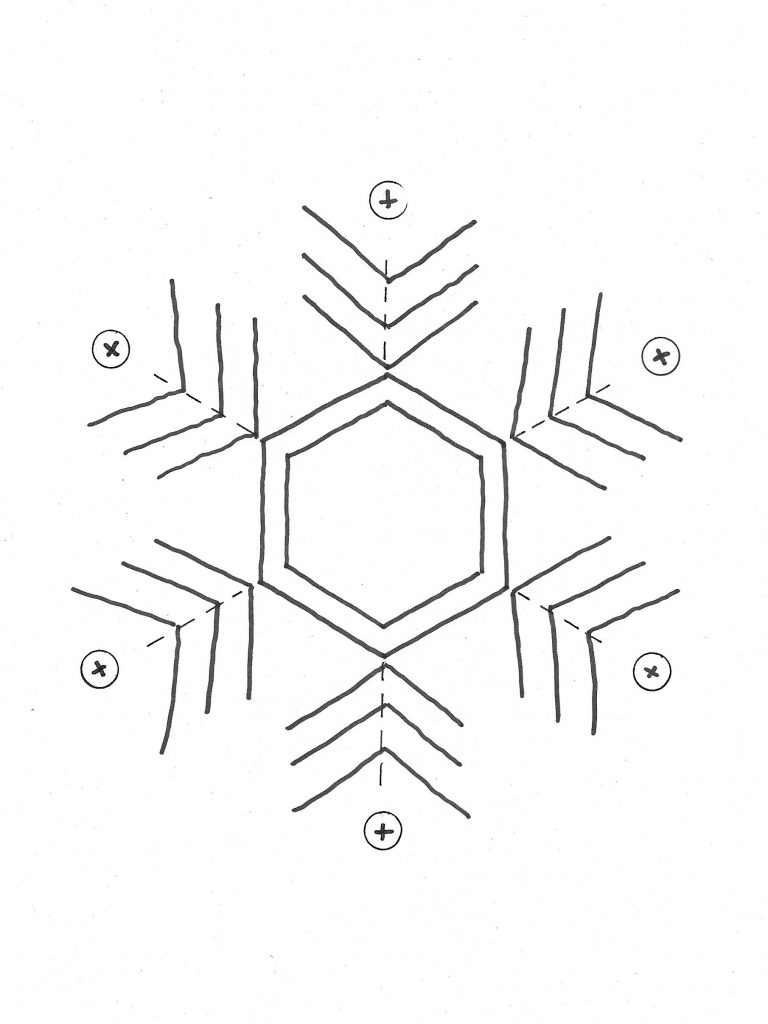
Save and print the design at 14cm or 5 ½” across. Trace the pattern on to your fabric with a water-soluble fabric marker pen.
How To a Sew a Sparkling Shibori Snowflake Pattern Step by Step.
The design is made up of three different stitch patterns.
Each row and line of stitching is sewn in double thread and has a small tag inserted at the end to stop the thread pulling through. Start all stitching form the centre of the snowflake and work outwards.
1. First working on the reverse of the fabric attach 6 beads (2 to 3mm or 2/16”) with a small stitch to each end of the snowflake spines. The beads will be bound in at step 4.
2. Secondly, stitch around the outline of the six-sided (hexagonal) central shape. Leave a long thread for tying later. Then stich another line of stitching 6mm/1/4” inside this line of stitching. Again, leaving threads for gathering later.
3. Fold and crease the fabric with thumb and forefinger along the lines radiating from the points of the hexagon. Next is to stitch 3 short rows through both layers of fabric starting from the outer edge towards the fold. This stitching creates the feathery effect of the snowflake spines. Leave the threads for gathering.
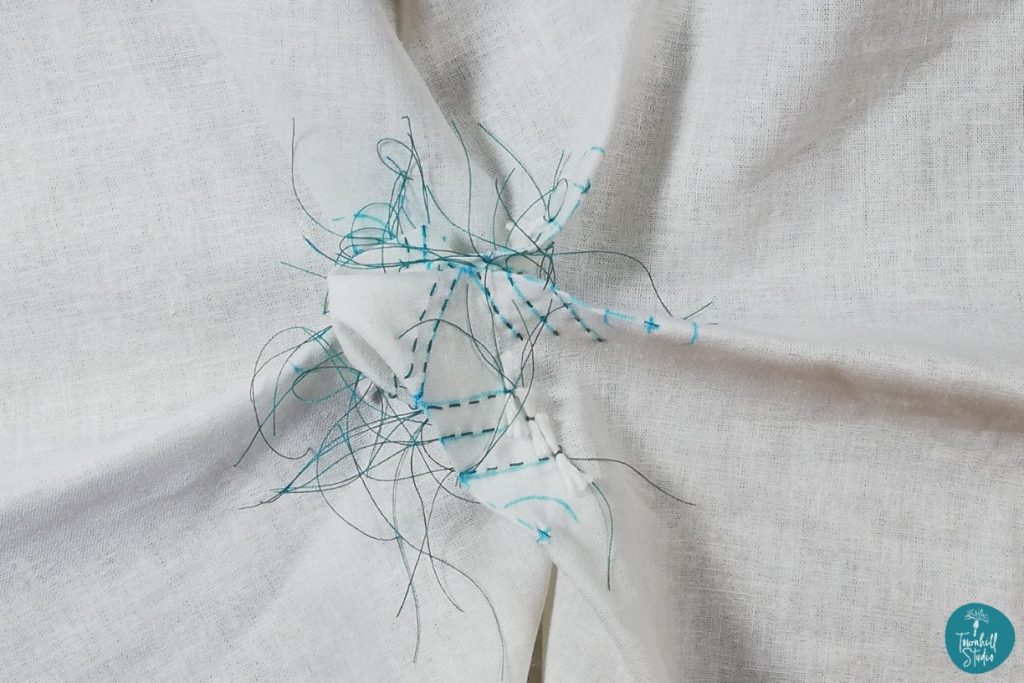
4. Finally tie a fingering weight/2 ply thread three times around the beads at the ends of the spines of the snowflake. Illustrated below.

Gathering and Completing the Design
Once steps 1 to 4 are complete, begin by pulling up the central hexagon. Pull both lines of stitch and secure tightly. Taking a heavier weight thread bind the central pouch you have created. But only bind from the second, interior row of stitches. The last step is to pull up each row of stitching and secure with another cotton tag. Ensure you pull all the way to the end of each short row. The gathering ensures the dye does not penetrate the design and creates a resist.
The very last action is to choose your dye colour and very finally dye your stitched shibori piece.
If you enjoy making this pattern you may like to sign up for my online course “Create A Collection of Flowers in Shibori Stitch Resist” This will give you many more patterns and ideas to follow with video instruction.
Take a look at my other two shibori snowflakes that you might like to make. One uses all ori-nui shibori, the other a combination of stitches as the snowflake I describe above.


Hope you enjoy experimenting with snowflake shapes and patterns. There could be thousands of variations as in real snowflakes. Do let me see what you do.
FREE Shibori Pattern Guide

Join my newsletter mailing list and download a FREE pattern for a Eight Petal Flower.