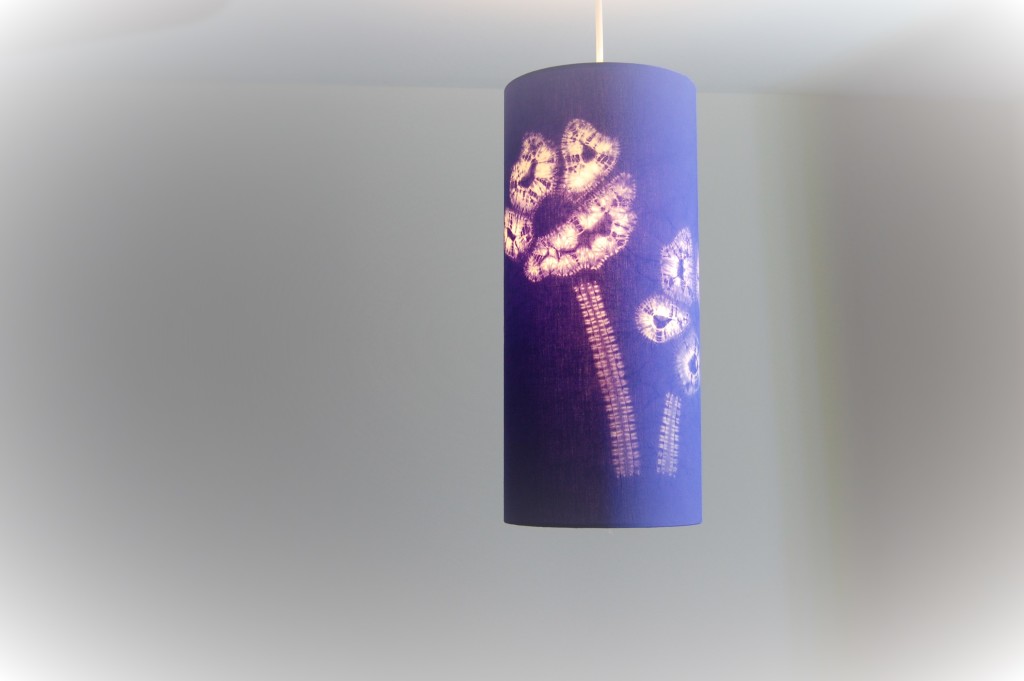

Create this golden spring flower in stitched shibori, another straightforward pattern for you to make. This is a minor variation on the 8 petalled flower you can receive as a free download when signing up to my email newsletter. A link for signing up at the bottom of the blog page.
I will show you step by step how to make this flower in stitched shibori. You will need rather dextrous fingers, but nonetheless I have used only two shibori techniques to create this golden spring flower. The two techniques are ori-nui and maki-age shibori.
Step by Step Guidance for a Flower in Stitched Shibori
1. Firstly, select a piece of fabric 25cm or 10” square.
2. Use a washable fabric marker. Draw a circle 12.5cm/5” diameter on the centre of the fabric. This is the overall outline and extent of the ends of the petals. Then add two more circles in the centre at 2.5cm/3/4” and 4cm/1 ½”. Additionally add each of the 8 petals which are 3.5cm/1 ½” long. Indeed, use my design drawing to guide you to create your template. It is important to make the 8 divisions equal to make a successful pattern.

3. Sew around the two inner circles of stitching, leaving long threads for pulling up later.
4. Next create each of the 8 petals. Fold the fabric exactly in half for each individual petal. First stitch the outline of the whole petal with simple running stitches through two layers of fabric starting at the centre of the flower. Using a small cotton tag tied in the end of thread to stop the thread pulling through when you come to pull the stitching up.

5. Then sew a second line along the fold of each petal, stitching 2mm / 1/16“away from the fold. Take care not to catch the previous row of stitching. Again, start at the centre of the flower and stitch away from the centre. This all makes it so much easier when you gather it up.
6. Repeat this, 7 more times, for each petal.
Step by Step Guidance for Gathering the Flower
1. Finally it is time to gather up the stitching tightly and evenly. Start with the two circles in the centre. Pull up and tie tightly.

2. Then using a 3 ply or fingering weight thread bind around just the inner circle shape. Finish off by tying a reef knot to hold it securely.
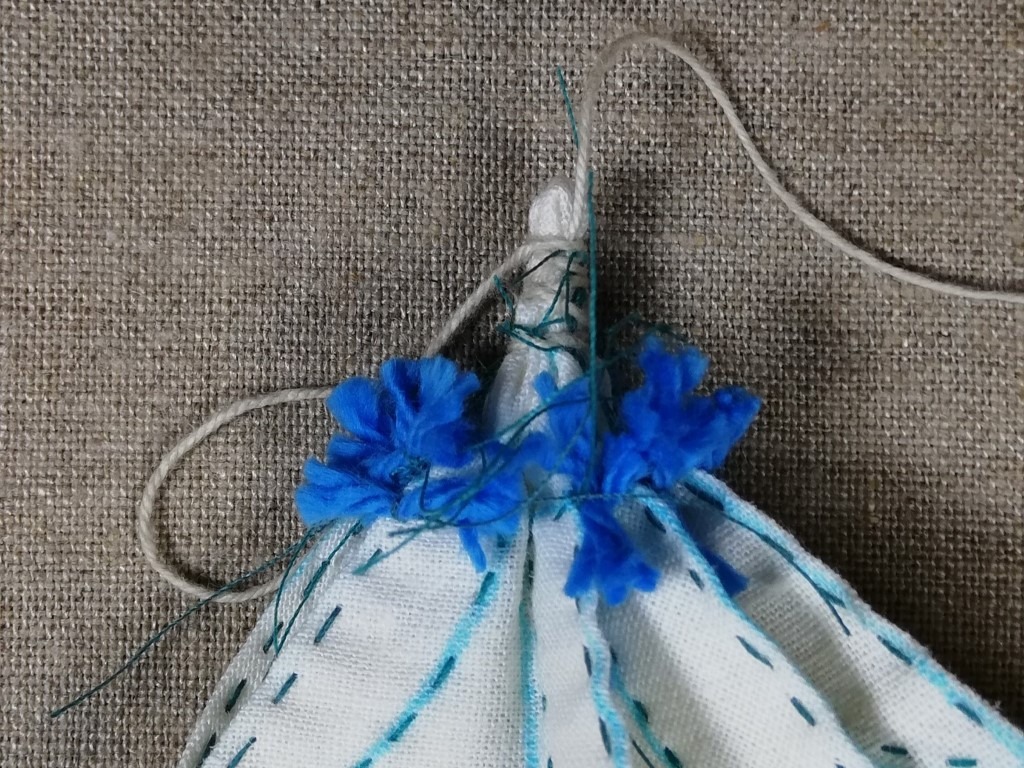
3. Next step is gather each petal. After pulling up each row, separate the two threads at the end of each row of stitching and tie a small piece of thick wool or cotton to pull the fabric up tight against. The tighter the thread is pulled the clearer and sharper the final result will be. Work methodically round each petal until all the stitching is gathered.
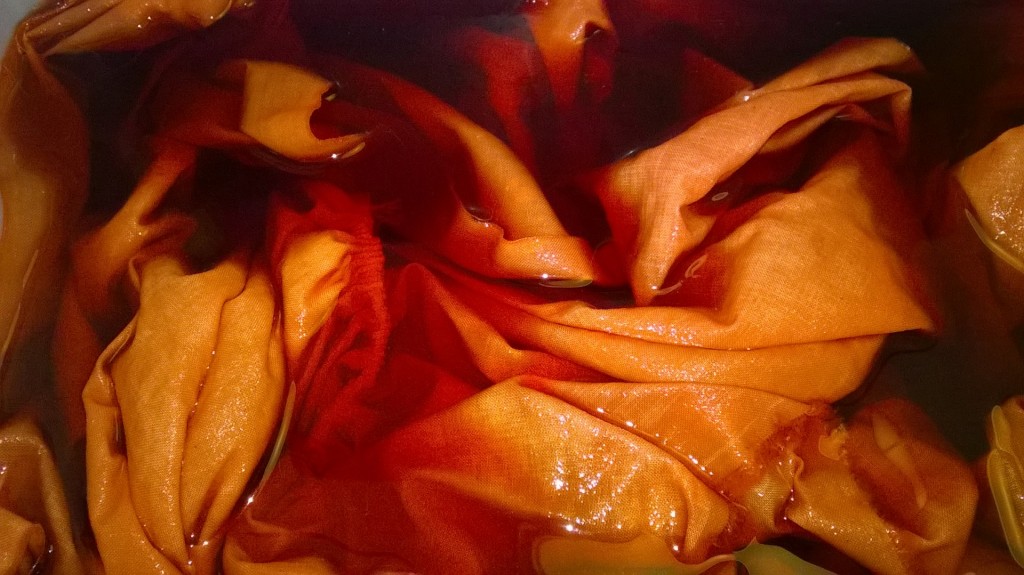
In conclusion to complete the project you need to dye the fabric. If using natural or chemical dyes always weigh the dry fabric. Then soak in water before dyeing. Here I have used marigold Rit dye to create the warm soft gold.
There are many variations on this pattern, perhaps you will explore them. Different petal sizes, different centre sizes, stitching closer or further apart. I am hopeful you will get pleasure from making this flower and it inspires you to play with the pattern and make other flower shapes and designs. Happy sewing!
Do share your results on Instagram @townhillstudio
FREE Shibori Pattern Guide

Join my newsletter mailing list and download a FREE pattern for a Eight Petal Flower.