I enjoy finding plain clothes to repurpose with shibori. To find a second-hand piece of clothing and pattern it with stitched shibori. I am going to share how I repurposed this top with shibori. It may help inspire you to do the same.

For me keeping the designs simple is key. Therefore, an uncluttered and straightforward pattern is always pleasing. To develop the pattern ideas that I want to use to repurpose with shibori, I took a photo of the plain top and then drew my suggested design ideas on to that photo. Once you are satisfied with your design transfer the design using a water based removable fabric marker.
I bought this Monsoon brand top from a second-hand shop. I have used a number of different shibori techniques; maki-age, ori-nui and boshi shibori.

Stitching Step by Step to Repurpose with Shibori
Let’s take each motif and look at how it is made. If you haven’t done any shibori before refer to this blog to find helpful hints on sewing with shibori.
1. Maki-Age – For the Floating Flowers
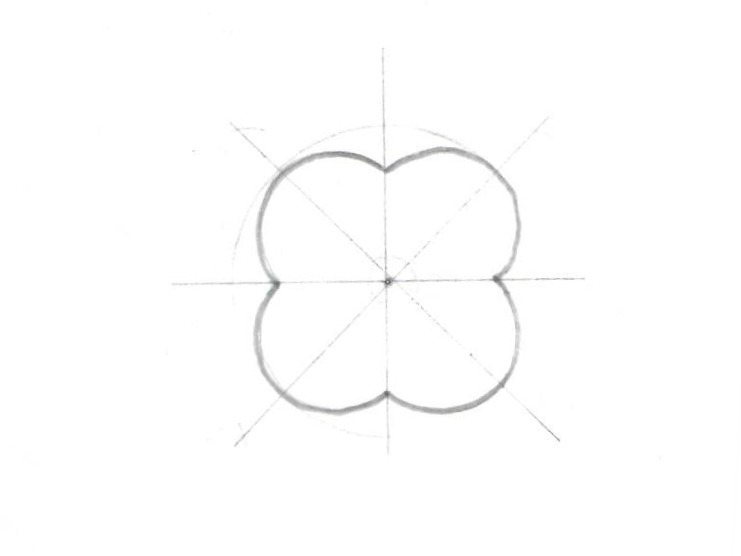
I used this simple 4 petal flower shape. Consequently tracing the pattern and dotting it all over the top. The next step is to sew small running stitches around the outline of the shape with a double thread, leaving the ends free.
2. Ori-Nui to Create the Flower Stems
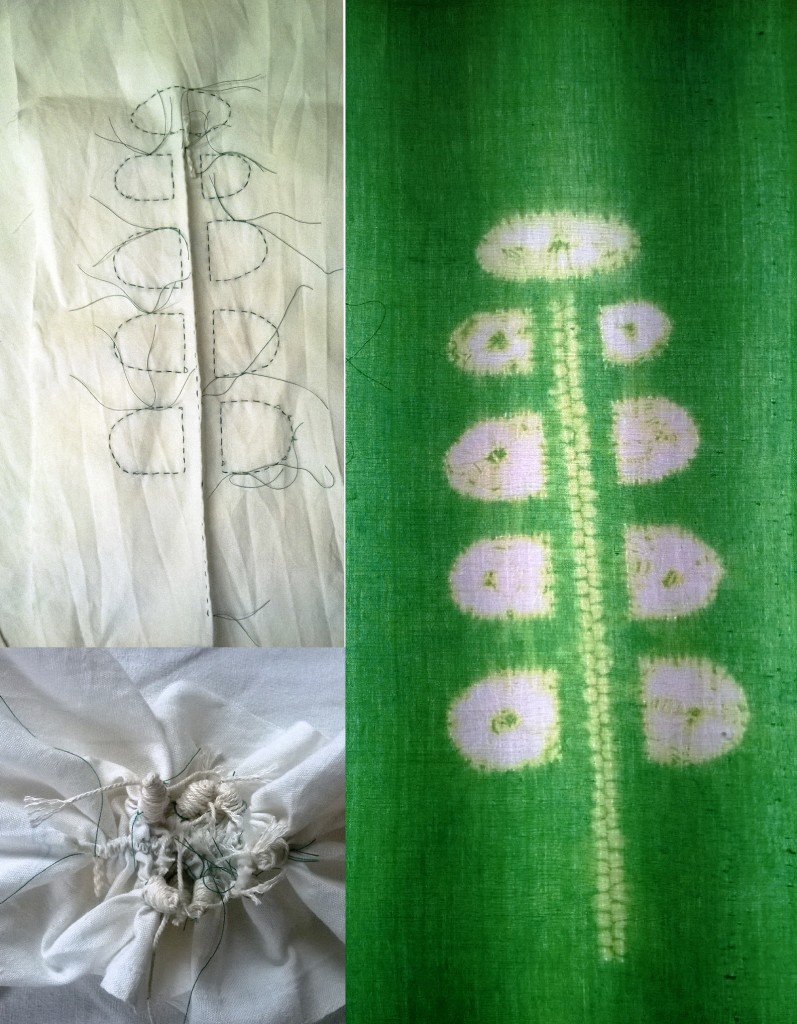
Use ori-nui stitch to make the stems. Fold the fabric along the line of the stem. Prepare your double thread with a tag in the end. Then begin stitching 2mm / 1/16“away from the fold, through both layers of fabric. Maintain this regular distance away from the fold. Stitch the short row, stitch length can vary but approximately 3mm / 1/8”long will give you a neat regular pattern.
3. Gathering the Flowers
Pick up and pull up tightly, the free ends of the 4 sided flower shape. Thereby creating a pouch of fabric, finishing with a knot to secure the shape. Subsequently, bind the fabric using a fingering or double-knit weight thread. Begin by tying a knot at the base of the shape and work up the gathered fabric, crisscrossing the thread until the top is reached and then tie the ends together.
Using both strands of thread gather up the short stem lengths by pulling the stitches up . Ease the fabric firmly but gently, back to the beginning of your row. Ensure the stitches are arranged evenly, to nestle evenly and tightly next to each other. Separate the two threads and tie another tag between the threads to secure the stitching.
This is illustrated here.

4. The Hem Edge
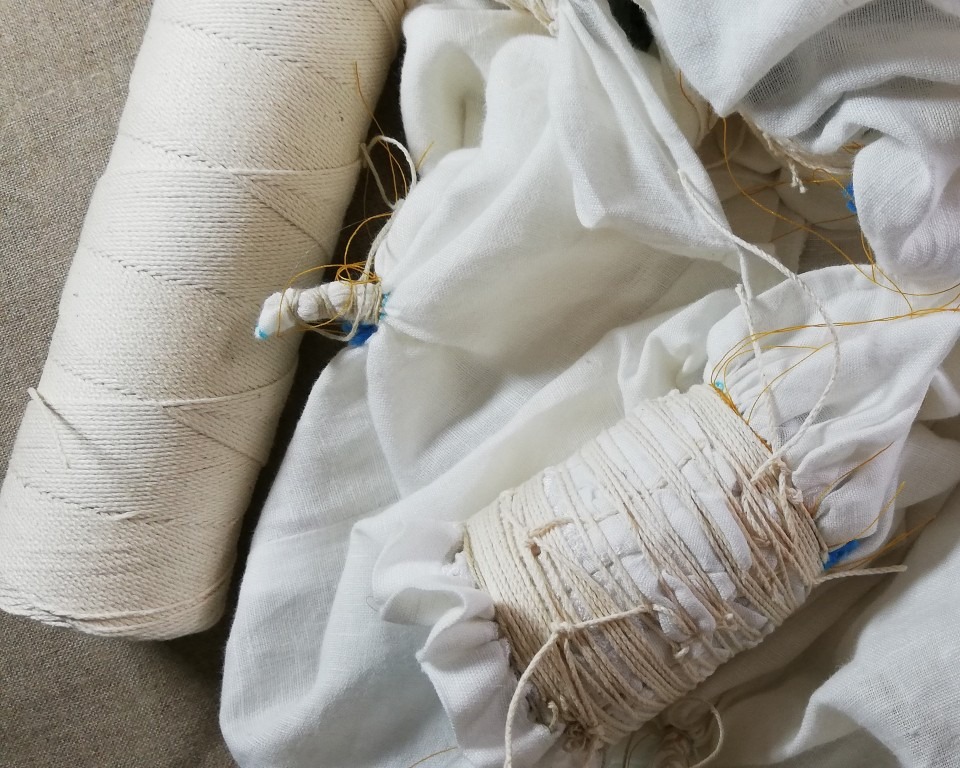
After the flowers are complete, sew the hem edge. Make the decorative edging by gathering and binding the ends of the top around a “core”. Firstly, I stitched a wavy line of small running stitches along the bottom edges of the top. I stitched the two front edges and the back separately. Pull up these rows of stitches and gather the fabric around one of these cores. Consequently bind tightly with a strong thread or string. See this blog on boshi shibori.
I gathered and bound the two front edges and the back edge separately. A core is made from a piece of dowel or make your own by rolling a small piece of fabric very tightly and stitching the ends to secure the fabric. To make the pattern around this hem edge, the “core” used was 4cm diameter and 5 cm high.

Finally dye the top with dye of your choice. Here I used a mix of Rit dyes which gave this pretty blue.
Further help and assistance can be found on my self-paced online course “Create a Collection of Flowers in Shibori Stitch Resist”
Or with my book, published in 2024, “Creative Stitched Shibori”
In conclusion, I am hoping this design and the ideas used inspire you to upcycle with shibori!!
FREE Shibori Pattern Guide

Join my newsletter mailing list and download a FREE pattern for a Eight Petal Flower.