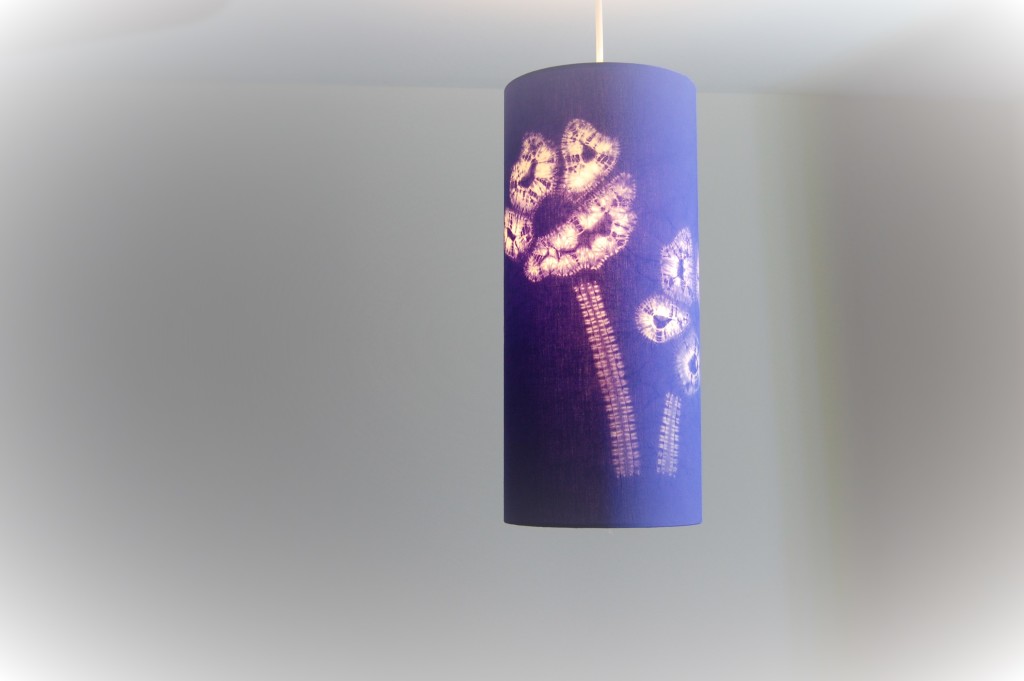
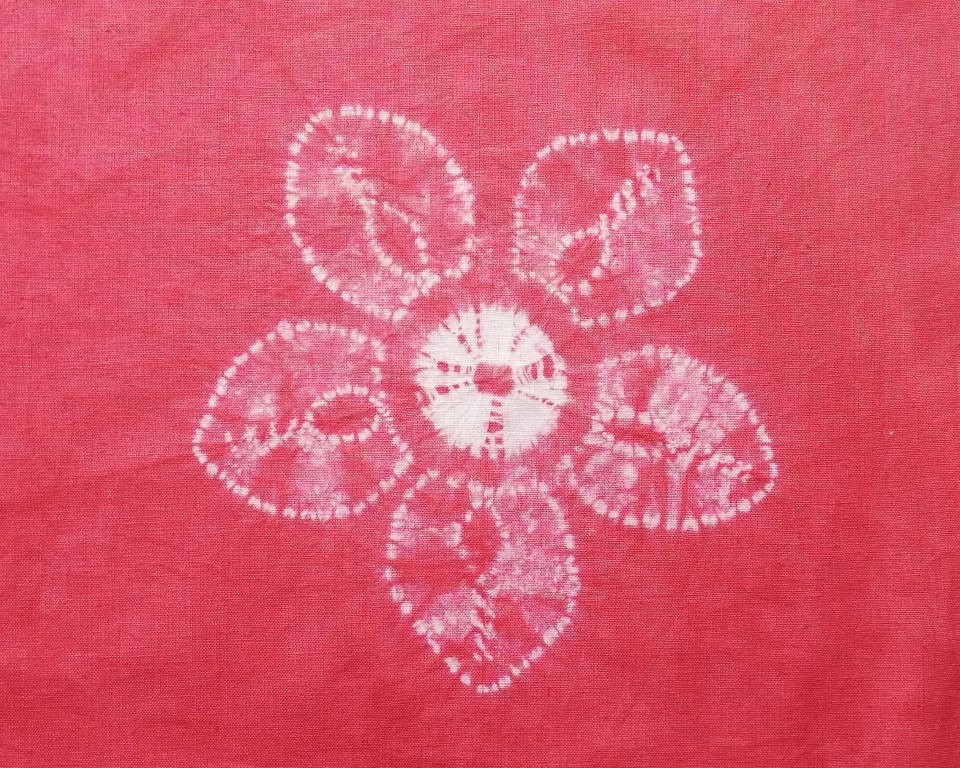
Create this five petal shibori flower, a straightforward pattern for you to make. I will show you step by step how to make this pretty design. You will need dextrous fingers, but I have used very simple stitching to create the pattern.
Initially, you begin with a piece of fabric 25cm or 10” square. Draw a circle 17cm or 7” on the centre of the fabric. You can use my design to trace over and create your template. It is important to make the 5 divisions equal to make a successful pattern.

Please look at my blog and video to give you tips and insight in to how to create with shibori.
Step By Step Instructions to Sew a 5 Petal Shibori Flower
1. Transfer The Design
Firstly, draw the pattern of the design onto your fabric using a washable fabric marker.

2. Stitching
Start by stitching in a double thread all away around the central circle, and leave the threads for gathering later.
Now it is time to stitch the petals. Fold the fabric exactly in half for each individual petal. Pin the fold if you find that helpful. First stitch the outline of the whole petal with simple running stitches through two layers of fabric starting at the centre of the flower. Tie a small cotton tag tied in the end of thread before sewing to stop the thread pulling through when you come to pull the stitching up.
Next, sew another line of stitching inside the first row of stitching, follow the line of the template. Stitch through two layers of fabric. Again, start at the centre of the flower and stitch away from the centre. This all makes it so much easier when you gather it up.

The beginning of this 2nd line of stitching is sewn with simple running stitches and for the last 4 stitches use maki-nui shibori or oversew stitch. The stitch is shown below.
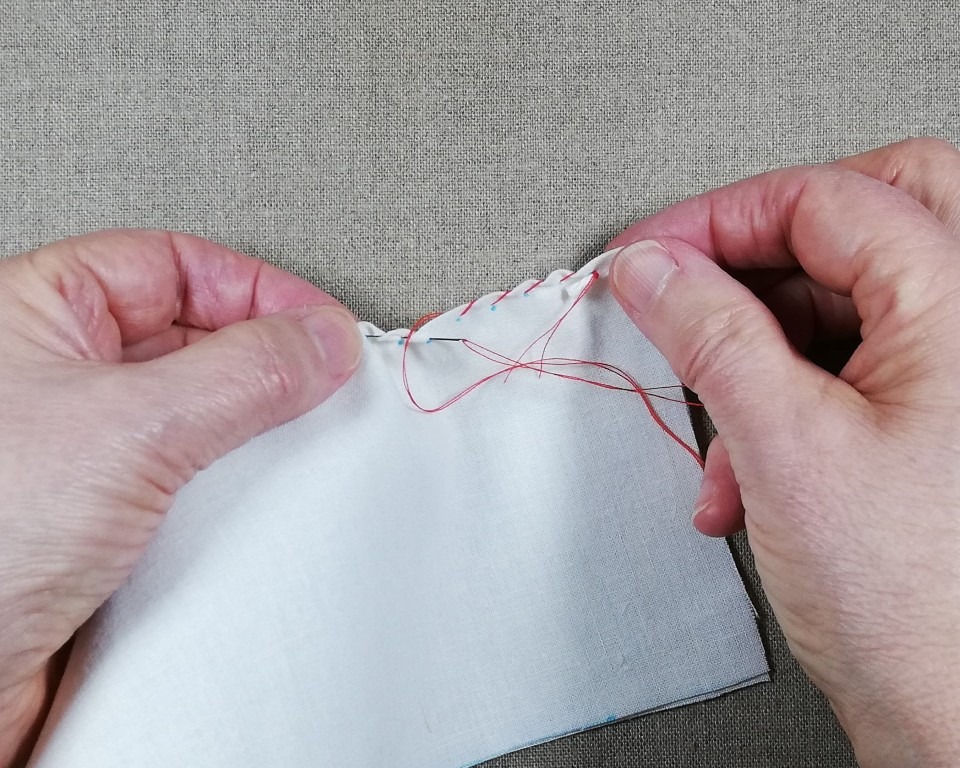
Repeat these two lines of stitching, four more times, for each petal outline.
3. Gathering the 5 Petal Shibori Flower
Finally, you gather up your stitching. Start with the central circle and pull the threads to make a small pouch. Then bind this around with a thicker cotton thread or string.

To complete, gather up each petal stitching tightly and evenly and tie another tag in the end of each row of your stitching to secure it. It will look like the photo below.

4. Dyeing
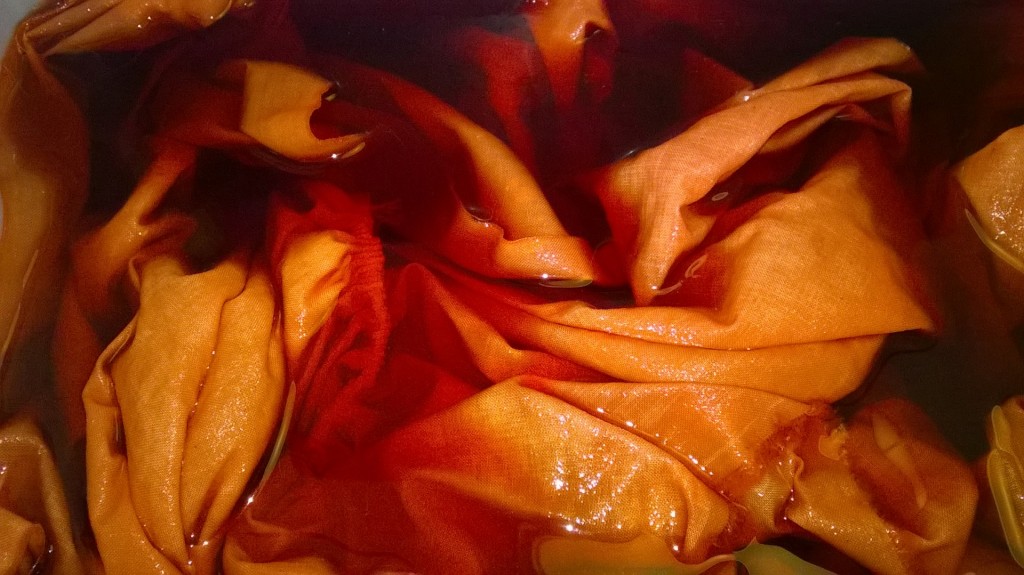
The very last step is dyeing. If using natural dyes or fibre reactive dyes always weigh the dry fabric. Then before dyeing, soak in water. Here I have used a mix of Rit dyes for the pink colour.
I do hope you enjoy making this flower and it inspires you to play with the pattern and make other flower shapes and designs. Happy sewing!
There are a number of other flower pattern blogs of this type which would be lovely grouped together. Click on the photos to follow the link to these blogs.


FREE Shibori Pattern Guide

Join my newsletter mailing list and download a FREE pattern for a Eight Petal Flower.