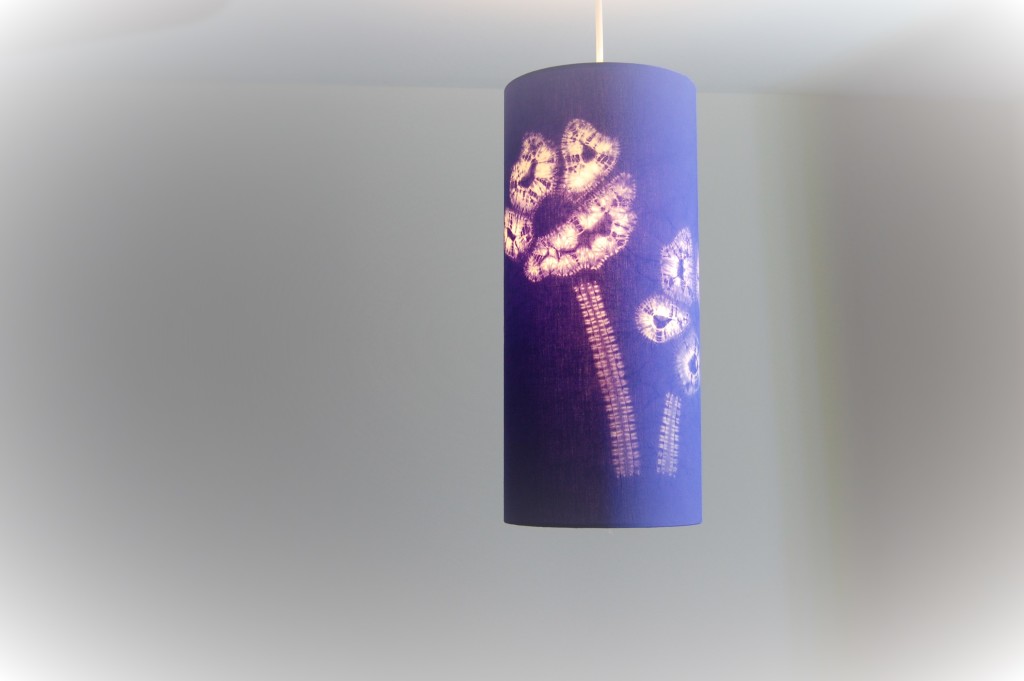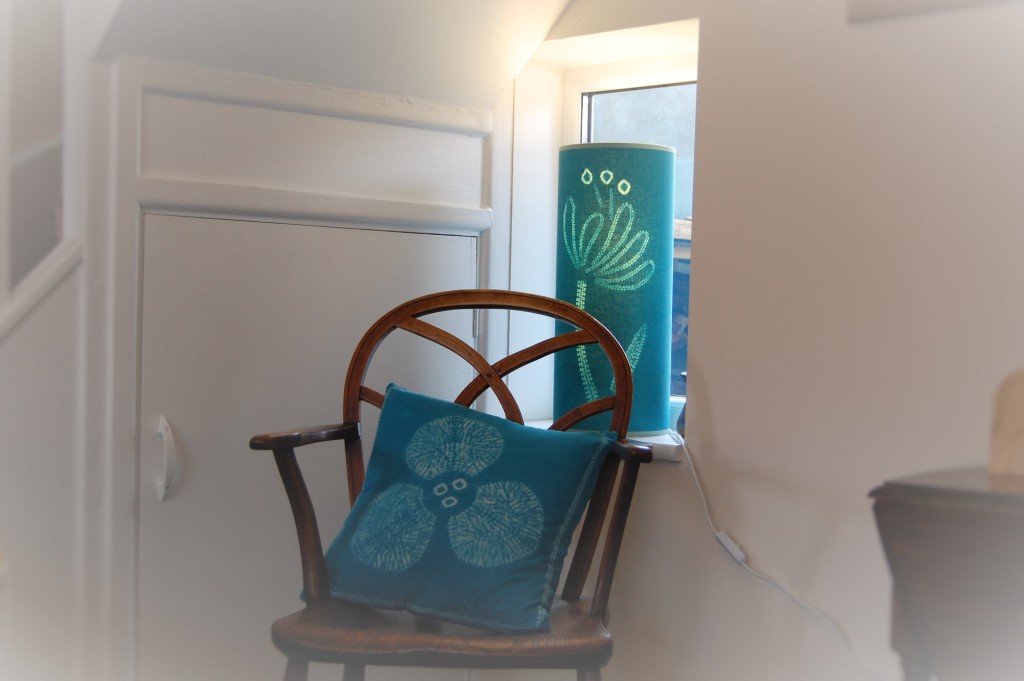
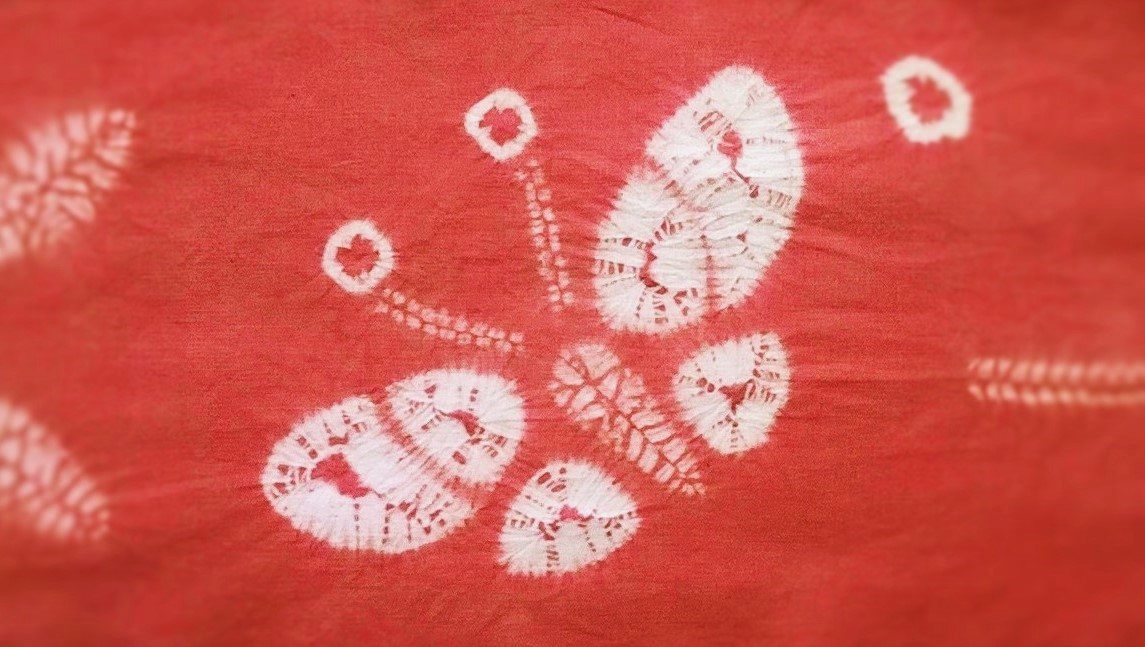
Here I am going to show you a lovely little butterfly in shibori. A straightforward design to create in sophisticated tie dye. I have used a similar design to this on a number of my lampshades. It is a quite a simple design to execute, you just need nimble fingers!
The techniques used to make this are maki-age, ori-nui and miru shibori. I will show you how to do these step by step.
4 Steps to Making Your Own Butterfly.
1. Drawing the Design
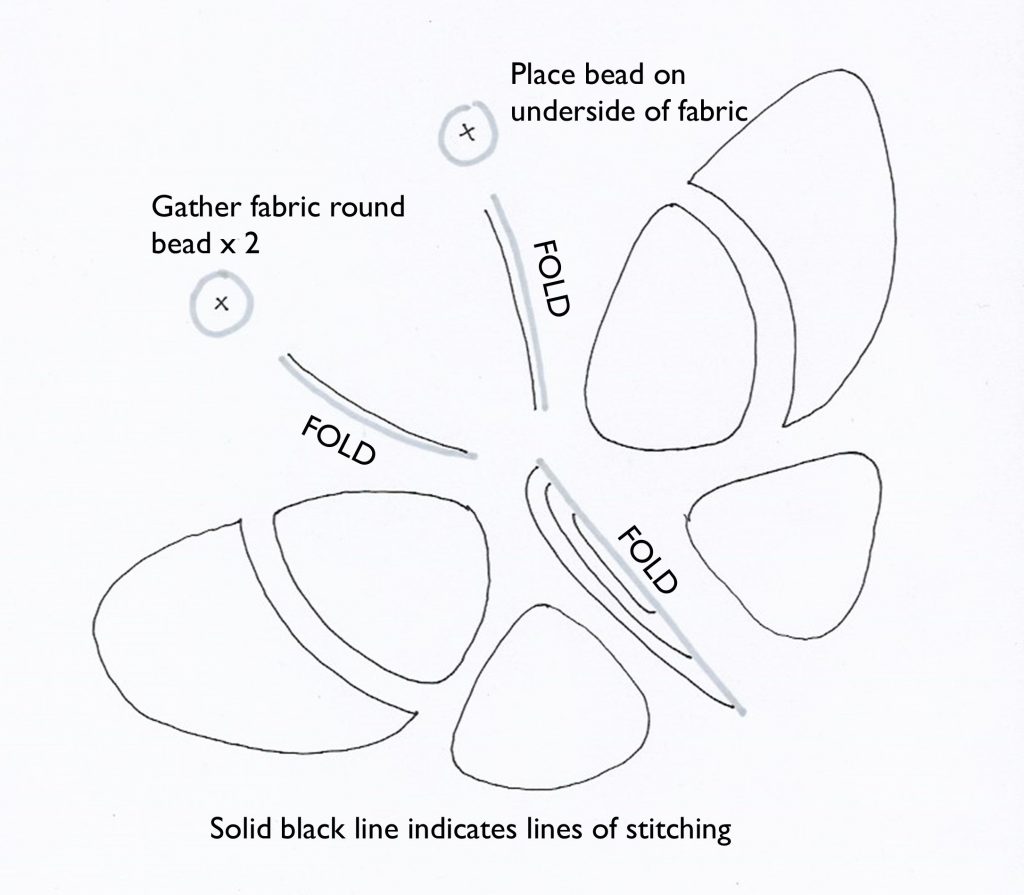
You start by drawing the butterfly design on to ready for dyeing fabric (ie prewashed at 60 degrees C/ 140 degress F) with tailors chalk or removable fabric marker. For your guidance the design is 18cm/ 7 1/2″ from wing tip to wing tip.
To make the shape of the butterfly firstly create a simple body shape. The wings are divided into 6 segments for ease of pulling up at the next stage. And at the top add 2 antennae.
2. Stitching your Butterfly in Shibori
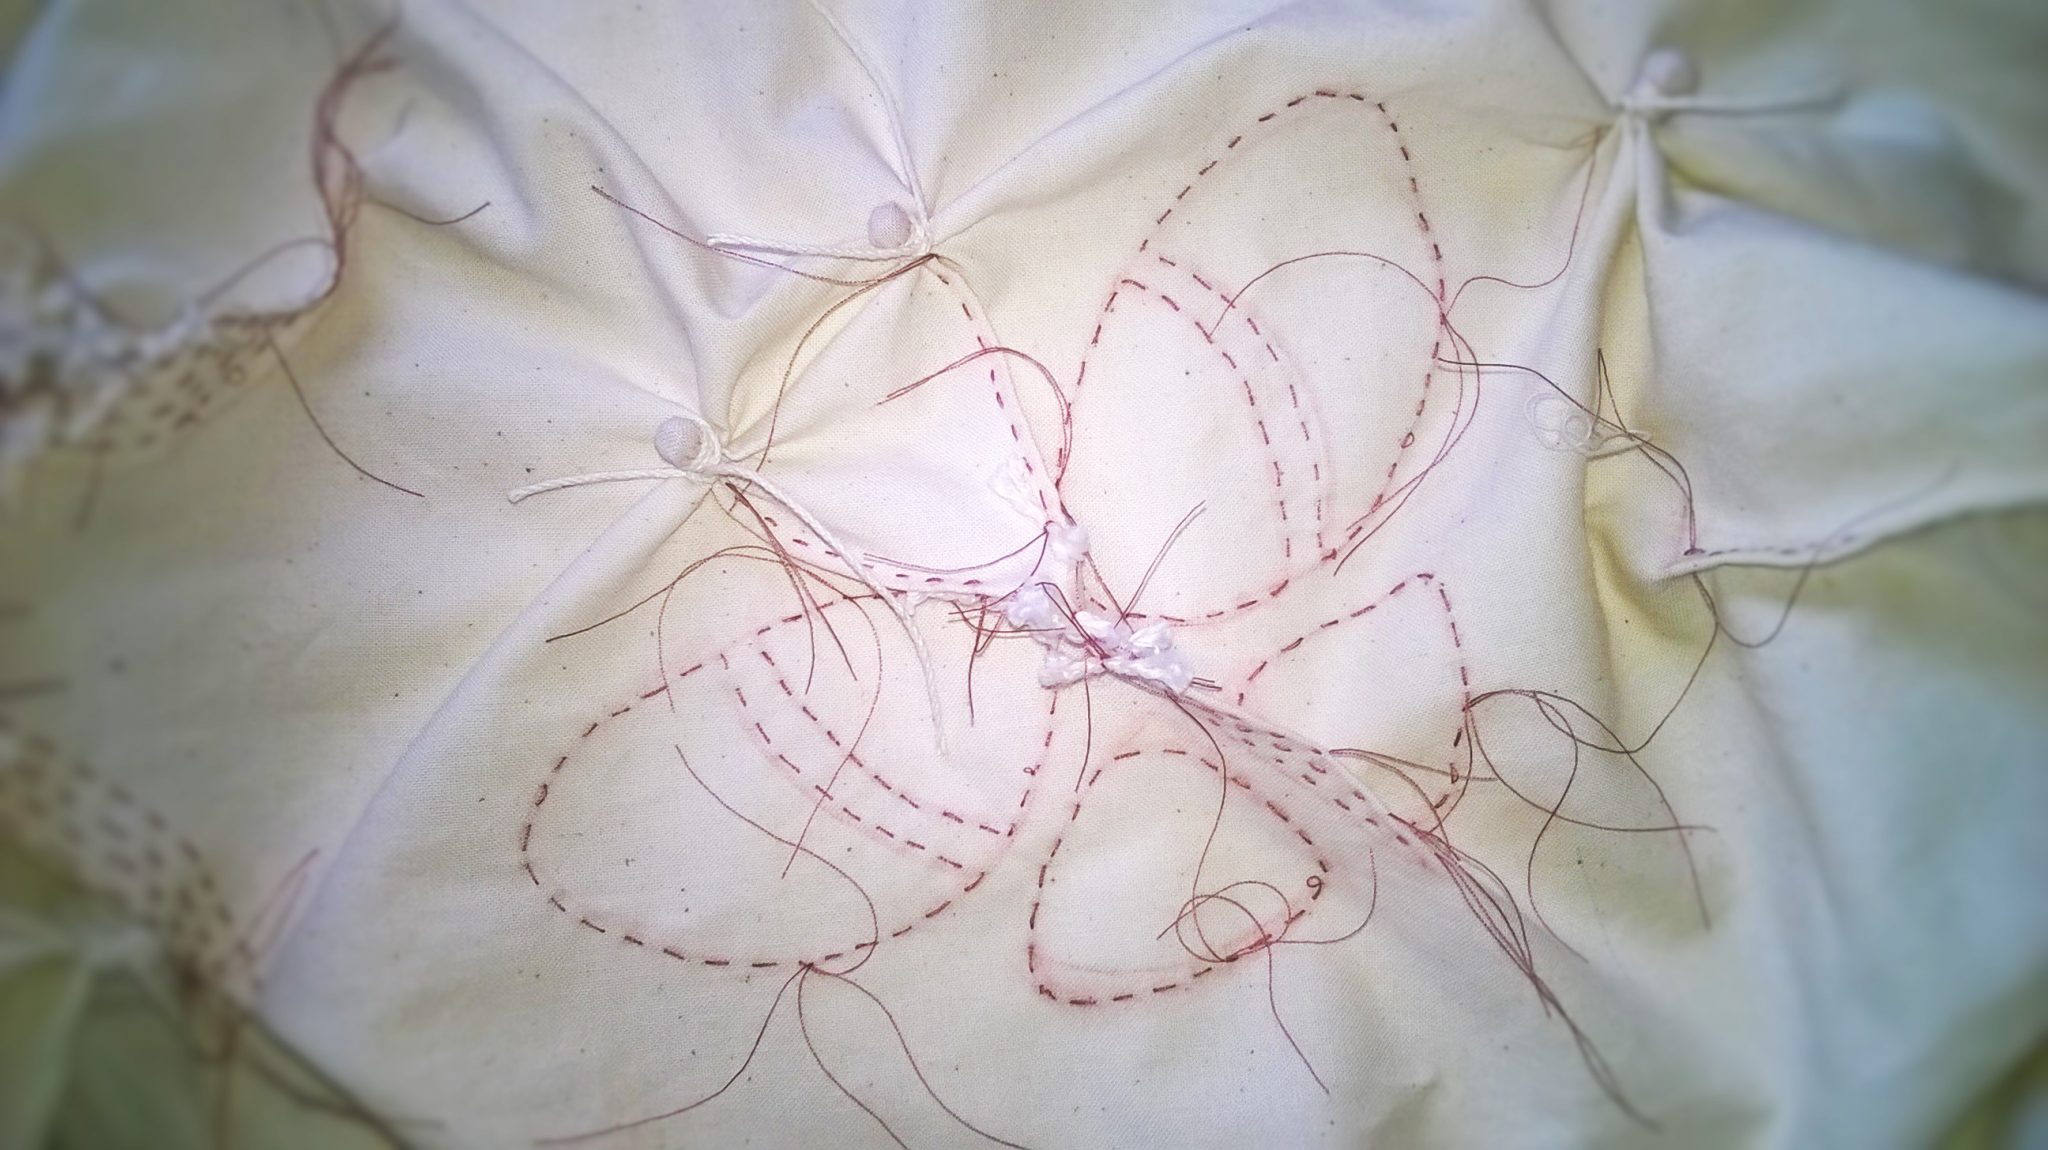
2.1 Firstly, stitch around each of the 6 wing segments with a double thread starting and ending at the same place leaving long ends for pulling up later. It is helpful to keep your starting and ending place on the outside of the butterfly shape.
2.2 Secondly, sew the body by folding the fabric and sewing through both layers of fabric. Sew 3 rows of stitching. Sew with double thread and a small cotton “tag” knotted into the end of the row to hold it securely.
2.3 Thirdly, sew the 2 antennae by folding the fabric in half and sew simple running stitches through the two layers of fabric with double thread and a small cotton “tag” knotted into the end of the row of double thread. Two small beads are placed under the fabric and tied in at the end of those rows of “antennae” stitching.
So as not to repeat my general instructions about sewing please look at this blog post to see the general tips of equipment needed. “7 Helpful Hints for shibori sewing”
3. Gathering Up the Stitching
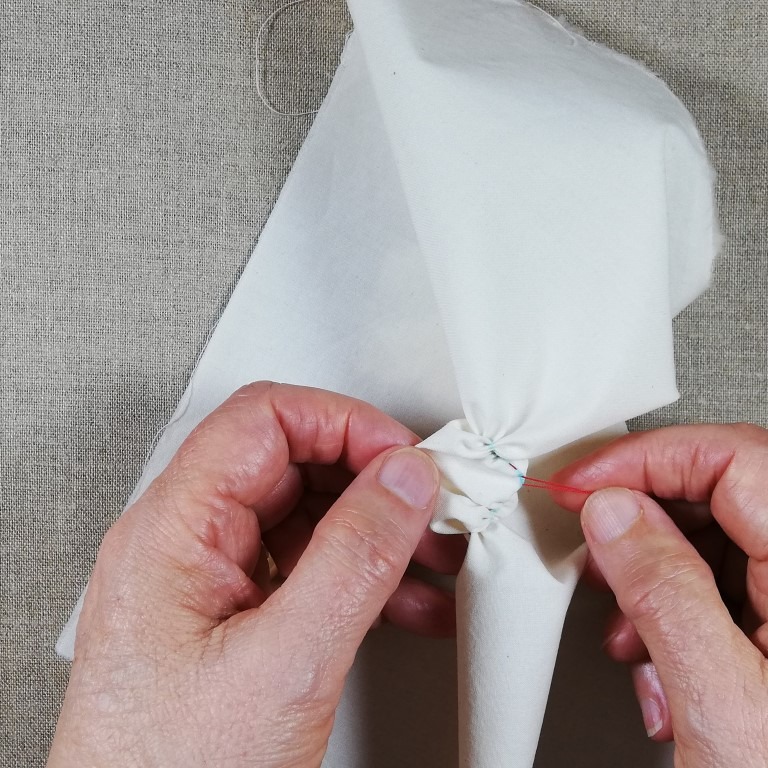
3.1 Start with the 6 main segments of the wings .This way of working is well illustrated below. The gathering is shown with one shape to help make it clearer.
Pull each of these segments up in turn gathering tightly and knotting. Take a slightly thicker thread somewhere between button thread and double knitting weight and start at the bottom of the pulled together shape and knot it around at the base. Then continue binding until you get to the top and then tie the ends together to secure it. Do this with each of the 6 shapes. This is where you need nimble fingers!
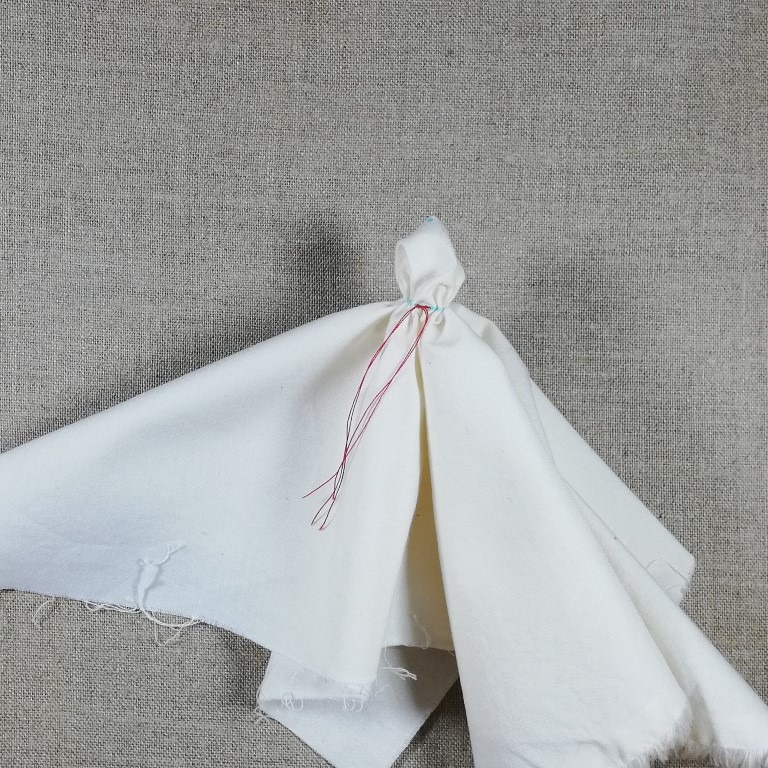
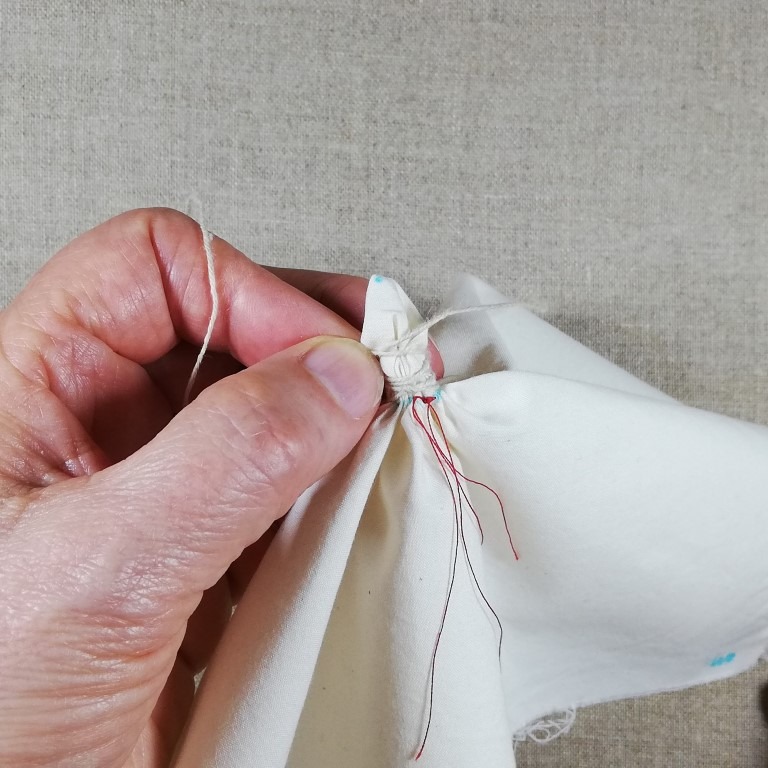
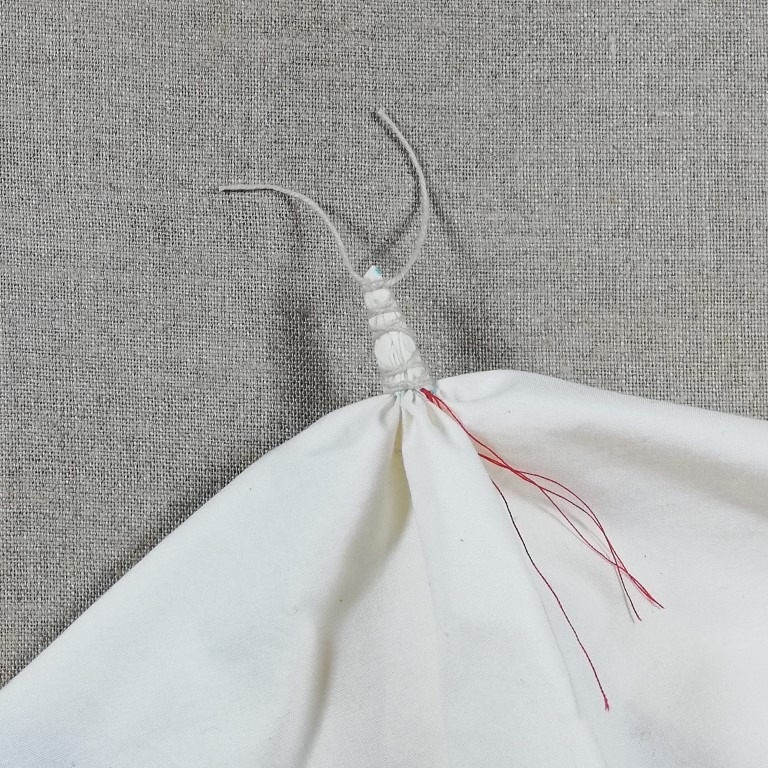
3.2 The next job is to pull up the central body shape. One by one pull up the 3 lines of stitching. After pulling up separate the two threads and insert another “tag” between and tie a double knot around it securing the line of stitching. Repeat this 3 times. The thread needs to be pulled up very tight but without breaking it!
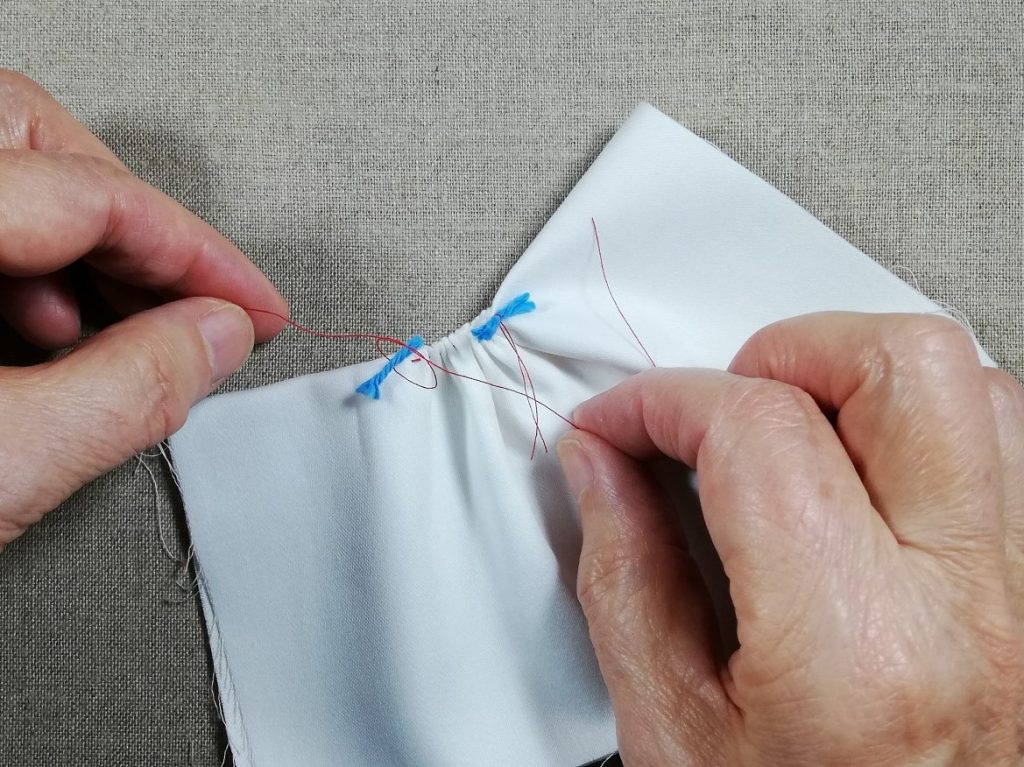
3.3 To create the antennae pull each row of stitching up securing the end as described above. For a really clear demonstration of how to sew and gather shibori look at my video.
4. Dyeing.
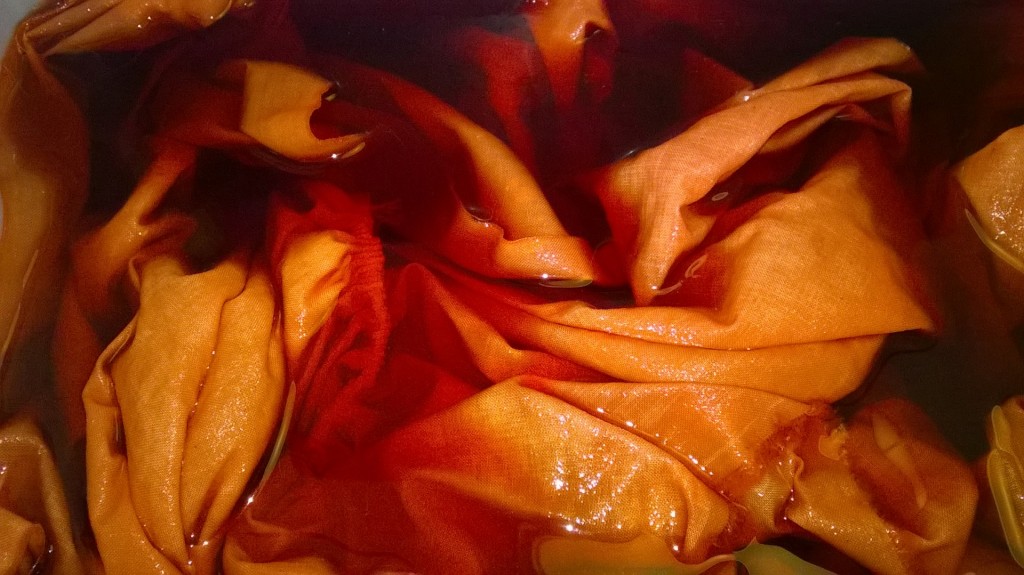
Finally, you now have your design ready for dyeing. If you need help on dyeing with fibre reactive dyes look at my previous blog. Once dyed you unpick all the stitching to reveal the design. And you have a beautiful butterfly.

I have shown you how to draw, sew and complete this shibori design. I hope you enjoy creating this butterfly.
My book ” Creative Stitched Shibori” shows all the techniques of shibori with simple step by step photos. Here is a link to find out more about it.
FREE Shibori Pattern Guide

Join my newsletter mailing list and download a FREE pattern for a Eight Petal Flower.