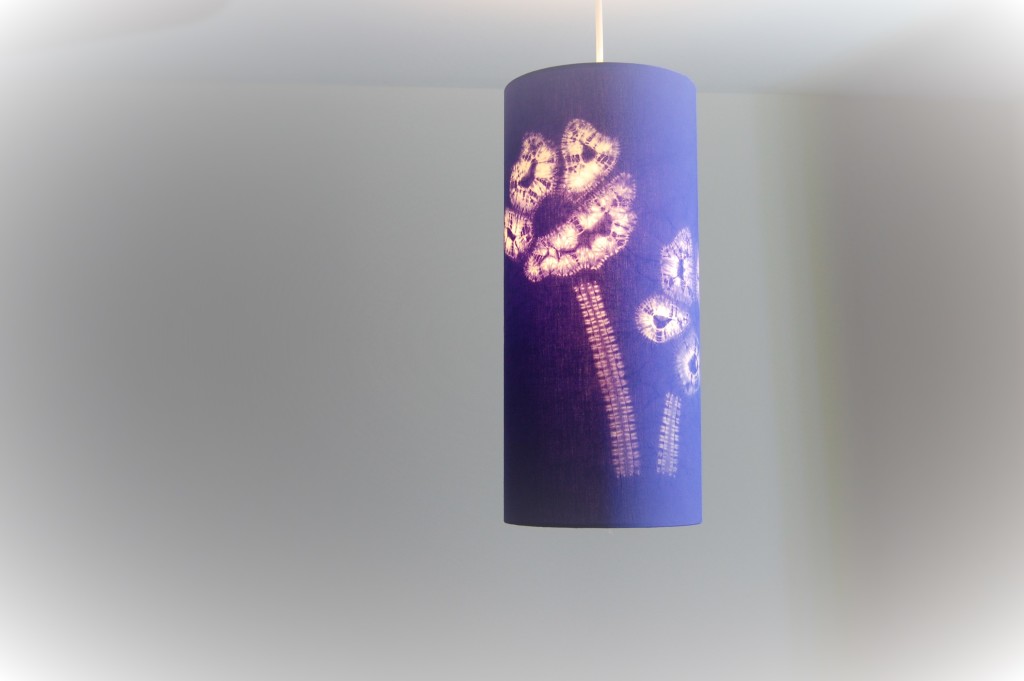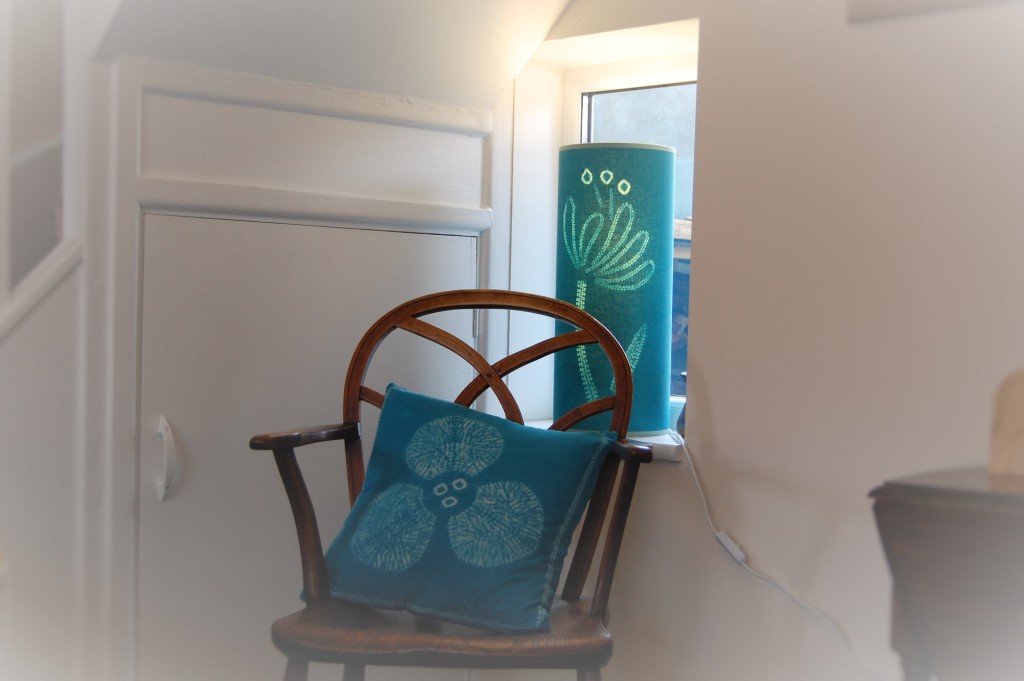

Let’s explore creating a simple shibori seed head. Initially, this design was inspired by looking at images of eucalyptus seed heads. I wanted to make a simple shape seed head that hung down. This design is quite a simple one to make. The shapes are created with two types of shibori; maki-age and ori-nui. This design introduces you to 4 possible variations in patterns to make. In the picture above the seed heads are slightly different and so are the two stems. I will explain how to sew these patterns and what effect they have.
4 Steps to Making Your own Shibori Seed Head
Drawing the design
Begin by drawing the design on to fabric prepared for dyeing (ie prewashed at 60 degrees C/ 140 degrees F) with tailors chalk or removable fabric marker. The seed consists of a triangular shape and a stem. Two (or three or more) can be drawn across your fabric. In my piece here I have done 2. See a design using 5 shibori seed heads at the bottom of the blog.
Stitching your design
Firstly, stitch around each of the seed heads with a double thread starting and ending at the same place leaving long ends for pulling up later. Additionally, it is helpful to keep your starting and ending place on the outside bottom of the seed head shape.

Secondly, add the stem from the top of the seed, upwards to a length suitable for your design. One stem is made by carefully making a pleat along the line of the stem so you are pinching 4 thicknesses of fabric in your fingers. With a double thread and small cotton “tag” in the end sew through all the 4 layers of fabric. Likewise the second stem is made by a simple fold and only stitching through 2 layers of fabric.
(So as not to repeat my general instructions about sewing please look at this blog post to see the general tips of equipment needed. “7 Helpful Hints for shibori sewing”)
Gathering the Stitching
The third stage is to pull all the stitching up and bind the shapes. Start with each seed head . Pull each of these up in turn gathering tightly and knotting. Take a slightly thicker thread somewhere between button thread and double knitting weight and start at the bottom of the pulled together shape and knot it around at the base. Next continue winding the thread around until you get to the top and then tie the ends together to secure it. Do this with the 2 seed head shapes. In these examples I have varied the thickness of threads. Also I have wound the threads very close together in the lower seed head and further apart in the upper one which produces different effects in the finished design.

To create the stems pull the thread up and once pulled up separate the two threads and insert another “tag” between and tie a double knot around it securing the line of stitching. The thread needs to be pulled up very tightly but without breaking it!
Dyeing
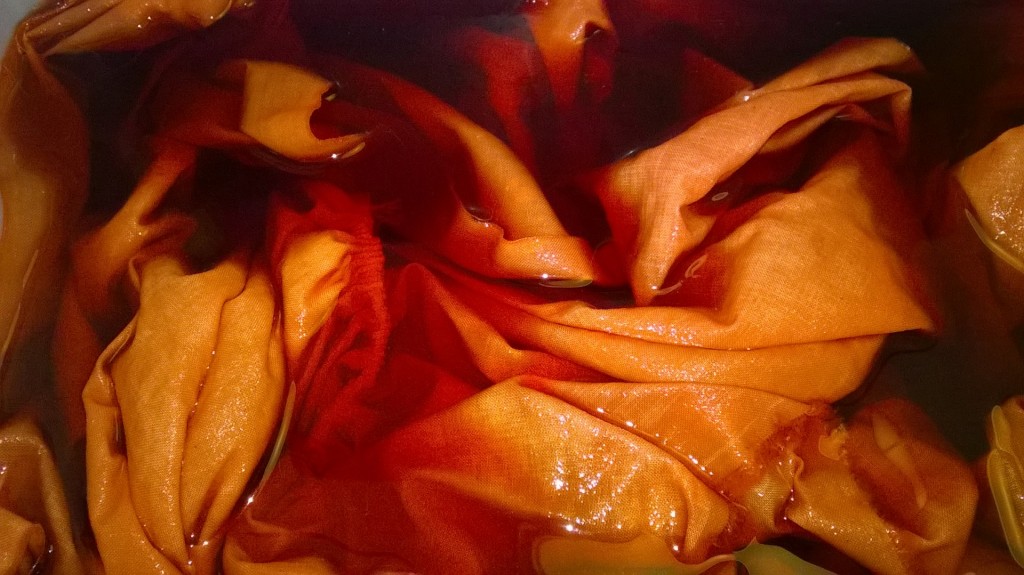
Finally, you now have your design ready for dyeing. If you need help on dyeing with fibre reactive dyes look at my previous blog.
The last stage is to unpick all the stitching to reveal the design. You will see the effect achieved is of narrow bands of colour radiating out from the centre of the design motif, criss-crossed with small lines. By winding the thread closer together you get a whiter shape and by winding it more openly you see more of the main colour and have small stripes of white.
Another Shibori Seed Head Pattern
Here there are 5 different seed heads. As can be seen the seed head itself is split creating yet another variation in design.


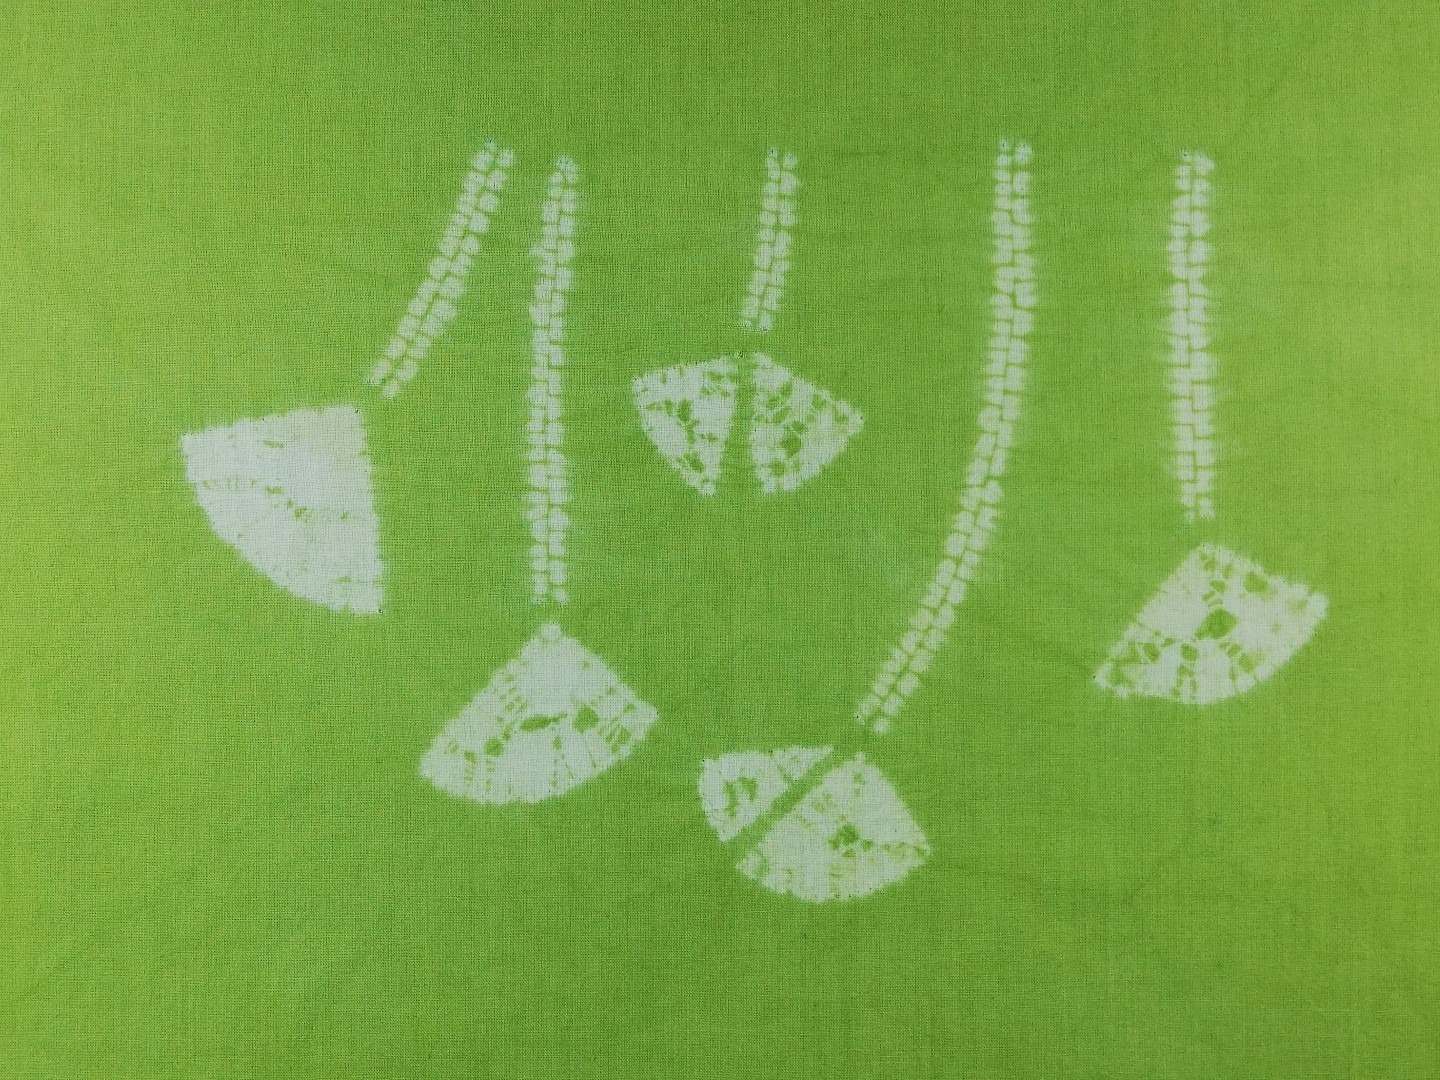
The seed heads have been bound either with the binding thread close together as on the left of the image. Or alternatively the binding has more space between the threads allowing the colour to show through more.
In conclusion, I hope you found this pattern and instructions inspiring and helpful. I am regularly writing about different patterns to create in sophisticated tie dye. Please sign up to my regular email full of wonderful shibori inspiration.
FREE Shibori Pattern Guide

Join my newsletter mailing list and download a FREE pattern for a Eight Petal Flower.