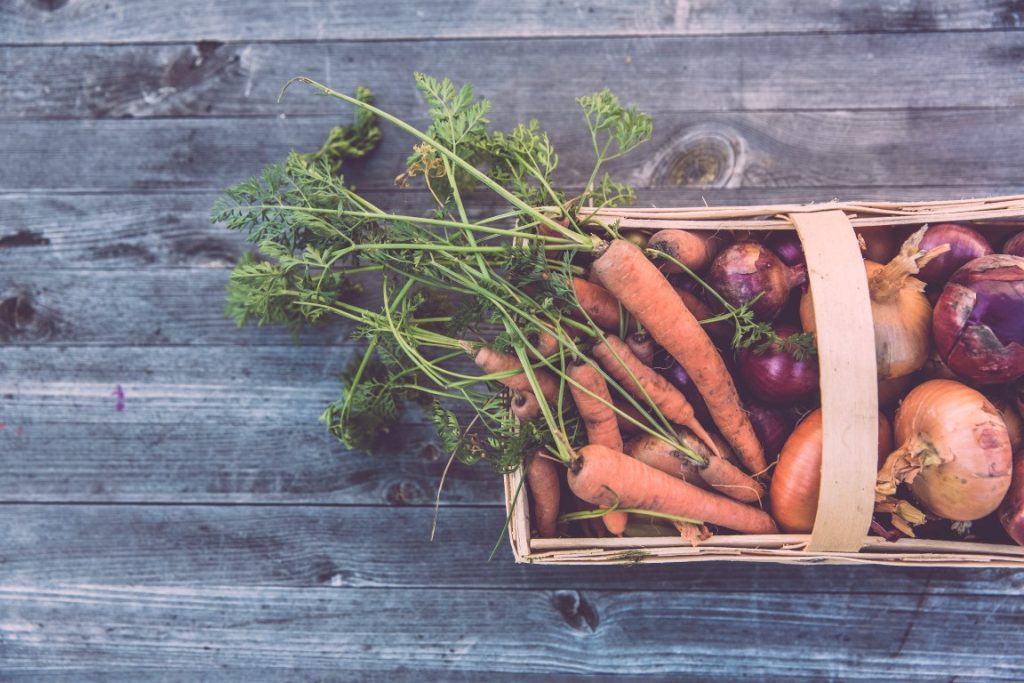
Autumn here in the Northern hemisphere and many inspirational shapes around to inspire you to make a collection of shibori vegetables. Hopefully my blog can persuade you to make some too. There are many more vegetables that can be created in shibori, peppers would be good, wouldn’t they?
I am planning a series of table mats with these designs on for my newly restored dining table.
I have stitched 3 different shibori vegetable designs to give you some guidance and ideas of the best way to form them. They are quite simple shapes to make. The main stitch used is miru shibori and if you have read my blog before you know it is my very favourite stitch of all. Therefore, creating these shibori vegetables has been most enjoyable and satisfying. If you want some further help with miru shibori and information on the technique, take a look here.
If you want more guidance on creating the leaves with ori-nui, take a look at this blog.
3 Shibori Vegetables to Stitch
The Carrot
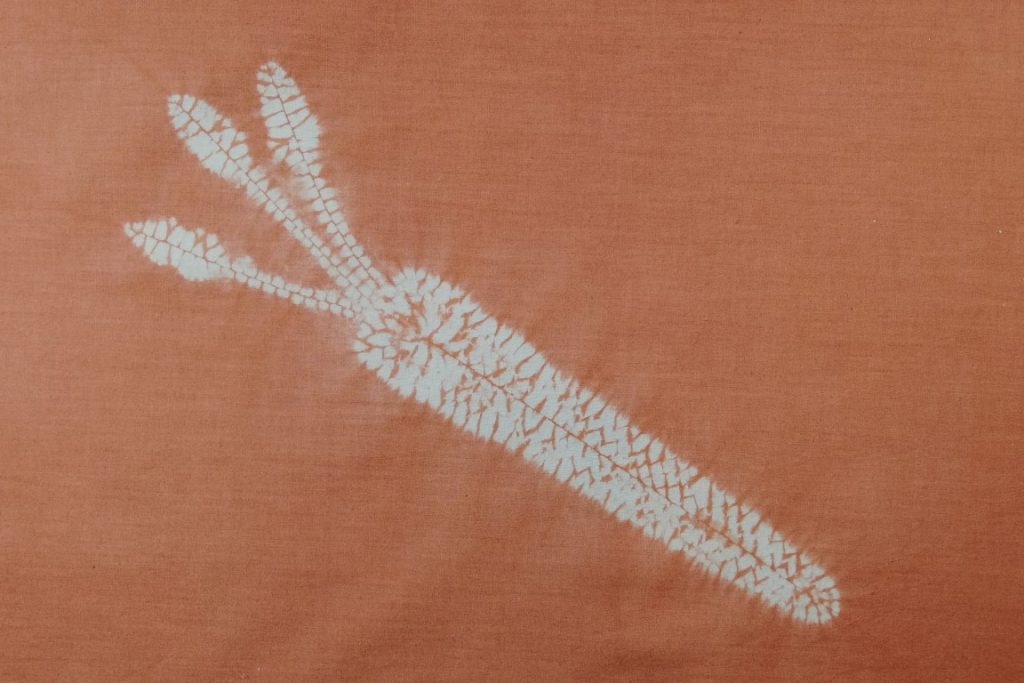
Let us start with the humble carrot. The main shape is made from a narrow block of miru shibori and subsequently the fronds stitched with ori-nui. Draw the design on to the fabric, with a carrot it can always be a little wonky, as they tend to come like that in real life! Here are details of the overall stitching and a detail of the ori-nui stitches used to make the fronds.
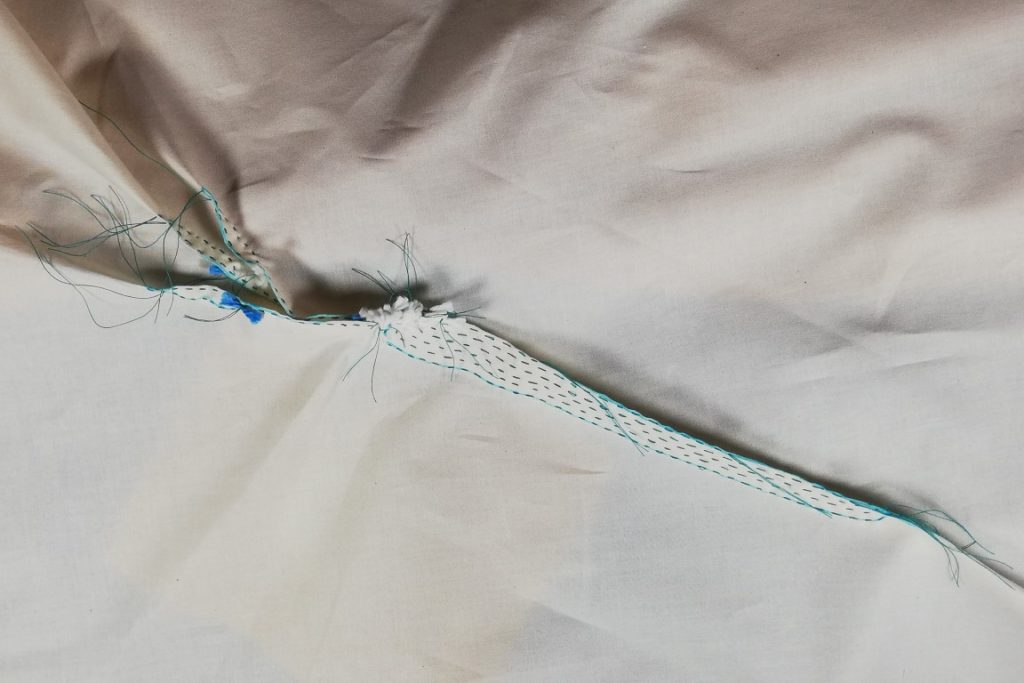

A Beetroot
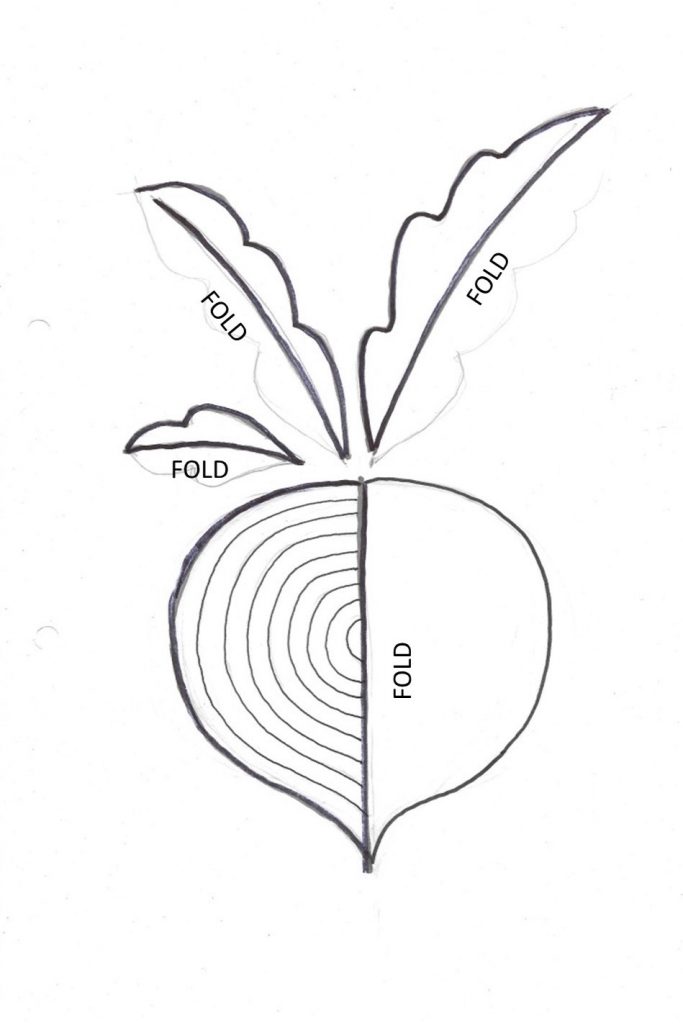
Likewise, this shibori vegetable is made in a very similar way. The round, chunky part of the beet itself is made with miru shibori, such a satisfying result. And the leaves stitched and formed similarly to the carrot with ori-nui shibori. There is a drawing of the design which you can use to make your own beetroot. It is 20cm (8in) tall overall as a guide.

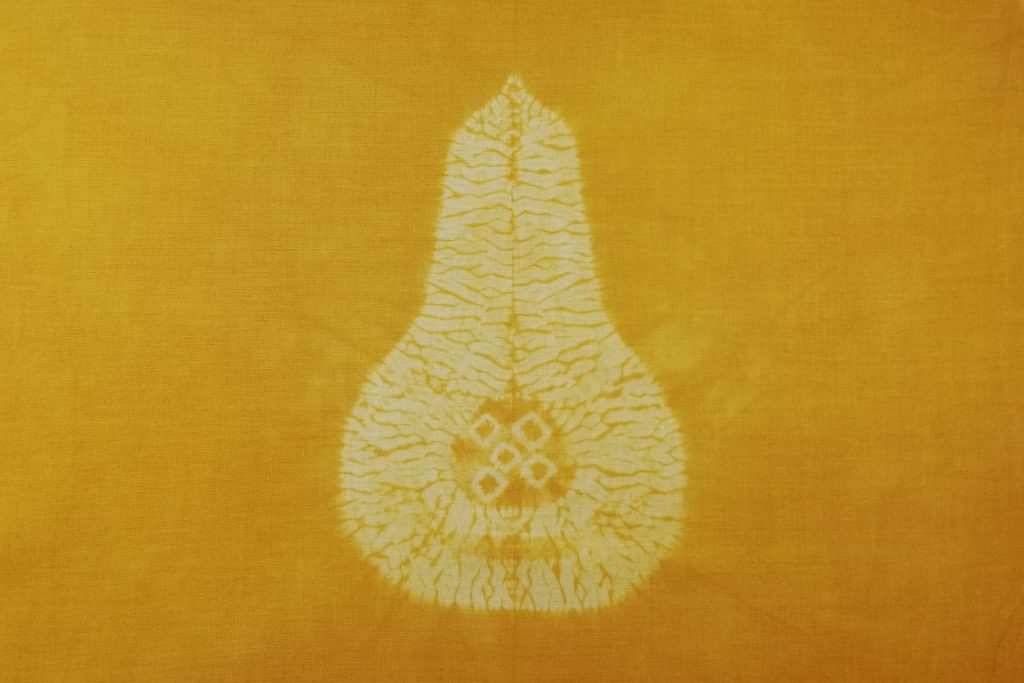
The Squash
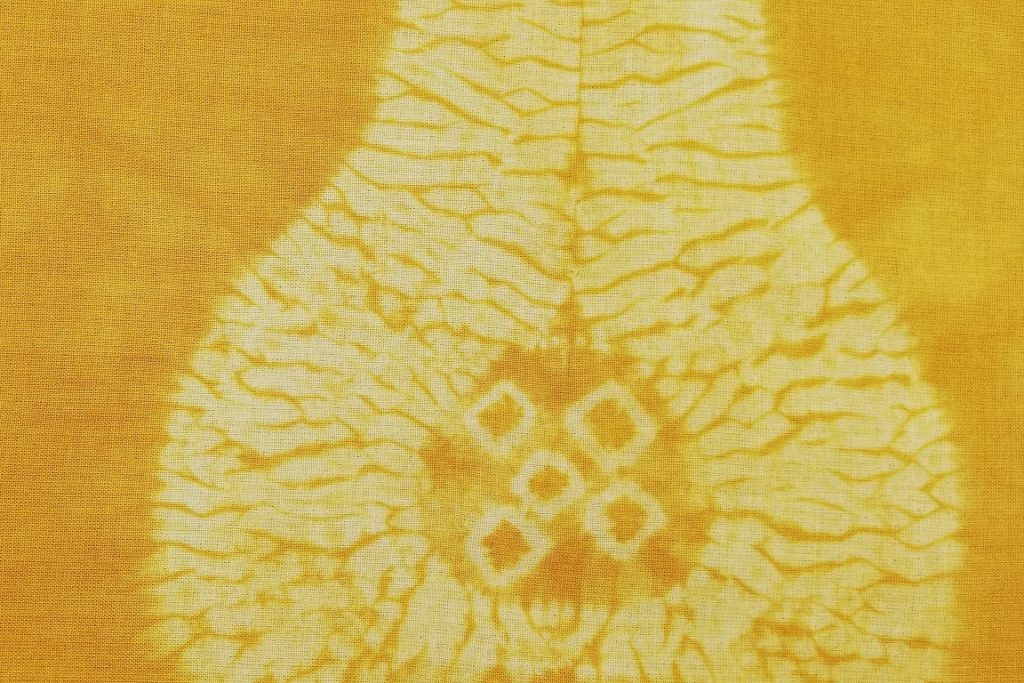
Autumn squashes come in many shapes and sizes and colours. Correspondingly, there are many possibilities of design and colour that you can play with. In this shibori pattern very small beads were attached to the reverse of the fabric design before the many rows of miru shibori were stitched. It is important to remember to sew the beads in place before sewing the squash shape around them. It is not possible to do it afterwards!
Have some great fun with creating with shibori and do share what you do with me, just send an email or put on to Instagram and tag me in @townhillstudio
FREE Shibori Pattern Guide

Join my newsletter mailing list and download a FREE pattern for a Eight Petal Flower.