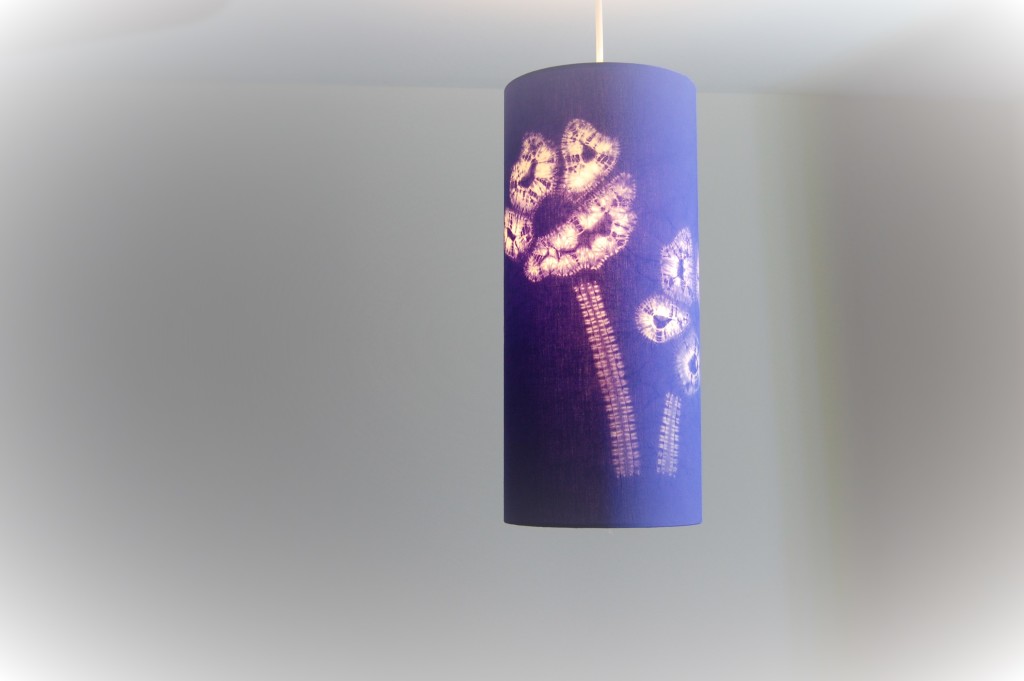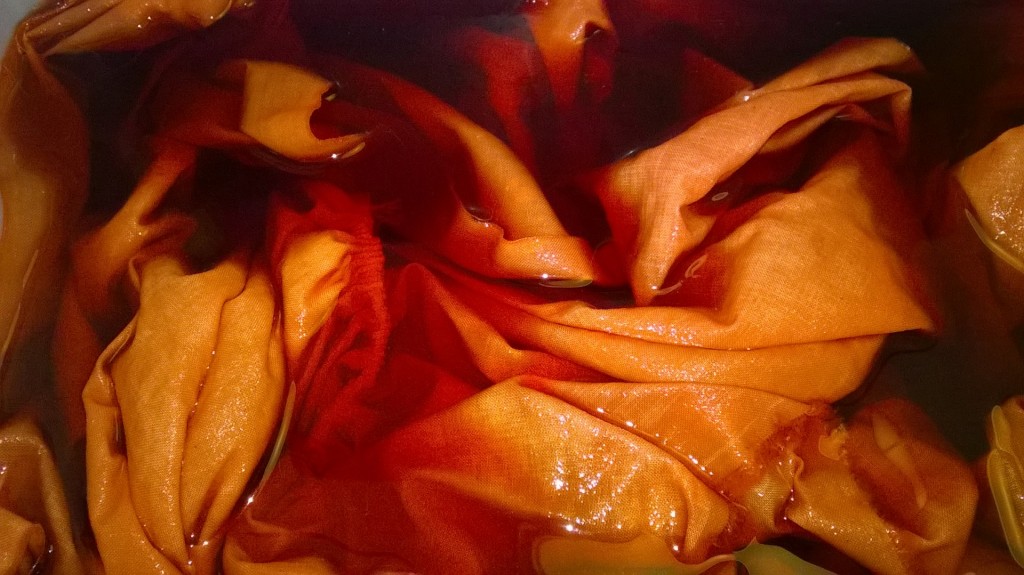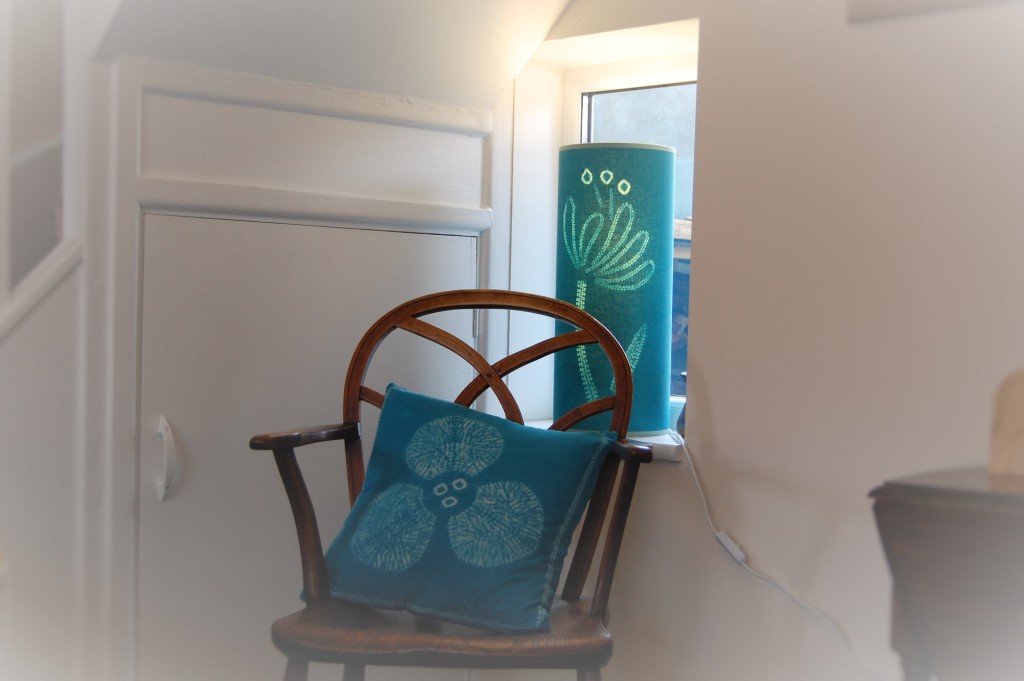
Late September is Sustainable Fashion Week in the UK. Let me provide you with some more inspiration for being more sustainable in your clothing and fashion choices.
I love to use shibori to create more sustainable fashion pieces. Find a second-hand piece of clothing and pattern it with stitched shibori. I am going to share how I upcycled this top with shibori. It may help inspire you to do the same.
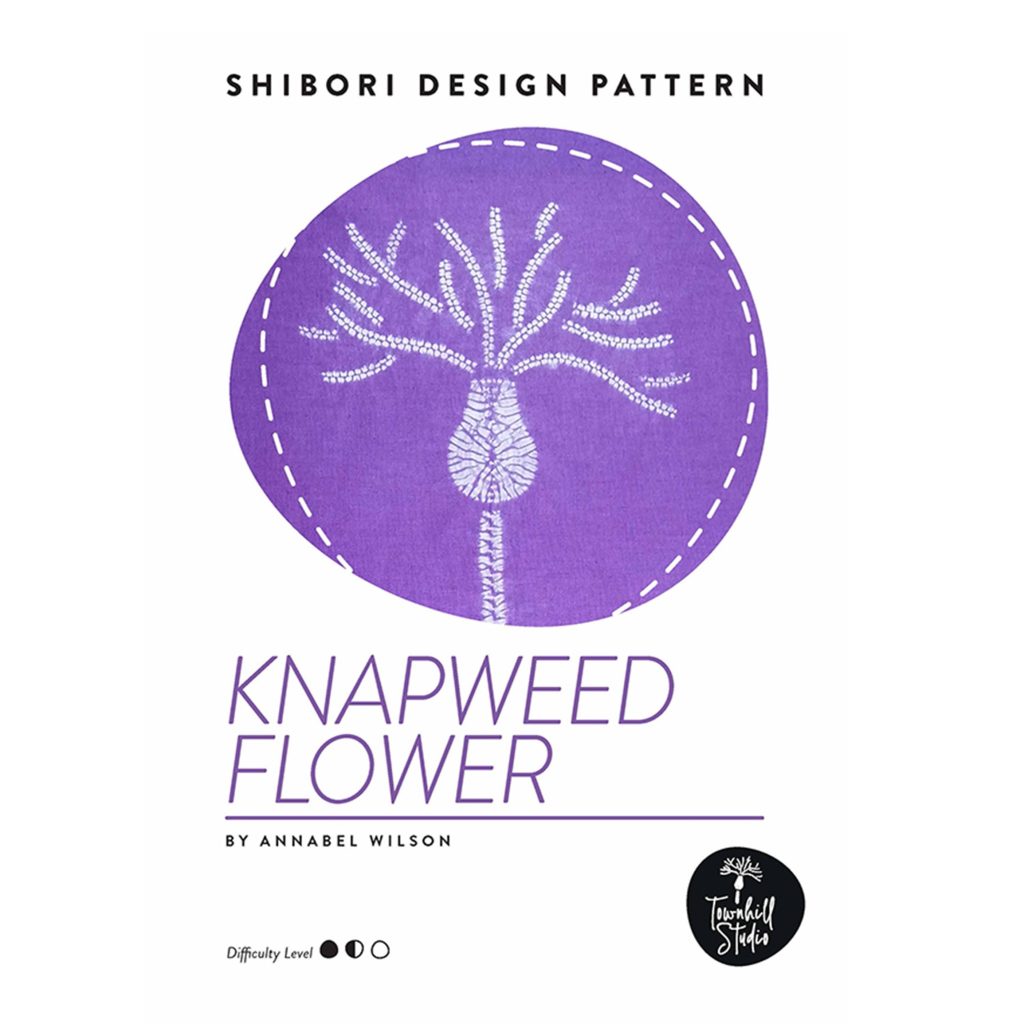
For me keeping the designs simple is key. Therefore, here use one simple and bold motif. A knapweed flower is the inspiration for the design. The knapweed pattern is available as a PDF download in my shop.
Transfer the outline design to the top using a water based removable fabric marker.
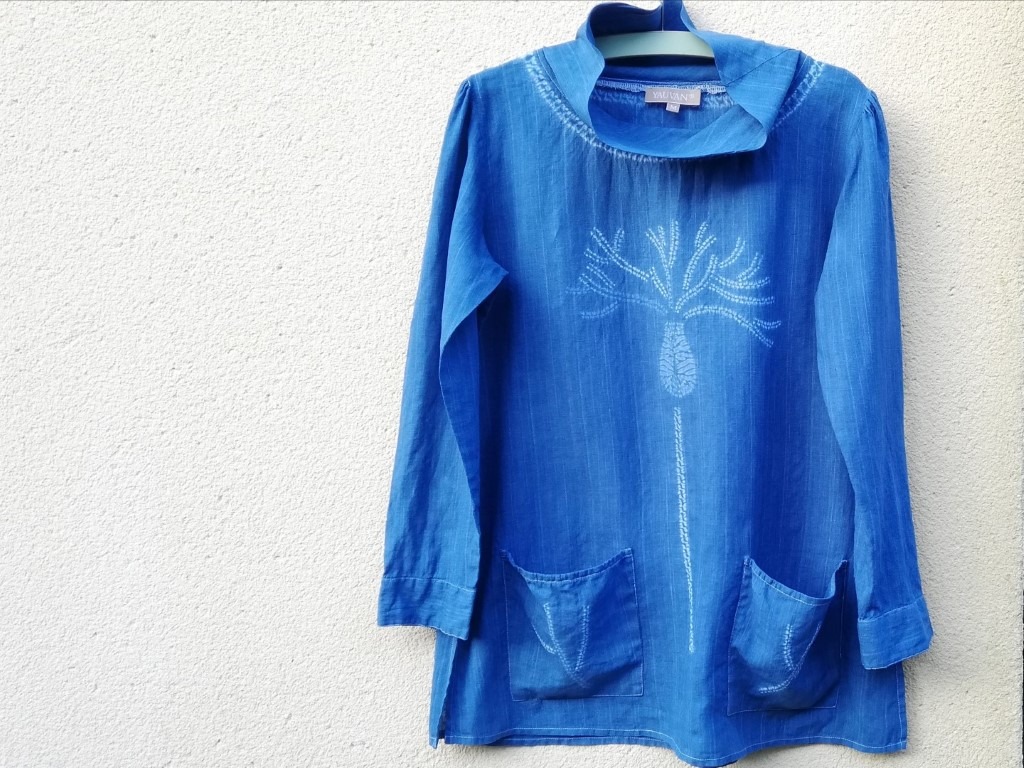
I bought the top from a second-hand shop. It is in a linen/cotton mix. It has a very interesting cowl neck and a clear front just right for adding a bold flower to. Additionally, it had two small pockets calling for a simple twig motif. As a consequence, I needed to use a number of different shibori techniques; ori-nui, miru, and maki-nui shibori.
Stitching Step by Step to Create Sustainable Fashion with Shibori
Let’s take each motif and look at how it is made. Refer to this blog to find helpful hints on sewing with shibori.
The Petals – Ori Nui
Make the flower head with 18 lines of ori-nui shibori. Each individual part is created by folding the fabric in half along the line of each spoke of the flower head. Sew 3mm / 1/8th inch from the fold in simple running stitches through both layers of fabric with double thread and a small cotton “tag” knotted into the end of the thread.
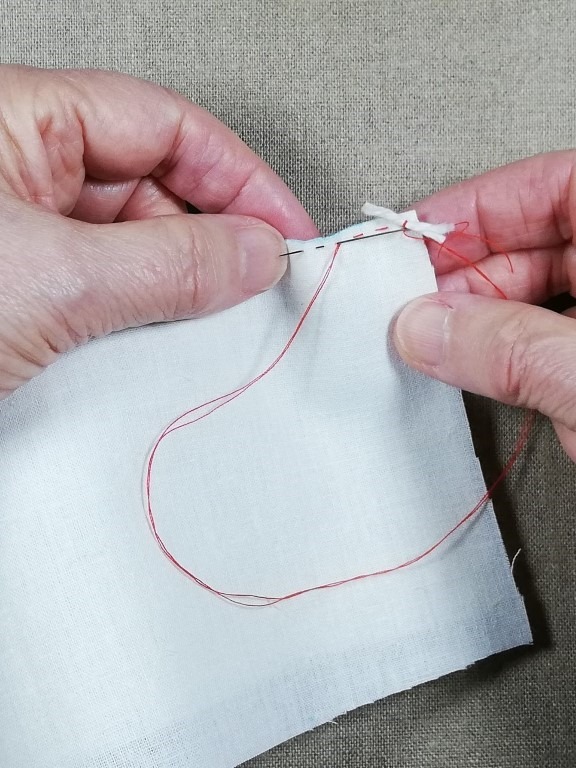

The Pockets – Ori-Nui
Create these simple lines as described above. They are formed in the same way as the petals.
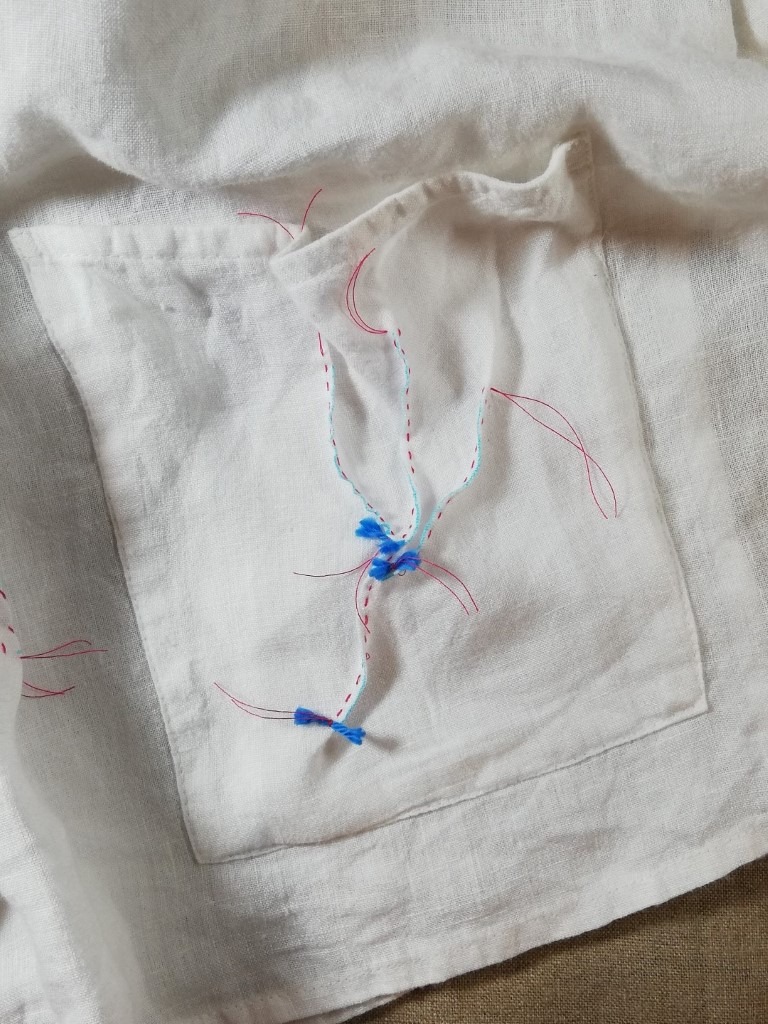
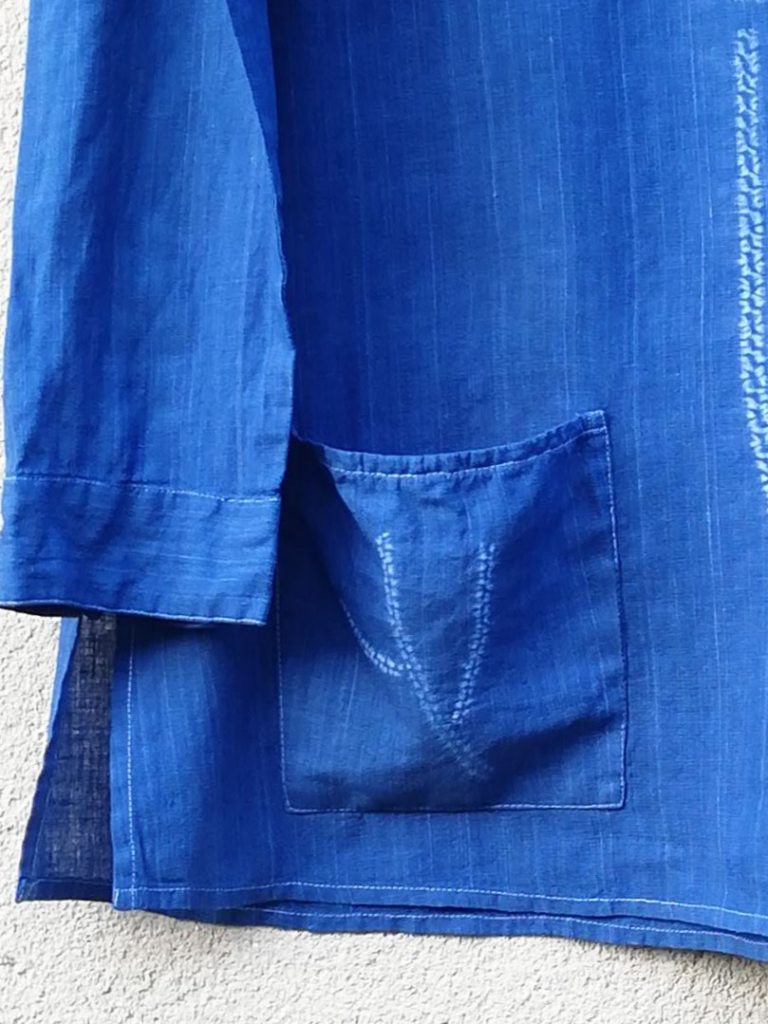
The Flower Bract – Miru Technique
The supporting bract for the petals is made with miru shibori. This is my very favourite stitch in shibori! First, draw the whole curving shape, then fold in half. Miru shibori is worked on folded fabric, sewing the bract shape through two layers of fabric. Sew 6 rows of stitching with 4 to 5 mm/ ¼” between each line of stitching.
The Stem and Neck Decoration- Maki-Nui with Ori-Nui
Create the stem and neck with two types of stitches, ori-nui and maki-nui. Fold the fabric along the line of the stem. Mark the fabric fold with little dots, by measuring a dot at 8mm or 5/16th inch apart and 3mm or 1/8th inch from the fold edge. Make an oversew stitch, using the dots as a guide with a double thread and small cotton “tag” in the end sew through 2 layers of fabric. The action of sewing is a little like gathering the fabric on to the needle as you go. Follow this line with a simple line of running stitches sewn 5mm/1/4” away from the edge.
Subsequently, follow the same process to create the neck decoration.
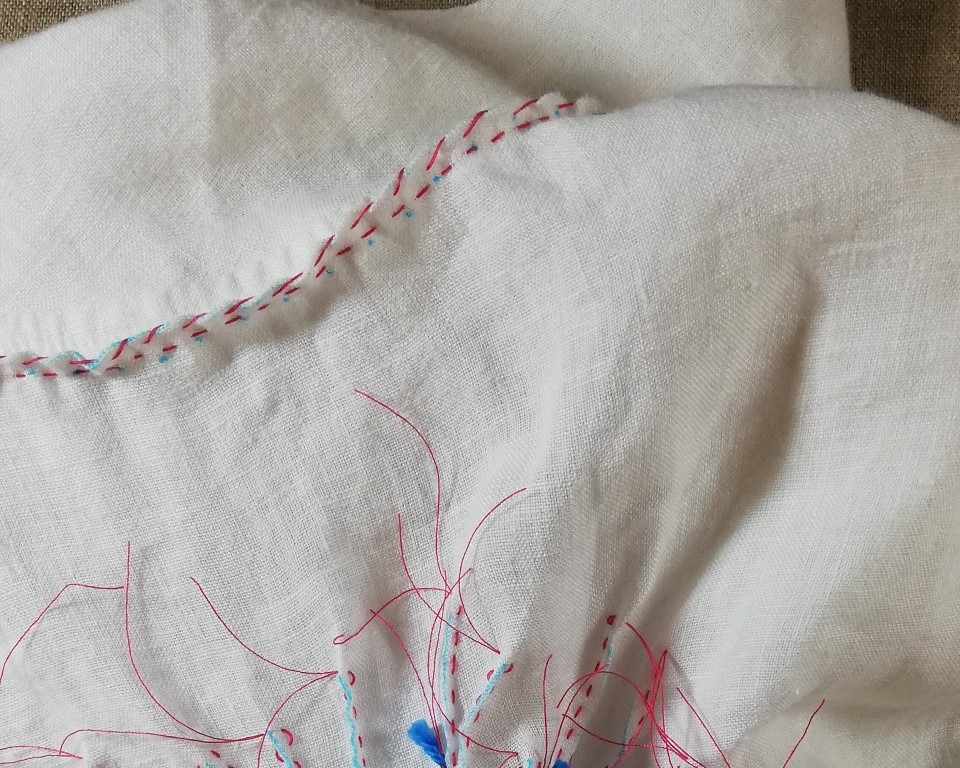
Gathering All Stitches
Most importantly, tightly gather each row of stitching after all the stitching is completed, Tie off each separate row of stitches with a tag. This creates the resist in the fabric, creating the pattern. The top dyeing was done with a mix of two blues in Rit dyes.
Find further help and assistance on my self-paced online course “Create a Collection of Flowers in Shibori Stitch Resist”
Or with my book, published in 2024, “Creative Stitched Shibori”
In conclusion, I am hoping this design and the ideas used inspire you to think how you can bring sustainable fashion concepts into your wardrobe!!
Finally, to help you further, the knapweed flower design is
available as a PDF pattern in my shop.
FREE Shibori Pattern Guide

Join my newsletter mailing list and download a FREE pattern for a Eight Petal Flower.