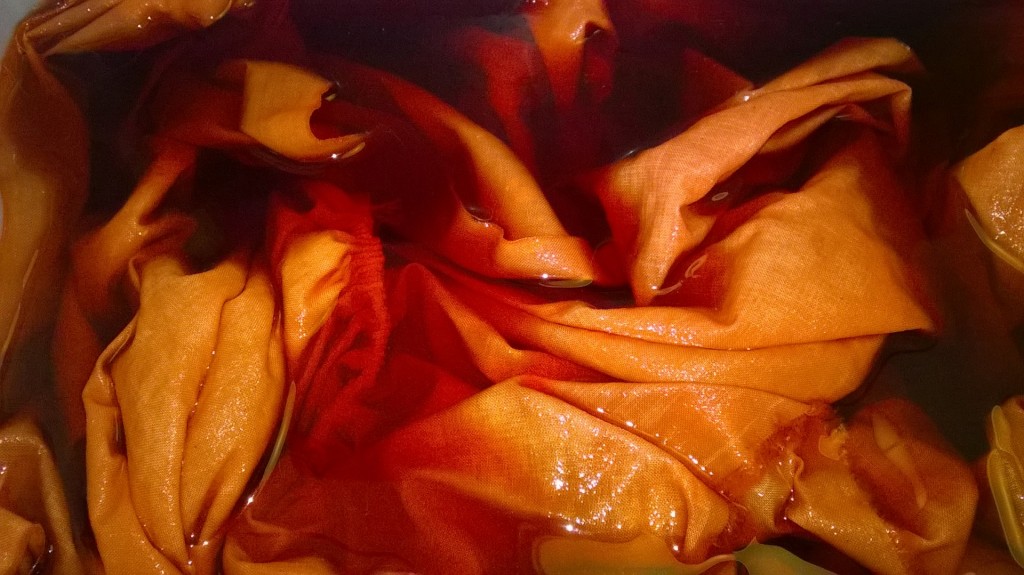

Rit dyes are the dyes that I use on a regular basis with my shibori designs and patterns as they are so quick and easy to use. They are in liquid form which means they are easy to use in small quantities for individual craft projects. This blog will be very useful for those who want to dye small quantities of fabric for craft projects. Please note these instructions are for dyeing linen or cotton.
Let’s get started.
What’s Needed to Dye With Rit Dyes
First select your Rit Dyes All-Purpose Dye colour from their wide range.
I have found these colours are pleasing without mixing:
Royal Blue / Evening Blue / Marigold / Hyacinth / Teal / Paynes Grey
Other interesting colours can be created by mixing the colours with guidance from the Rit Dyes Colour Formulas charts on their website.
Protection of You and Your Work Surface
Generally Rit Dyes are easy and clean to use but always protect work surfaces.
Plastic sheeting, some newspapers or kitchen roll to protect the work surface
Apron to protect you
Rubber or latex gloves to protect your hands
Equipment Required for Dyeing With Rit Dyes:
A small plastic syringe or other measure for liquid dye
Small plastic bucket or glass bowl, large enough for the item being dyed
Large stainless steel or wooden spoon
Kettle for boiling the water
NOTE: All equipment used for dyeing needs to be exclusively used for dyeing.
Additional Household Items Required For Rit Dyes
Salt 60gr or 1/4 cup /4 tablespoons
Dish Washing liquid
Total of 3 litres/105 fluid ounces of hot water (check the chart)
Dyeing Process:
1. Soak the fabrics in cold water for at least 20 minutes or overnight.
2. Dissolve salt in boiling water from a kettle. Add to the bucket.
3. Add water to the bucket to make up to 2 to 3 litres. The temperature needs to be 140˚F /60˚C.
4. Add a splash of dishwashing liquid.
5. Add the measured liquid dyestuff. Stir in well.
6. Add fully wetted fabric.
7. Stir the fabric slowly and continuously for the first 10 mins. After 10 mins if the colour is not dark enough add a little more dye. But first lift the fabric from the dyebath.
8. Regularly agitate during the next 20 minutes. The colour takes a little while to develop on the fabric. Plus fabric looks darker when wet and will dry lighter.
9. Rinse in cool water until rinse water begins to run clear.
10. Wash in warm water with mild detergent, rinse and dry.
Note: If you are dyeing clothing or household items use Rit Color Stay Dye Fixative after dyeing.
Then unpick your stitching and reveal your shibori design.
Some examples of shibori projects dyed with Rit Dyes.


Different dyes have varied strengths of colour. Always try the lower quantity to start and add more dye if needed.
Chart for Rit Dyes Quantities
| Fabric weight dry | Water quantity in litres (fl ozs) | Salt in gms | Dye in ml |
| 15 gr (.5 oz) | 2 (67) | 60 (¼ cup) | 3 to 6 ml |
| 25 / 30 gr (1 oz) | 3 (100) | 60 (¼ cup) | 6 to 12 ml |
| 50 gr (2 oz) | 4 (135) | 60 (¼ cup) | 12 to 24 ml |
| 100 gr (4 oz) | 5 (170) | 80 (¼ cup) | 24 to 48 ml |
Here I have given quantities for English and American measures except dye quantities. Measuring dye quantities in teaspoons or fluid ounces is not very accurate using millilitres is more precise.
There is so much information on the Rit Dye website and they have great ideas for colour mixes. Plus video instructions.
For other methods of dyeing do visit my blog on fibre reactive dyes.
FREE Shibori Pattern Guide

Join my newsletter mailing list and download a FREE pattern for a Eight Petal Flower.