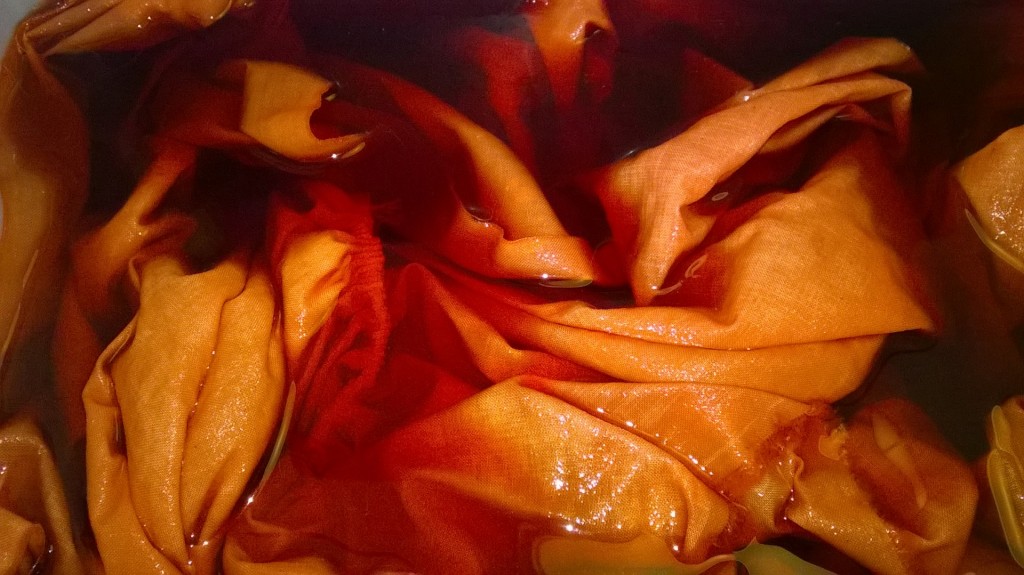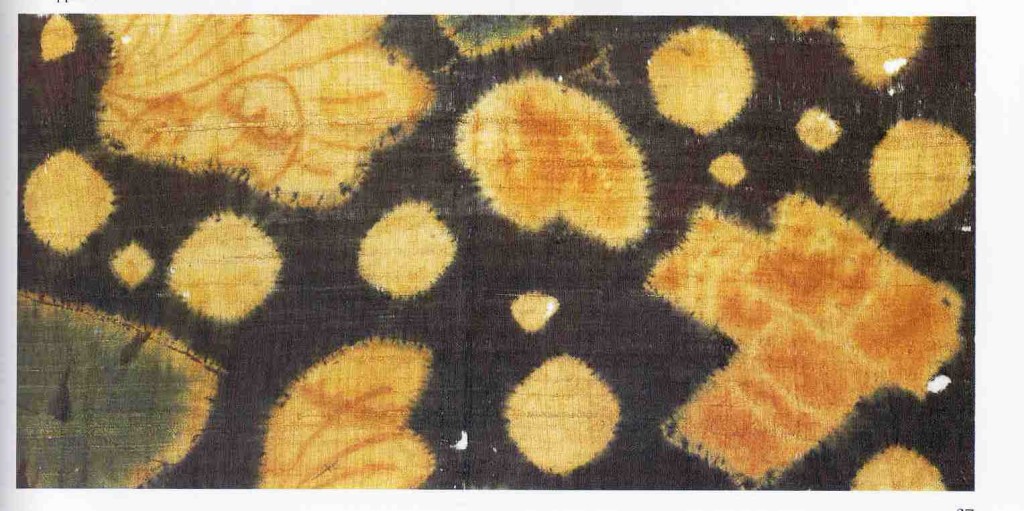
Let’s start at the very beginning by giving you basic and useful tips for shibori sewing. To help make your nui shibori easier and more successful. This is based on my many years of creating shibori stitch resist fabrics. Here is my list of basic rules and equipment to making a success of sewing shibori tie dye which I have learnt over time and now share with you.
If you have done a shibori workshop with me or are about to this will be helpful as a reminder or a preparation.

Above you see my “tools of the trade”. I will just point out the different items shown. There are tailor’s chalks and pencils plus water based fabric markers for marking the fabric. A large selection of needles. Coloured polyester thread for sewing. Just to the right are the little cotton “tags” that I knot in the end of every thread I am using for sewing to stop the thread slipping through. And at the top there is a selection of different weight threads for binding and tying. Let’s get down to giving you some tips for shibori sewing.
10 Helpful Tips for Shibori Sewing
1. Tips about Sewing Threads
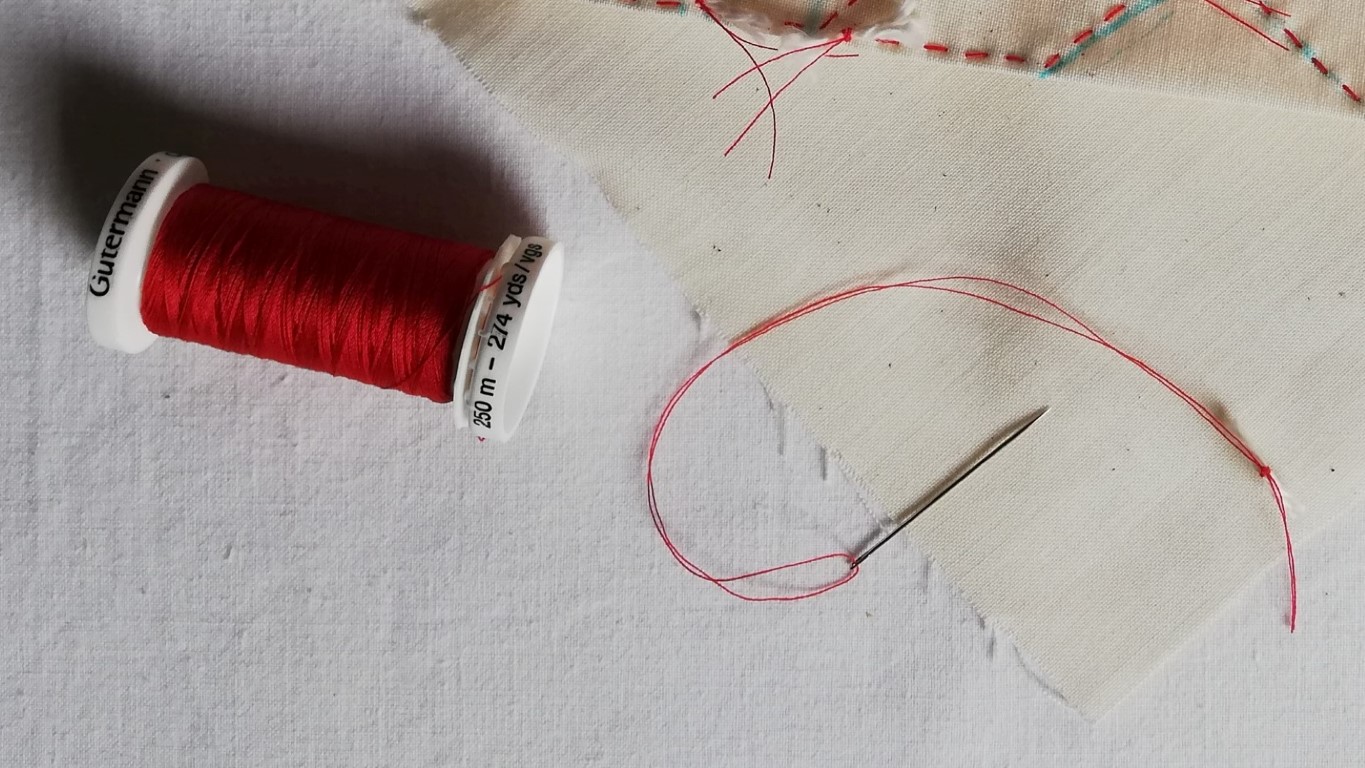
Always use Polyester or nylon thread (not cotton) because this rarely breaks. And you can’t beat Gutermann thread for strength and reliability. Always use your sewing thread double for strength and for ease of tying off at the end.
2. The Best Needles to Use
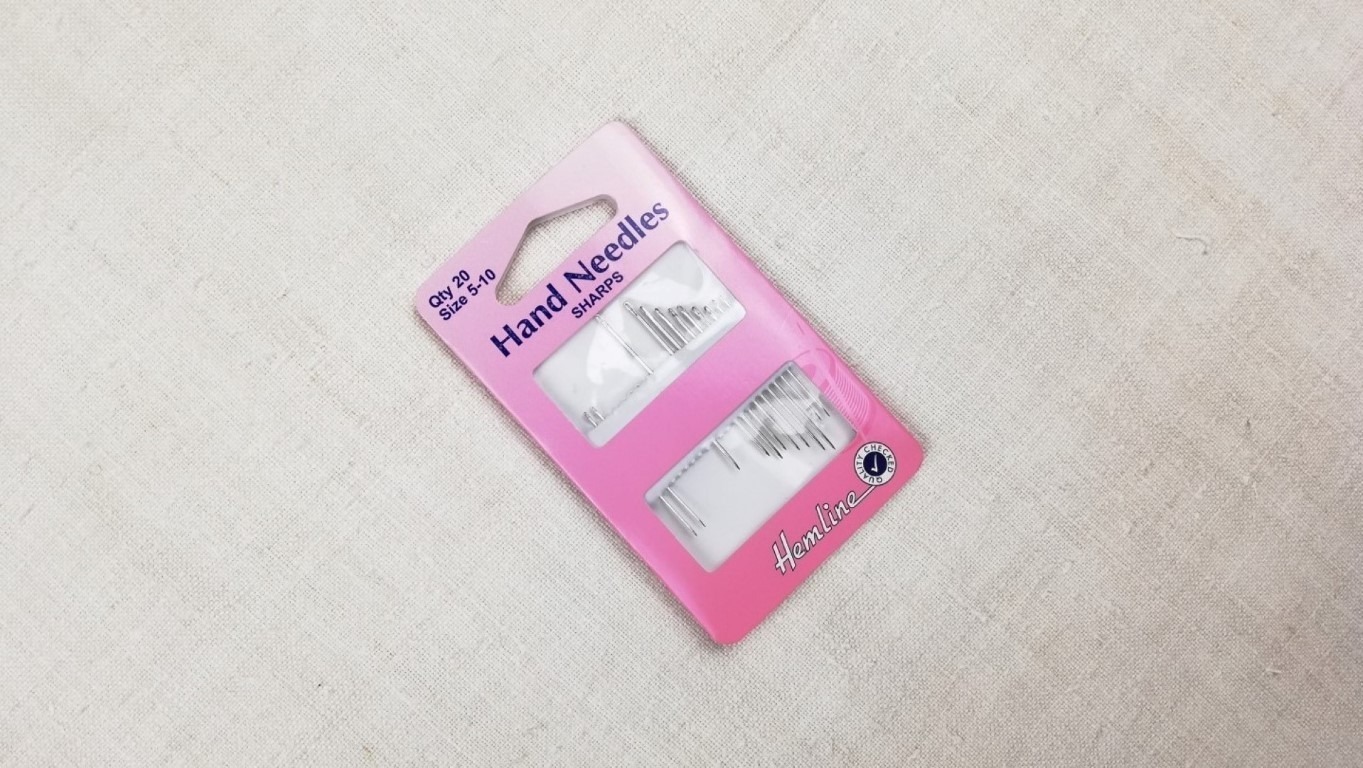
For my needles I generally use Sharps sizes 5 to 10 but find what suits you and the fabric you are using. I also use embroidery/ crewel needles. Here is a needle guide to download.
3. Tags to Secure Your Stitching
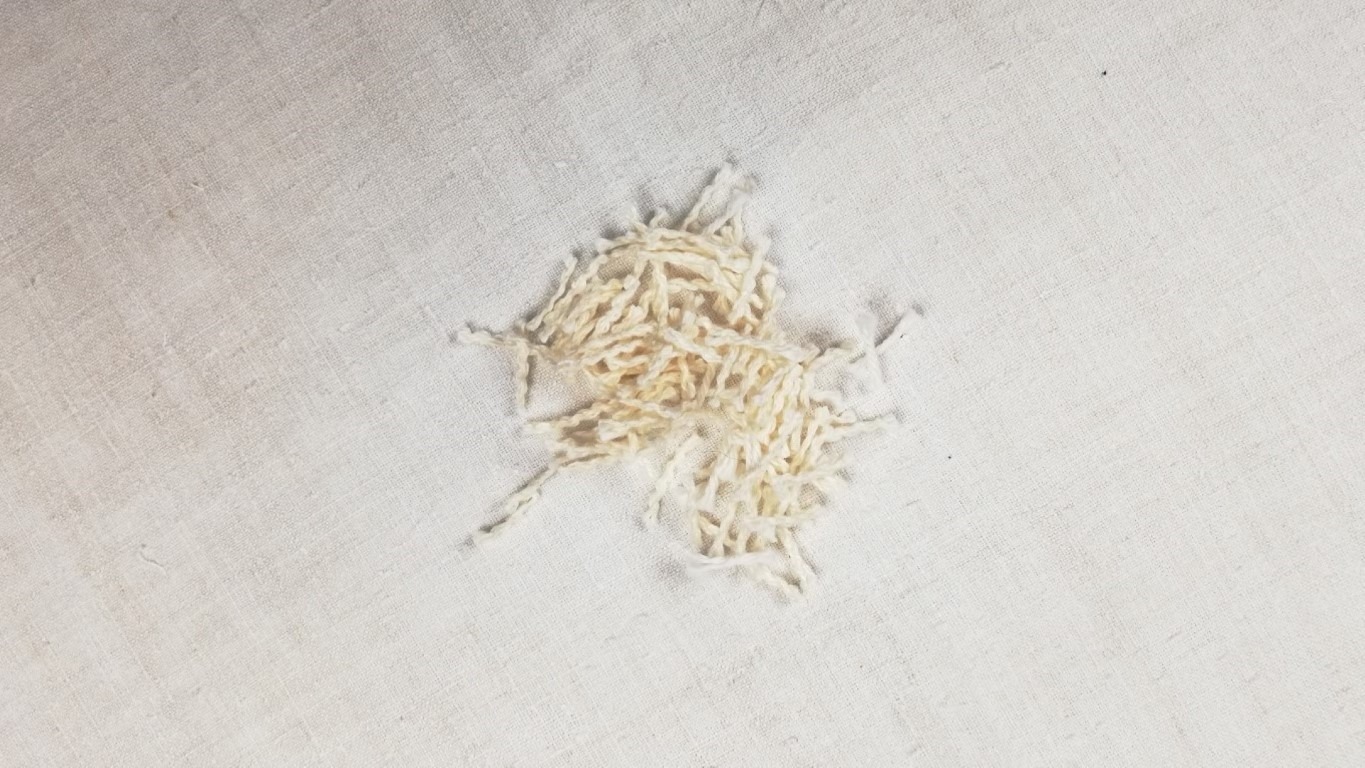
Place and tie a small piece of thick wool or cotton in the end of the thread before starting sewing. Do this by making a loop and slipping the thick wool or cotton through and tying again to make it secure. This prevents the thread slipping through when you come to pull it up.
4. Vary Thread Colour in Your Stitching
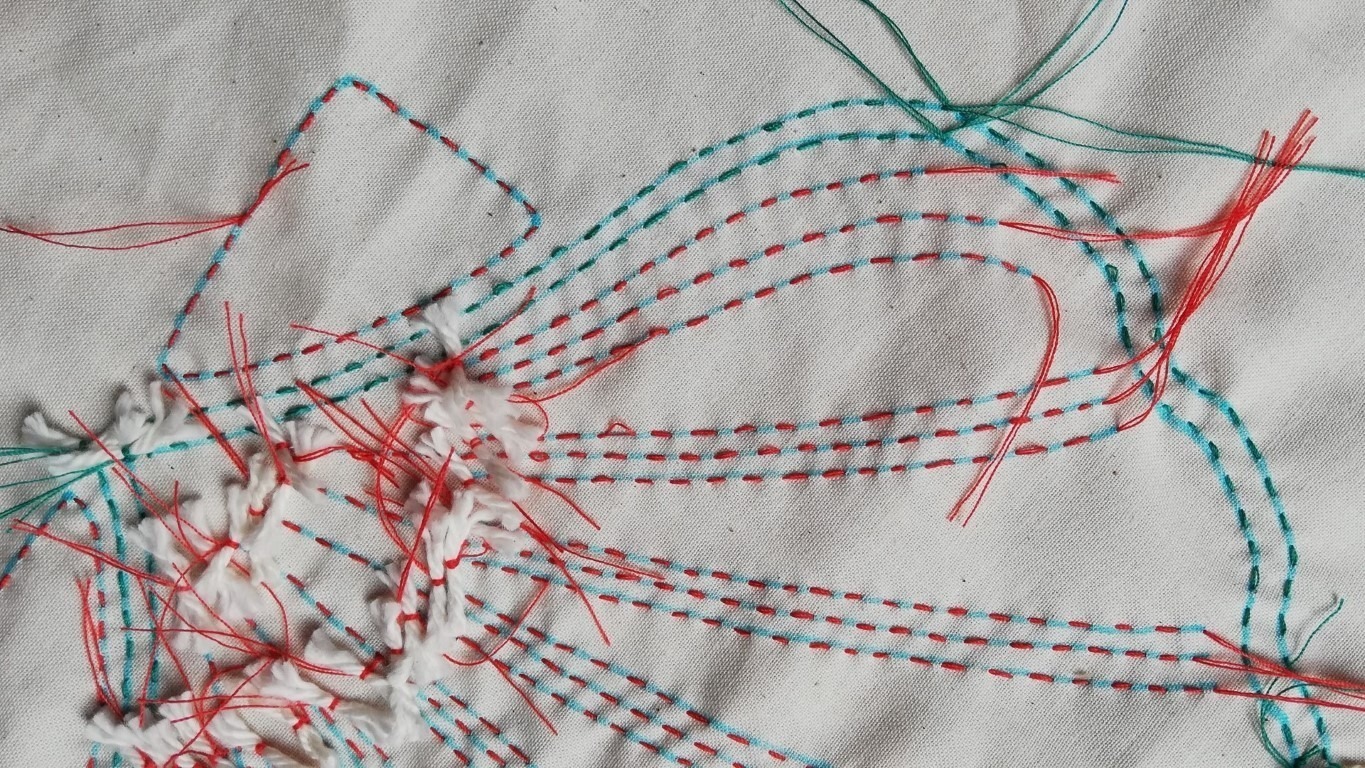
Use two different colour threads when sewing a complicated design. This helps ensure that you don’t miss pulling up any of the stitching. It helps keep everything clear when you come to pull up your threads.
5. Using Beads
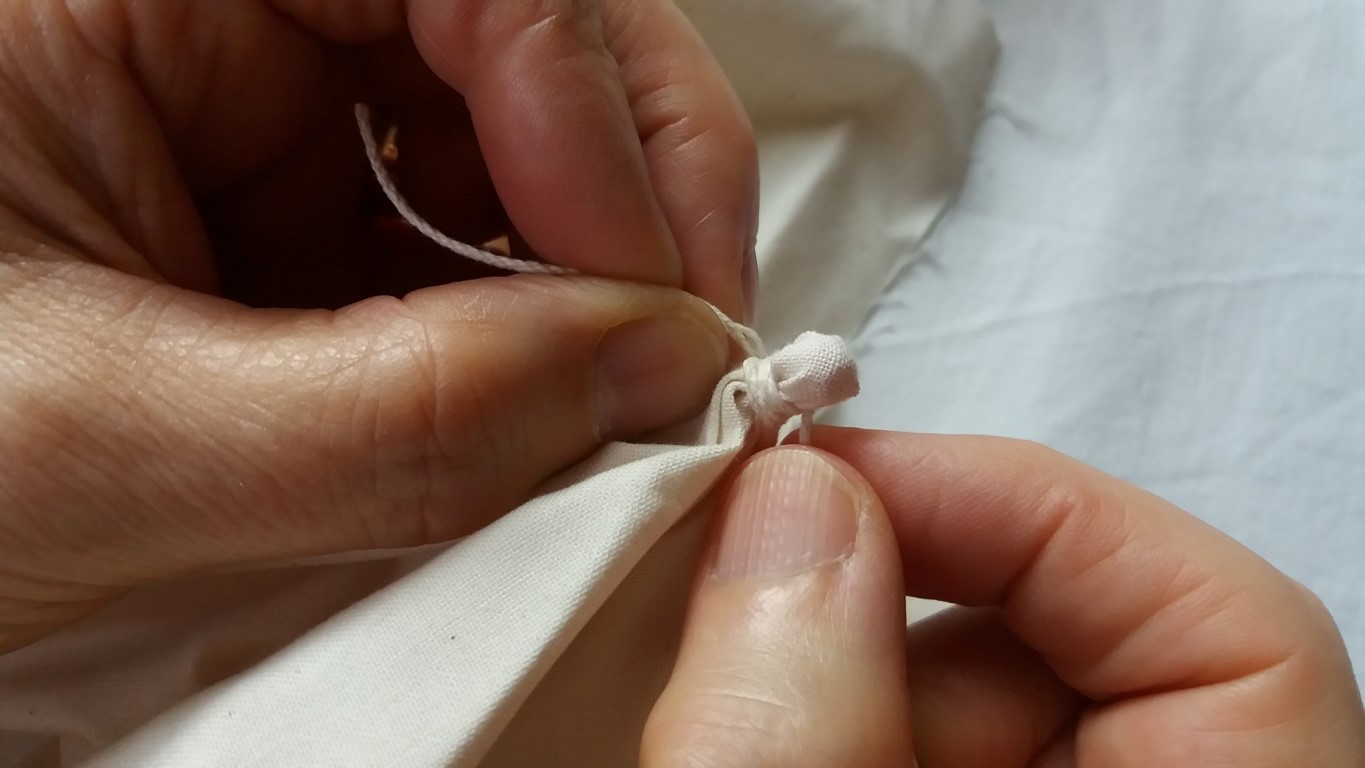
Make a collection of different size beads to tie into your designs. Place the beads on the underside of the cloth and sew in place.

6. Order Of Working with Beads
After you have sewn everything you want to sew, then tie in any beads. Use a strong thick cotton or linen thread for tying the beads.
7. Binding Threads
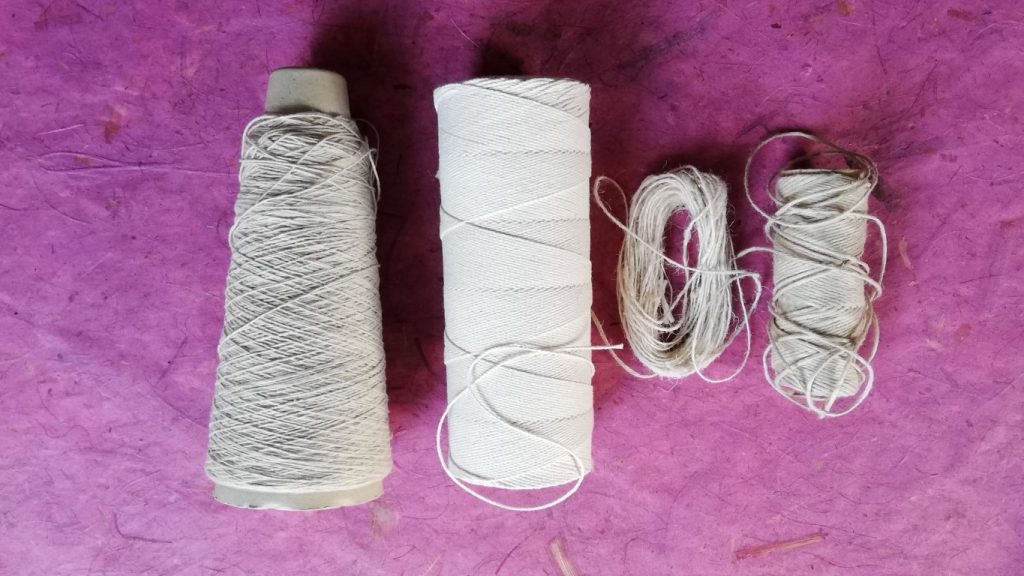
Use a strong linen or cotton thread for any binding of shapes or binding in beads.
8. Order of Work
Sew everything you want to sew before doing any binding, pulling or gathering up of the threads.
9. Keeping Threads Tidy
Use masking tape to hold ends of the threads in a complicated pattern to keep all those extra threads out of your way, while sewing or in the process of gathering.
10. How to Finish Each Row
After pulling and gathering up each thread, separate the two threads and at the end of the thread place and tie another small piece of thick wool or cotton to pull the fabric up tight against.

Hoping these ten tips are useful to you as you explore shibori stitch resist.
FREE Shibori Pattern Guide

Join my newsletter mailing list and download a FREE pattern for a Eight Petal Flower.